C o n f i g u r i n g t h e P r i n t P o r t S e t t i n g s
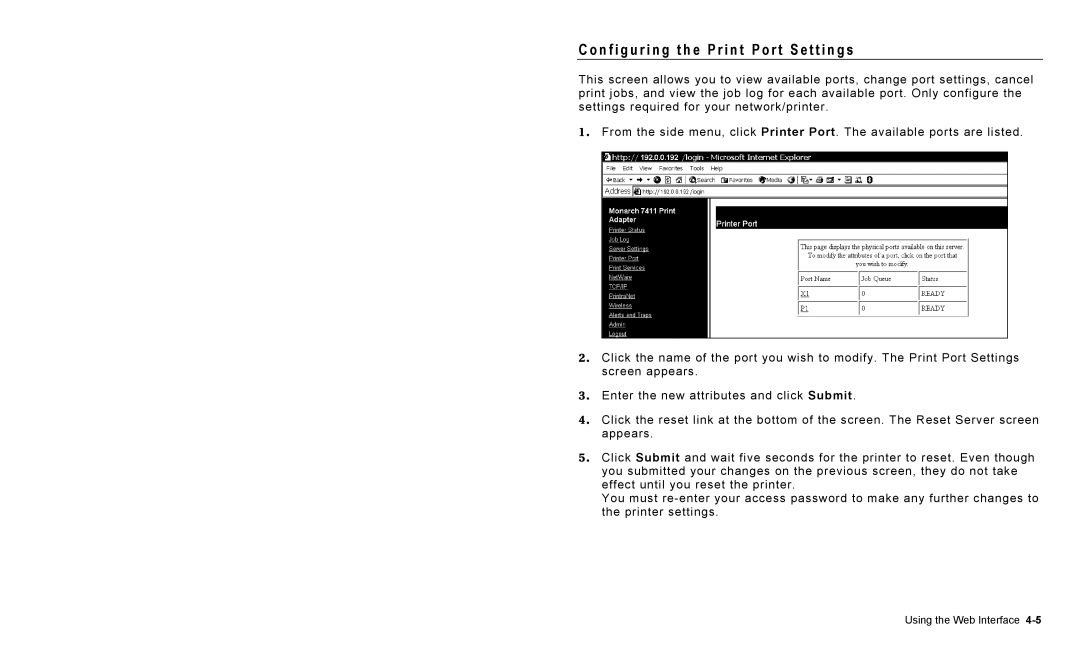
This screen allows you to view available ports, change port settings, cancel print jobs, and view the job log for each available port. Only configure the settings required for your network/printer.
1. From the side menu, click Printer Port. The available ports are listed.
2. Click the name of the port you wish to modify. The Print Port Settings screen appears.
3. Enter the new attributes and click Submit.
4. Click the reset link at the bottom of the screen. The Reset Server screen appears.
5. Click Submit and wait five seconds for the printer to reset. Even though you submitted your changes on the previous screen, they do not take effect until you reset the printer.
You must
Using the Web Interface
