AVIC-Z1
Page
Introduction
Using the AV Source Built-in DVD Drive and Radio
Using the AV Source Music Library
Color difference of the map display between day and night
Terminology
About the definition of terminology
Front Display and Rear Display
License Agreement Pioneer AVIC-Z1 for U.S.A
Grant of License
Export LAW Assurances
Pioneer AVIC-Z1 for Canada
Export LAW Assurances
Terms and Conditions for the Tele Atlas Data
S. Government Rights
Additional Provisions with respect to Canadian Data only
Miscellaneous
About the Data for the Map Database
Copyright
Table of Contents
Chapter
Using XM Tuner and Other Informa- tion
Operating the Music CD
Using the AV Source Music Li- brary
Customizing the Audio Setting re- lated with Audio Visual
Page
Before Using the System
Important Safety Information
Additional Safety Information To ensure safe driving
Parking brake interlock
Features Characteristics of this
Software
Data communication function with XM
About XM NavTraffic Service
Pioneer Navigation
Tuner
About the data saved or recorded by the customer
Failure to operate
Product registration
Chapter
Basic Operation
Flow from Startup to Termina
Tion
Screens
How to Use Navigation Menu
Can be canceled from this menu
Displaying Navigation menu
Basic Navigation
Buttons you can use
Basic flow of operation
How to calculate your destina
Tion by using Address Search
Chapter
Chapter
Be set as a waypoint
Scroll mode can fine-adjust the location
Location indicated by the scroll cursor will
Adding a waypoint
Checking and fixing the route
Skip
When the route guidance starts
Canceling the Route Guidance
Point will not be deleted
Modifying the Route Calculation
Conditions
Items that users can operate
View at the map
Checking the Current Route
Checking the route by text
Checking the entire route over
Editing Waypoints
Adding a waypoint
Deleting a waypoint
Sorting waypoints
Skipping a waypoint
Chapter
How to view the map of the cur- rent location
How to Read Map Display
How to Use the Map
Switching the view mode
Route View Vehicle Dynamics Display
Driver’s View
Twin Map View
Rear View
Enlarged map of the intersection
Display during freeway driving
City Map
Display items
Changing the scale of the map
Scroll the map to the location you want to see
Viewing the information of a specified location
Shortcut menu
Address Book
Hides the shortcut menu
Chapter
Modifying Map Configurations
Setting the Item on the Map Screen
Entering the Map Menu
Chapter
Displays on the map the icon for surrounding
Selecting the Shortcut
Displaying POI on the Map
Facilities POI
Browsing the Map Color Expla
Nation
About Roads without turn by- turn instructions
Changing the Setting of Naviga- tion Interrupting Screen
Changing the View Mode for the Navigation Map
Setting the Map Color Change between Day and Night
Changing the Map Color
Chapter
Searching for POIs by specifying a cat- egory first
Setting a Route to Your Destination
Searching for Points of Interest POI
Touch Category
Searching for POIs by specify- ing a city name
Touch desired POI for your destination
Searching a POI from a name of the facilities directly
Finding a POI in your surround
Ings
Select All
If you want to search for facilities by using
Both marked category and POI shortcut
Selects all detailed categories that are
Route Calculation to Your Home
Searching for Your Destination By Specifying the Telephone
Number
Location or to Your Favorite
Registering/deleting POI Short- cuts
Registering a POI shortcut
Deleting a POI shortcut
Chapter
Registering your home and your favorite location
Registering and Editing Locations
Registering Locations Overview
You can select a method of location search
Address Book
Registering location by scroll mode
Registering location into
Registering location by Address Book
Viewpoint of the Address Book
Editing a registered location’s
Information
Changing a name
Name You can enter the desired name Pronunciation
Phone #
Selecting an icon to appear on the map
Changing a pronunciation
Entering or changing a phone number
Customizing the picture
Selecting sound
Changing the position of locations
Destination History Operations
Chapter
Viewing traffic list
Using Traffic Information
Using XM NavTraffic Informa- tion
Checking traffic information
Checking traffic flow information on the list
Confirming traffic information on the map
Checking traffic information on the route
Traffic event icon and line
Setting alternative route to Avoid traffic congestion
Traffic flow information icon and line
Checking traffic congestion automati- cally
Selecting traffic information to display
Checking traffic information manually
Navi
Chapter
Registering stocks to be displayed
Using XM Tuner and Other Information
Displaying stock prices
Deleting stocks to be displayed onscreen
Displaying browsable informa
Displaying favorite browsable Information
Deleting favorite browsable information
Checking the Reception Status of the XM Tuner
Emergency Info
Checking the information regis- tered as Emergency Info
Year of free Emergency Roadside Assistance service
Dialing the correspond number in emer- gency
Searching for car service in an emergency
Setting the Vehicle Dynamics Display
Registering user information
Edit VIN
Chapter
Chapter
Preparing communication devices
Using Hands-free Phoning
Hands-free Phoning Overview
For your reference
Setting up for hands-free phon
Ing
Registering your cellular phone
Connecting a registered cellular phone
Direct dialing
Receiving a phone call
Making a phone call
Answering an incoming call
After finding the list in the Phone Book you want
Calling a number in the Phone Book
Calling a number in the Dial Favorites
To call, you can select the number and make
Dialing the entry in the Address Book
Dialing a facility’s phone number
Dialing from the map
Transferring the phone book
Registering a phone number
Dial Favorite
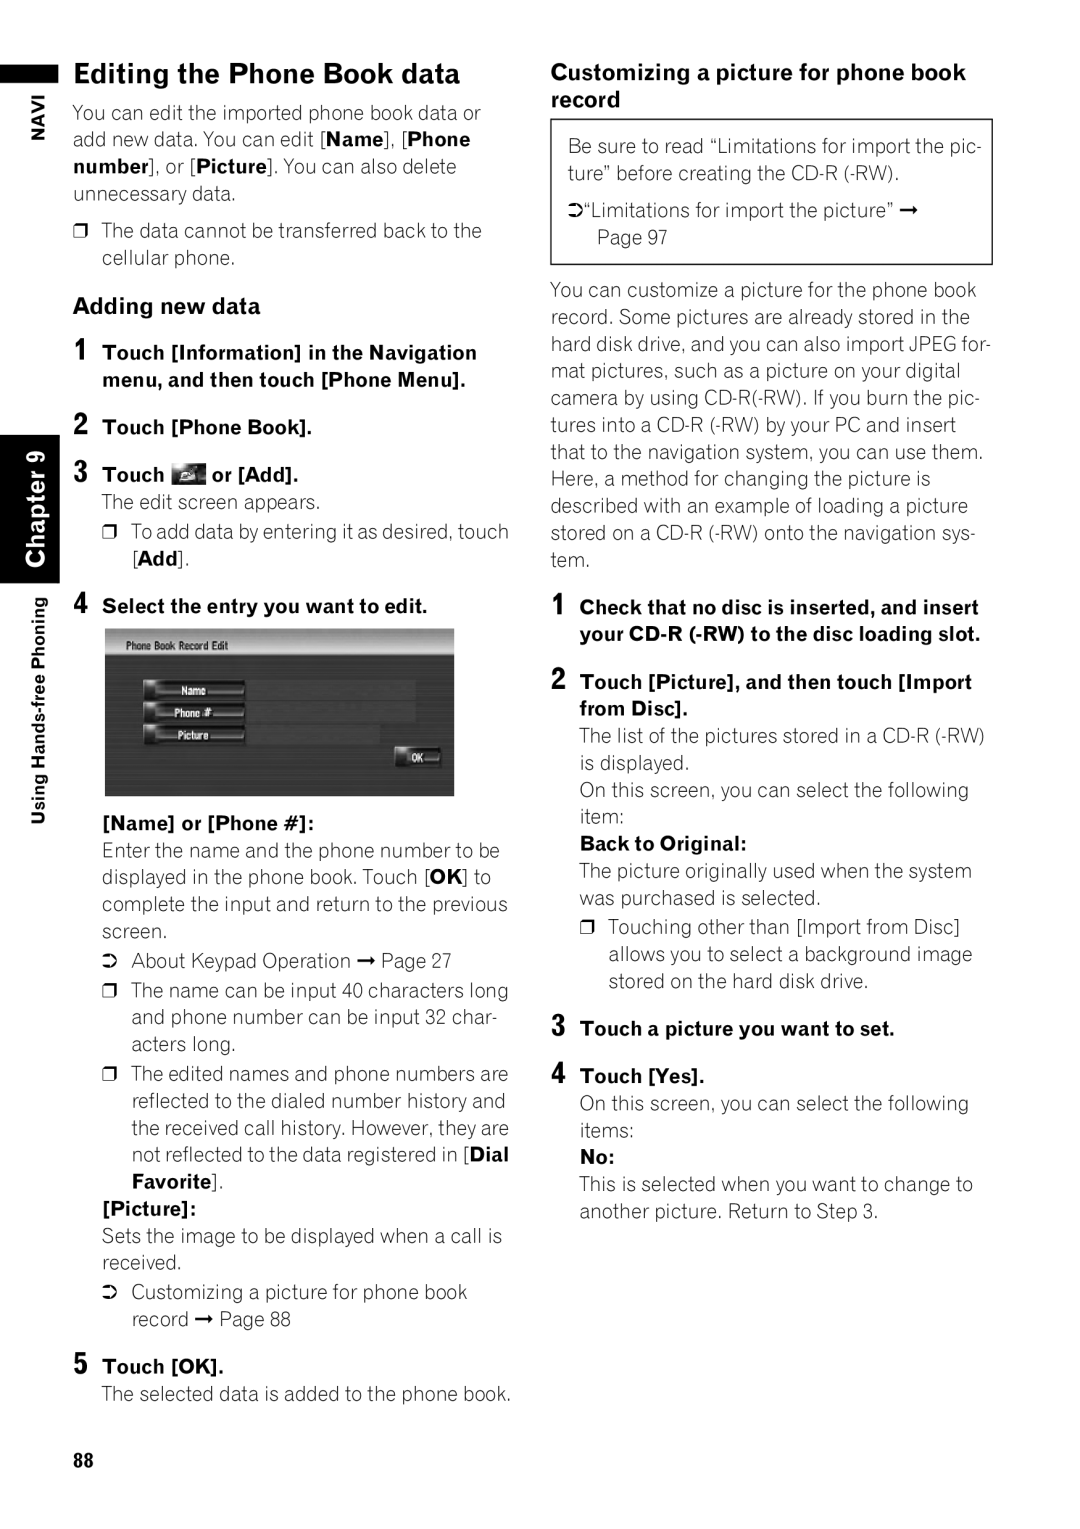
Editing the Phone Book data
Adding new data
Customizing a picture for phone book record
Editing the received call or dialed number history
Deleting data
Editing data
Using Hands-free Phoning Chapter
Volume of the audio source is adjusted by VOL
Entering the Settings Menu
Setting the Volume Related to the Guidance and Phone
System To finish the setting, touch OK
Customizing the keyboard lay- out
Setting the time difference
Touch Settings in the navigation menu
Restarts
Changing the virtual speed
Checking the Setting Related With Hardware
Changing the measure for dis- play
Vehicle
Is not available Installation Position
Checking sensor learning status and driving status
Checking the hard disk informa
Correcting the installation angle
Checking the device and version Information
To clear values
Registering the Home Location and Favorite Location
Changing the Background Pic- ture
Limitations for import the picture
Using the Demonstration Guid- ance
Restoring the Default Setting
Correcting the Current Location
Using the AV Source Built-in DVD Drive and Radio
Basic Operation Switching the Audio operation screen
Selecting a source
About Steering Remote Control
101
Selecting CD as the source
Screen configuration
Operating the Music CD
About auto hard disk recording
Touch key operation
Error messages
Rewind, repeat play is automatically canceled
Playing tracks in a random order
Selecting ROM as the source
If the selected folder does not contain any
Displayed
Switching mode between MP3 and CD-DA
When playing discs with MP3 files and audio
Mode CDs, both types can be played only by
Operation is the same as for MP3. When you
Selecting DVD as the source
When playing back files recorded as VBR
Operating the DVD
Operations are used
Each touch forwards a frame
Switching next page of touch keys
Top Menu while a disc is playing. Touching
To return to normal playback, touch
Indicates where to return to, the DVD returns to
So select an audio setting other than DTS
DVD. Depending on the setting, playback may
When using a DVD that has a point recorded that
Selecting FM as the source
Entering the numerical com- mands
Operating the Radio FM
109
Tuning in strong signals
Storing the strongest broadcast
Frequencies
Operating the Radio AM
Selecting AM as the source
Storing the strongest broadcast frequencies
Using the AV Source Music Library
Music Library Recording
113
Recording only the first track of a CD
Recording all tracks in a CD
Recording a CD manually
Stopping CD recording
When recording please pay attention to these points
Recording equipment and copyright
About the data saved or recorded by the customer
Music Library Play
Selecting Library as the source
Title display
Playlist
Listening to a track recorded in the Music Library
Only
Repeat
Searching the playlist by artist
Searching a track from the playlist
Searching for an album
Search a playlist by Genre
Registering a track to the My Mix playl- ist
Creating a playlist with a cus- tomized order
Register tracks one by one
Registering tracks in the My Favorite 1- 4 playlists
Edit Pronounce
Update
Edit Title
Edit Artist
Adding the selected tracks to My Favorite
Operating the playlist edit mode
Delete some tracks at once
Registering the track to My Favorite
Operating the track edit mode
Changing the title of the playlist or track
Sorting the playlists
Yes changes the artist name to the one you selected
123
Sorting the tracks in the My Mix My Favorites playlist
Deleting a playlist
Deleting a track from the playlist
Retrieving track title information
Assigning another candidate for title information
Changing the genre of a track
Retrieving album title information
126
Using the AV Source XM, Sirius
Operating to XM Satellite Radio
Selecting XM as the source
Channel number does not appear on
All Ch Mode
Touch the source icon and then touch
Display
Display the Radio ID
List content can be switched so you can
Mode. To switch the channel mode, touch
Selecting a channel from the XM Channel list display
Using the My Mix function
Selecting Sirius as
Using the direct traffic announcement function
Operating to the Sirius Satel Lite Radio
Source
Selected category in Category Mode
Sirius channel select mode indicator
Shows what channel select mode has been
Troubleshooting
Team
Switching the Game Alert on or off
Selecting team for Game Alert
Touch On/Off Team displayed as On is the alert target
When the game involving team is
Displaying game information Game Info
Broadcast
Memorize a Traffic & Weather channel
Using the Traffic & Weather pre- set function
Switching the alert on or off
Calling up the memorized Traffic & Weather channel
136
Selecting M-CD as the source
Using the AV Source M-CD, iPod, TV
Operating the Multi-CD Player
Can display it by touching the screen Touch keys
Disc Repeat Repeat the current disc
Played Repeating play Each touch
Lows
If you select other discs during repeat play
Operating the iPod
Selecting iPod as the source
Touching skips to the start of the next song
Browsing for a song
Operating the TV tuner
Selecting TV as the source
Change band Touching Band switches between TV 1 and TV
Storing and recalling broadcast stations
Storing the strongest broadcast stations sequentially
Selecting AV Input as the source
Using the AV Source AV, EXT, AUX
Operating the AV Input source AV
Operating the External Unit EXT
Switching the automatic and manual function
Using 1 key 6 key
Operate the external unit by using Function 1 Function
Operate the external unit by
145
146
Customizing the Audio Settings
AV Setting overview
How to operate the Audio Set- tings screen
Items Using the equalizer
Adjusting equalizer curves
Recalling equalizer curves
Setting a stage that fits your image
Setting the simulated sound stage
Using balance adjustment
Adjusting a position effect
Adjusting loudness
Using subwoofer output
Using non fading output
Using the high pass filter
Next or previous Change Setting
Adjusting source levels
How to view and operate the System Settings
Customizing the System Set Tings Items
Setting up the built-in DVD
Drive
Changing the wide screen mode
Setting the parental lock
Camera for Rear view mode
Setting for rear view camera
Setting the video input
Camera for backing up
Switching the auxiliary setting
Switching the muting/attenua- tion timing
Switching the muting/attenua- tion level
Setting the CD recording mode
Switching the auto antenna set- ting
Setting the clock display on
Changing the voice output
Switching the 5.1ch setting
Other Functions Selecting the video for Rear display
Operating the picture adjust- ment
Switching the Backlight On/Off
Language Code Chart for DVD
159
Language code, input code
160
Flow of voice operation
Operating Your Navigation System with Voice
Basics of Voice Operation
161
To start voice operation
When using voice operation for the first
To cancel voice operation
Time
Tips for Voice Operation
An Example of Voice Operation Search for POI in vicinity
Search for the playlist
Using Voice Operation
Voice commands related to navigation
165
166
Voice commands related to AV operation
167
After checking traffic information manually
Location screen a and B
Operation for XM, Sirius tuner
169
Preferential voice command Other voice command
Other Voice Commands
Other voice commands for navigation operation
170
Chapter
Other voice commands for AV operation
Category list for visinity search
172
173
174
Appendix
175
Setting items to be deleted
176
Navigation functions
If system errors frequently occur
177
Audio functions
NAVI/AV
Positioning Technology
Positioning by GPS
Positioning by dead reckoning
Map matching
Simple hybrid mode
How do GPS and dead reckon- ing work together?
180
Conditions Likely to Cause Noticeable Positioning Errors
Handling Large Errors
When the positioning by GPS is impossible
Vehicles that Cannot Obtain Speed Pulse Data
NAVI/AV
183
Symptom Cause Action See
Troubleshooting
Problems in the screen
184
185
Symptom
186
Cause Action See
187
Message When What to do
188
189
190
191
Message When
Hard disk drive Music Library
Messages for Audio functions
Built-in DVD drive
192
Other sources
193
When the hard disk drive is dis- connected
Route Setting Information Route search specifications
Displaying POI
Route highlighting
Tracking
Auto Reroute
Aspect ratio
Default setting
Gracenote Music recognition service Guidance mode
Chapter
Multi-angle
Route setting
Linear PCM LPCM/Pulse code modulation
Multi-audio Multilingual dialog
Voice recognition
TV system NTSC, PAL, Secam
Voice guidance
Way Point
Information menu
Display Information Navigation menu
Destination menu
199
Map menu
200
Setting menu
201
Shortcut menu
Menu in the Audio Screen Audio Settings menu
System Settings menu
203
204
Pioneer Corporation
Kyghf 06B00001