 Audio Adjustments
Using the position selector
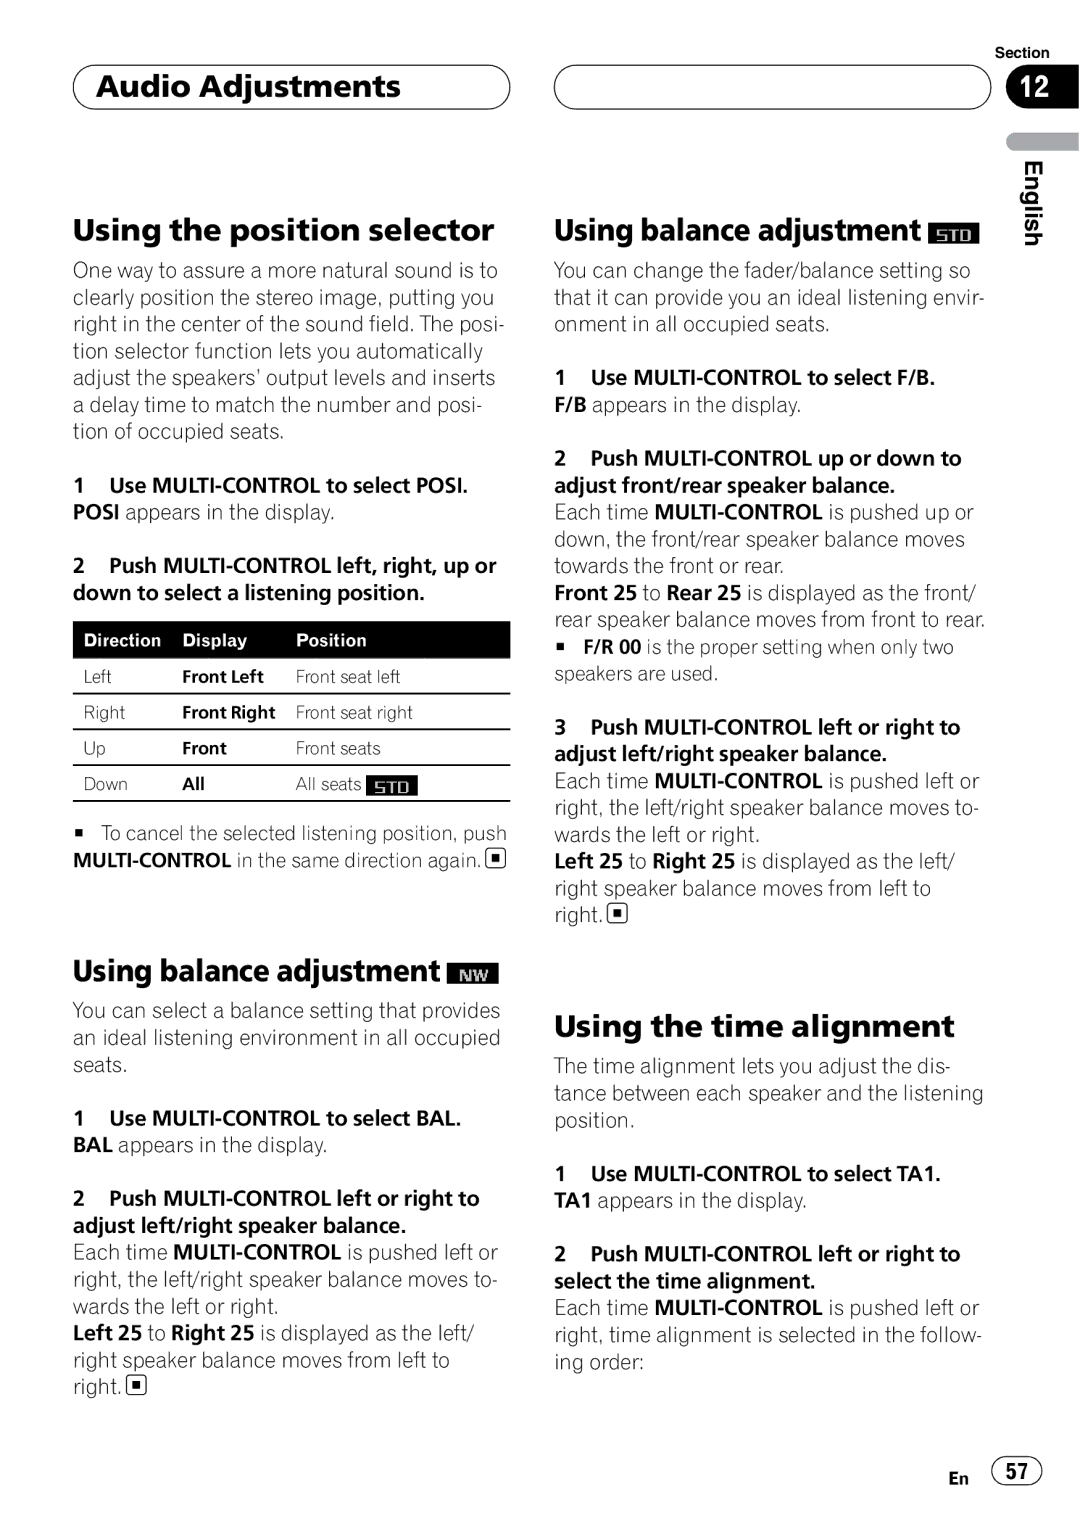
One way to assure a more natural sound is to clearly position the stereo image, putting you right in the center of the sound field. The posi- tion selector function lets you automatically adjust the speakers’ output levels and inserts a delay time to match the number and posi- tion of occupied seats.
1Use
2Push
Direction | Display | Position |
|
|
|
Left | Front Left | Front seat left |
|
|
|
Right | Front Right | Front seat right |
|
|
|
Up | Front | Front seats |
|
|
|
Down | All | All seats |
|
|
|
#To cancel the selected listening position, push ![]()
|
| Section |
|
| 12 |
|
| English |
Using balance adjustment | ||
You can change the fader/balance setting so that it can provide you an ideal listening envir- onment in all occupied seats.
1Use
2Push
Each time
Front 25 to Rear 25 is displayed as the front/
rear speaker balance moves from front to rear.
# F/R 00 is the proper setting when only two speakers are used.
3Push
Each time
Left 25 to Right 25 is displayed as the left/
right speaker balance moves from left to right. ![]()
Using balance adjustment ![]()
You can select a balance setting that provides an ideal listening environment in all occupied seats.
1Use
2Push
Each time
Left 25 to Right 25 is displayed as the left/
right speaker balance moves from left to right. ![]()
Using the time alignment
The time alignment lets you adjust the dis- tance between each speaker and the listening position.
1Use
2Push
Each time
En ![]() 57
57![]()
