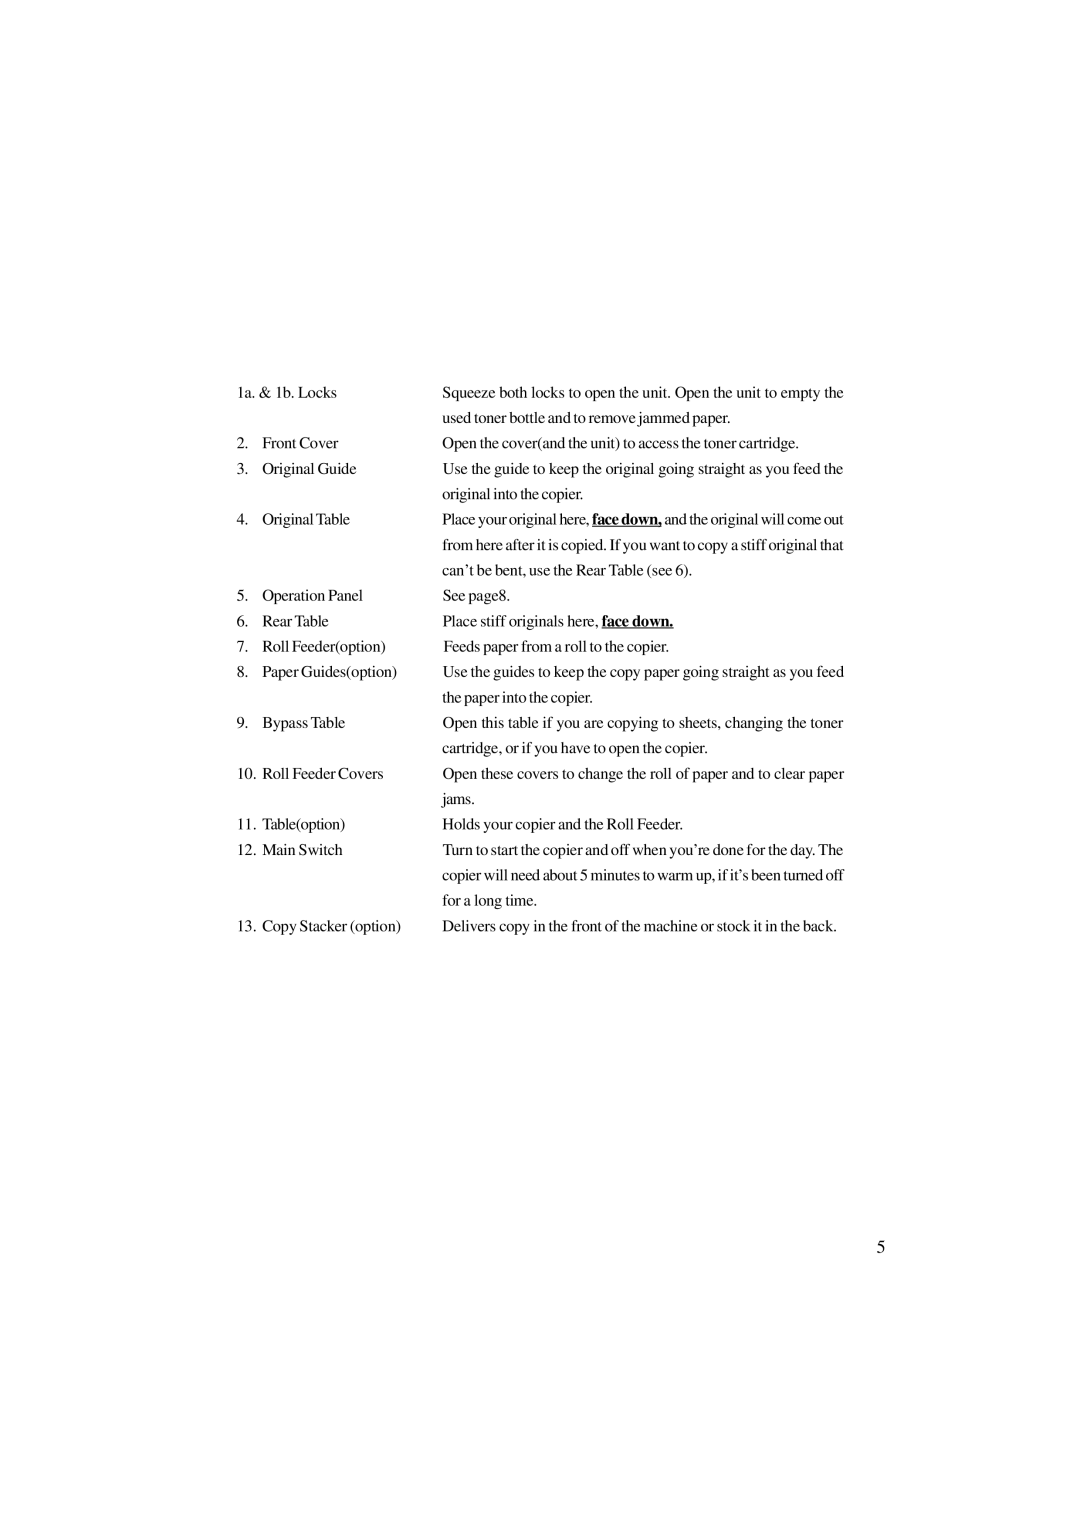
1a. & 1b. Locks | Squeeze both locks to open the unit. Open the unit to empty the | |
|
| used toner bottle and to remove jammed paper. |
2. | Front Cover | Open the cover(and the unit) to access the toner cartridge. |
3. | Original Guide | Use the guide to keep the original going straight as you feed the |
|
| original into the copier. |
4. | Original Table | Place your original here, face down, and the original will come out |
|
| from here after it is copied. If you want to copy a stiff original that |
|
| can’t be bent, use the Rear Table (see 6). |
5. | Operation Panel | See page8. |
6. | Rear Table | Place stiff originals here, face down. |
7. | Roll Feeder(option) | Feeds paper from a roll to the copier. |
8. | Paper Guides(option) | Use the guides to keep the copy paper going straight as you feed |
|
| the paper into the copier. |
9. | Bypass Table | Open this table if you are copying to sheets, changing the toner |
|
| cartridge, or if you have to open the copier. |
10. | Roll Feeder Covers | Open these covers to change the roll of paper and to clear paper |
|
| jams. |
11. | Table(option) | Holds your copier and the Roll Feeder. |
12. | Main Switch | Turn to start the copier and off when you’re done for the day. The |
|
| copier will need about 5 minutes to warm up, if it’s been turned off |
|
| for a long time. |
13. | Copy Stacker (option) | Delivers copy in the front of the machine or stock it in the back. |
5
