3.8
Adjusting the Picture Orientation
By default, the
1.Select an input OTHER THAN HDMI 1 or HDMI 2 on the DHD Controller.
2.Press MENU (on menu page 4) and enter the Service Menu passcode.
3.Select Service from the Main Menu.
4.Select Display Device from the Service Menu, then select Configure.
5.Press ![]() , then choose Floor/Rear, Ceiling/Front or Ceiling/Rear, to match the installation method.
, then choose Floor/Rear, Ceiling/Front or Ceiling/Rear, to match the installation method.
You must enter a passcode to access the Service menu.
Note
3.9
Primary Lens Adjustments
Lens zoom and focus are motorized adjustments that are adjustable from the remote control. This allows you to adjust the focus and image size while at the screen for more accurate results. The remote control has over 100 feet of range to the projector for long throw distances.
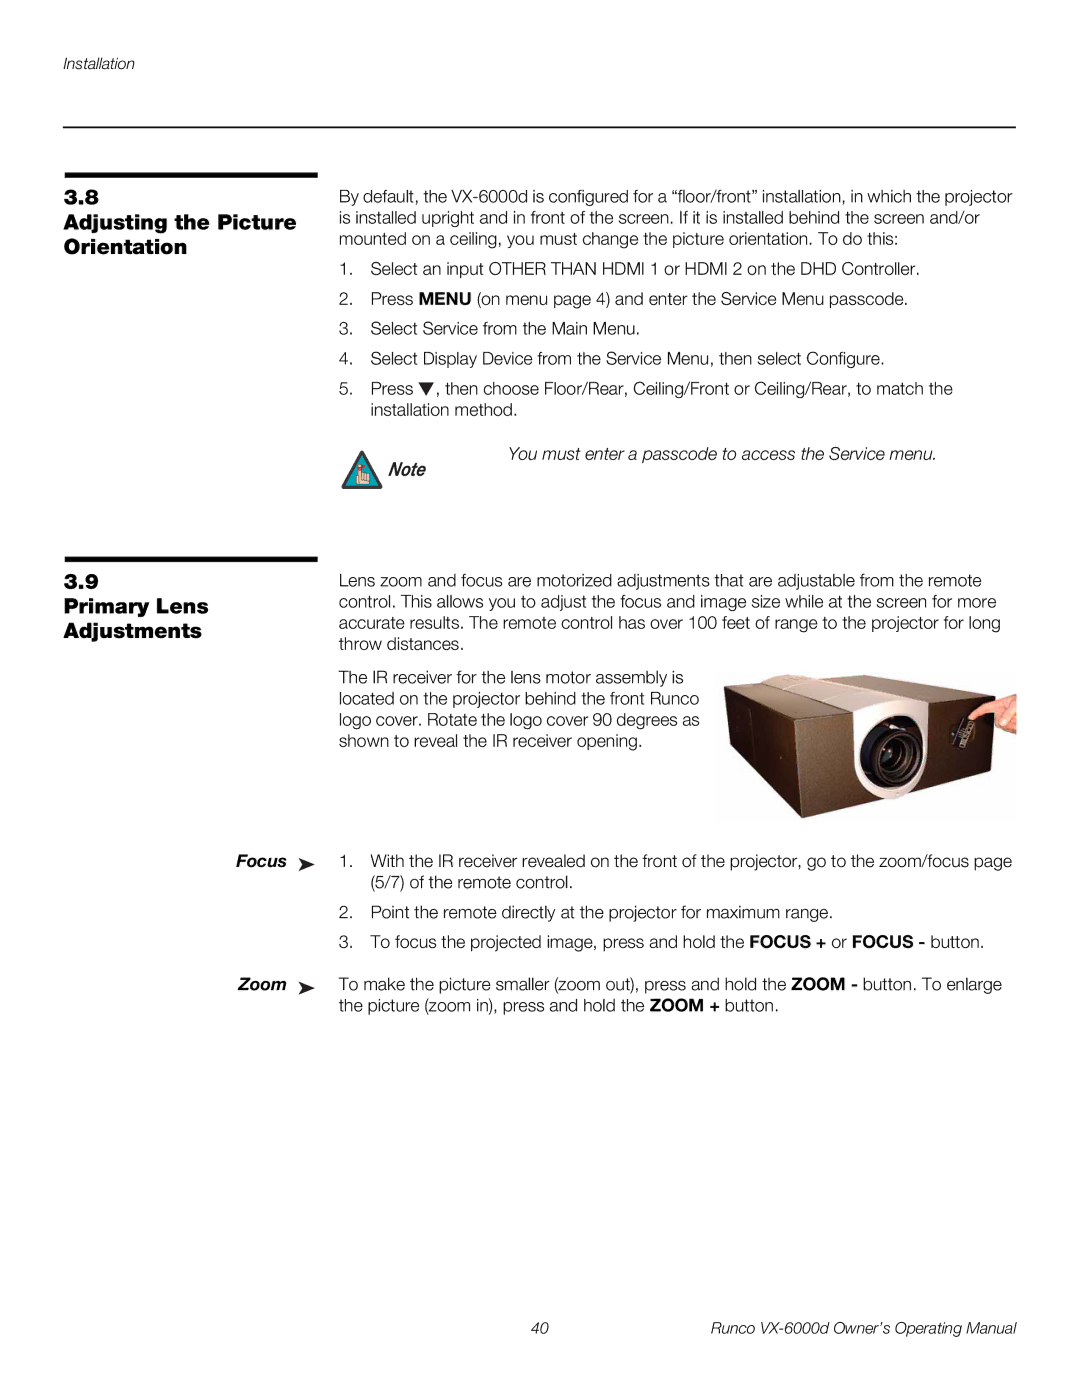
The IR receiver for the lens motor assembly is located on the projector behind the front Runco logo cover. Rotate the logo cover 90 degrees as shown to reveal the IR receiver opening.
Focus ➤ 1. With the IR receiver revealed on the front of the projector, go to the zoom/focus page (5/7) of the remote control.
2.Point the remote directly at the projector for maximum range.
3.To focus the projected image, press and hold the FOCUS + or FOCUS - button.
Zoom ➤ To make the picture smaller (zoom out), press and hold the ZOOM - button. To enlarge the picture (zoom in), press and hold the ZOOM + button.
40 | Runco |