Operation
Select Options from the Main Menu to perform the following projector configuration tasks.
Overscan (480i/480p signals only): Refer to Overscan on page 58.
Default: To reset the Overscan setting to its default value, select Default from the Options menu, then select Yes to confirm the reset.
LED: Select LED from the Options menu to change the behavior of the projector’s indicator LEDs.
•When set to ON, the LEDs indicate operating status as described in
Note | When you set the Auto Power Off function (refer to Power Save, |
below) to Off, the LED function is automatically set to On. |
•When set to OFF, the LEDs illuminate when the
Lamp Hours (read-only): Refer to Lamp Hours on page 62.
OSD: When you select an aspect ratio or input with the remote control (or from the DHD Controller), the
Signal Type: Select Signal Type from the Options menu to specify the incoming signal type (encoding method):
•Choose Auto to have the
•Choose RGB (1) for
•Choose YCrCb4:4:4 (2) for uncompressed, component video. This encoding method uses a “luminance” signal (Y) to represent brightness and “difference” signals (Cb and Cr) to represent colors.
•Choose YCrCb4:2:2 (3) for compressed, component video (similar to YCrCb4:4:4).
In most situations, selecting Auto produces the most accurate colors. If it does not, try the other choices and select the one that does.
Color Space: “Color Space” determines how the color components of an analog input signal are decoded for accurate color in the display. Select Color Space from the Options menu to specify the color space to use. In most situations, selecting Auto produces the most accurate colors. If it does not, try the other choices and select the one that does.
HDMI Black Level: This control compensates for incoming elevated black levels present in certain video signals. When you set it to Auto, the
Background: Select Background from the Options menu, then press ![]() or
or ![]() to select the image background – solid blue, solid black or the Runco logo “splash” screen. The Background appears when no incoming signal is present.
to select the image background – solid blue, solid black or the Runco logo “splash” screen. The Background appears when no incoming signal is present.
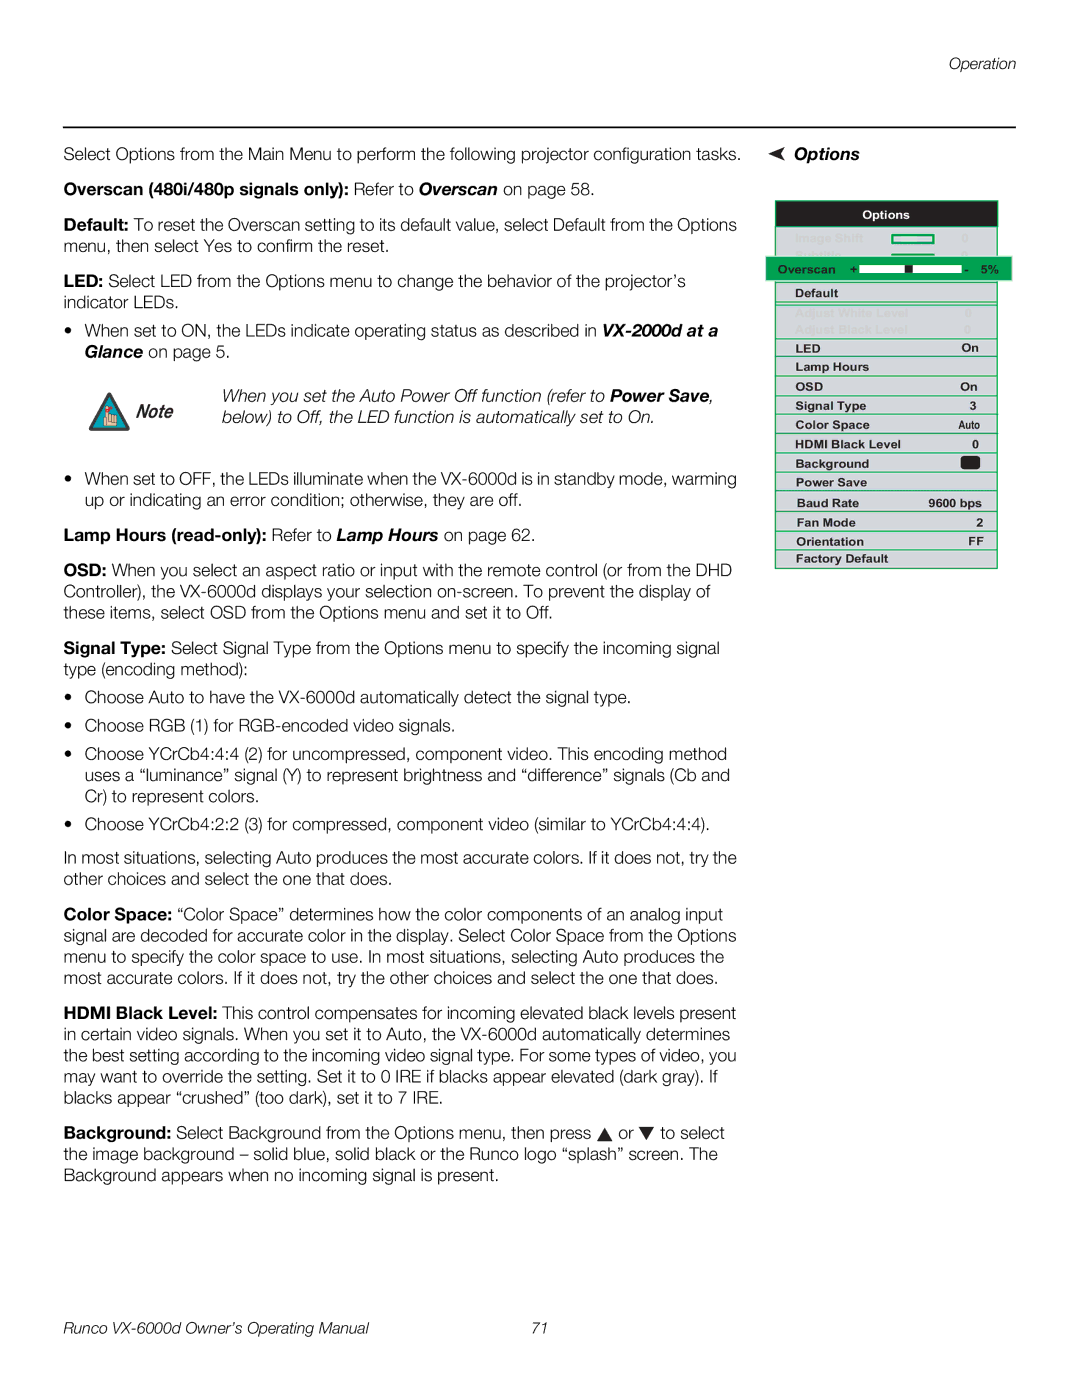
 Options
Options
| Image Shift |
|
| 0 |
|
| ||
|
|
|
|
| ||||
| Subtitle |
|
| 0 |
|
| ||
|
|
|
|
| ||||
| Overscan + |
|
|
|
| - | 5% |
|
| Overscan |
|
|
|
| 30 |
| |
| Default |
|
|
|
|
| ||
| Adjust White Level | 0 |
|
| ||||
| Adjust Black Level | 0 |
|
| ||||
| LED |
| On |
| ||||
| Lamp Hours |
|
|
|
|
| ||
| OSD |
| On |
| ||||
| Signal Type | 3 |
| |||||
| Color Space |
| Auto |
| ||||
| HDMI Black Level |
|
|
| 0 |
| ||
| Background |
|
|
|
|
| ||
| Power Save |
|
|
|
|
| ||
| Baud Rate | 9600 bps |
| |||||
| Fan Mode |
|
|
| 2 |
| ||
| Orientation |
|
| FF |
| |||
| Factory Default |
|
|
|
|
| ||
Runco | 71 |