Controls and Functions
1.VERTICAL LENS SHIFT
Using a 3/16” hex wrench, turn this to move the lens up or down.
2.POWER LED
Lights red to indicate that the projector is in standby; lights blue to indicate normal operation.
3.TEMP LED
Lights red to indicate that the projector has overheated and shut down.
4.INTAKE VENTS
Cool air enters the projector through these vents. To prevent overheating, ensure that these vents are never blocked.
5.LAMP LED
Lights blue to indicate normal lamp operation; off when the lamp has failed or the projector is off.
6.EXHAUST VENTS
Hot air exits the projector through these vents. This air can be quite hot. Ensure that there are no
7.RUNCO LOGO / LENS CONTROL INFRARED (IR) RECEIVER
During initial installation, rotate the logo plate one
When you have finished adjusting the zoom and focus, you can rotate the logo to match the projector orientation: inverted
8.LENS
9.JEWELRY RETAINING SCREW
Loosen this screw to remove the front jewelry, should you ever need to replace the lens.
10.CABLE OPENING
Pass cables through this opening.
11.HORIZONTAL LENS SHIFT
Using a 3/16” hex wrench, turn this to move the lens left or right.
12.LAMP COVER
Remove this cover to access the lamp compartment.
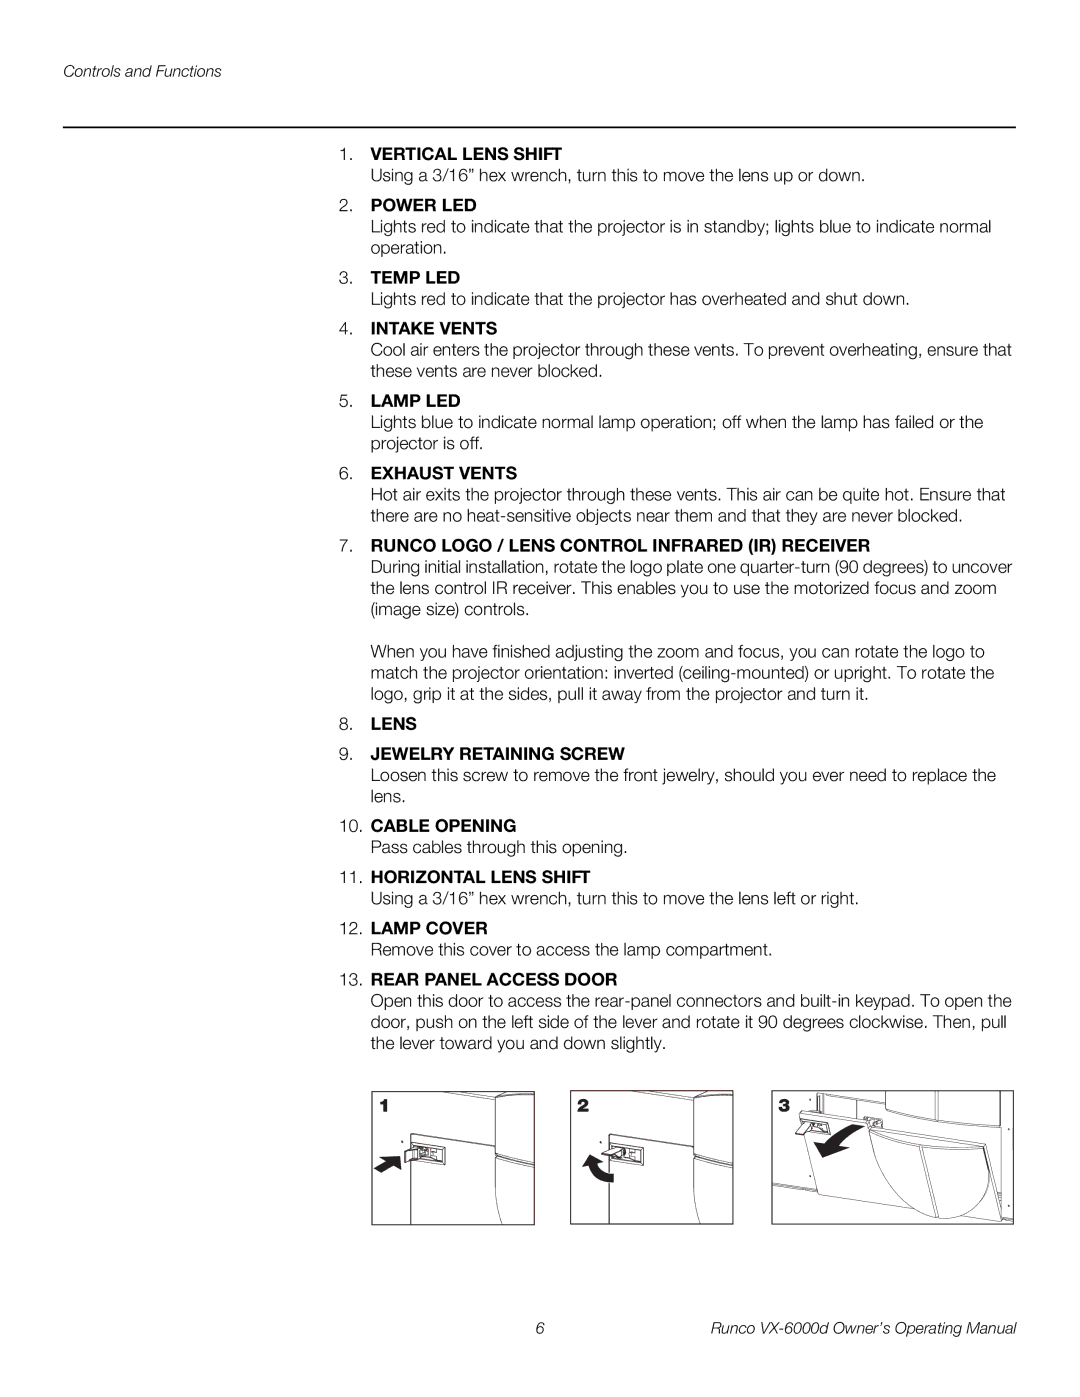
13.REAR PANEL ACCESS DOOR
Open this door to access the
1 |
2 |
3 |
6 | Runco |
