PPP (Dial-up) Settings
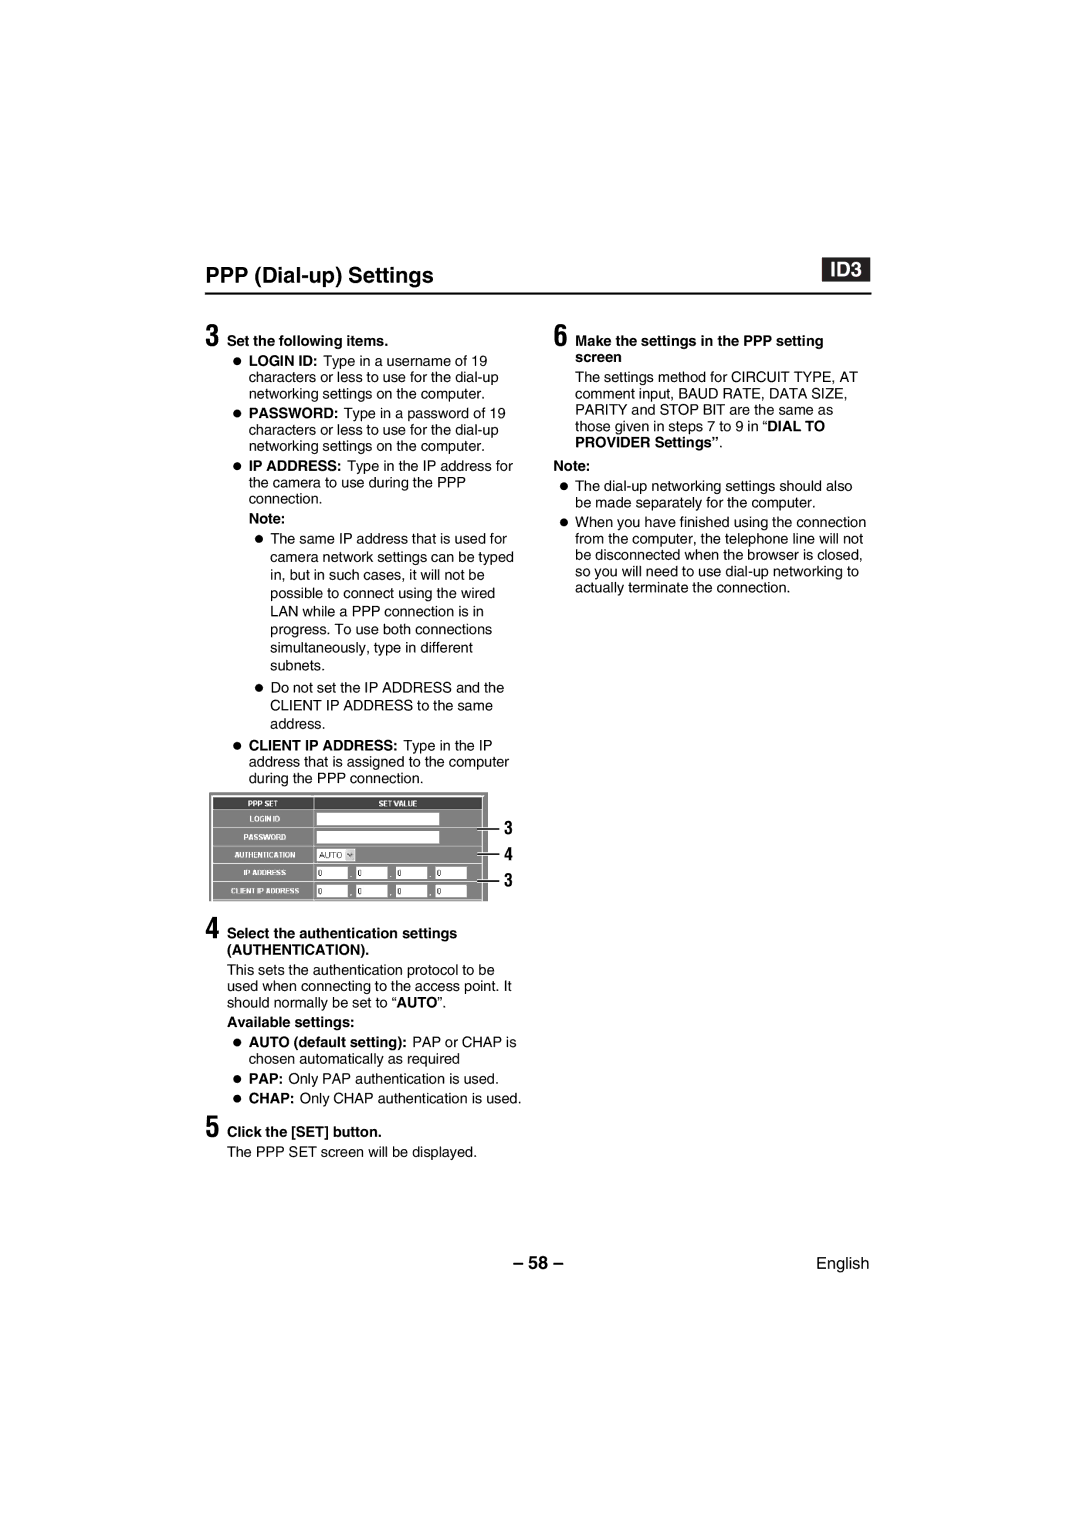
3 Set the following items.
• LOGIN ID: Type in a username of 19 characters or less to use for the
• PASSWORD: Type in a password of 19 characters or less to use for the
• IP ADDRESS: Type in the IP address for the camera to use during the PPP connection.
Note:
• The same IP address that is used for camera network settings can be typed in, but in such cases, it will not be possible to connect using the wired LAN while a PPP connection is in progress. To use both connections simultaneously, type in different subnets.
• Do not set the IP ADDRESS and the CLIENT IP ADDRESS to the same address.
• CLIENT IP ADDRESS: Type in the IP address that is assigned to the computer during the PPP connection.
3
4
3
4 Select the authentication settings
(AUTHENTICATION).
This sets the authentication protocol to be used when connecting to the access point. It should normally be set to “AUTO”.
Available settings:
•AUTO (default setting): PAP or CHAP is chosen automatically as required
•PAP: Only PAP authentication is used.
•CHAP: Only CHAP authentication is used.
5 Click the [SET] button.
The PPP SET screen will be displayed.
6 Make the settings in the PPP setting screen
The settings method for CIRCUIT TYPE, AT comment input, BAUD RATE, DATA SIZE, PARITY and STOP BIT are the same as those given in steps 7 to 9 in “DIAL TO PROVIDER Settings”.
Note:
•The
•When you have finished using the connection from the computer, the telephone line will not be disconnected when the browser is closed, so you will need to use
– 58 – | English |
