Network Camera (Wired LAN) Settings
2Menu select buttons
The live image display area and setting area changes when you click on one of these buttons.
•[LIVE VIEW] button
Live images can be monitored.
•[VIEW FRAME] button
Sets the live image display area to a fixed image size (720x480).
•[NETWORK] button
Used when making network settings.
•[WIRELESS LAN] button
Used when making wireless LAN settings.
•[PPP] button
Used when setting up an Internet connection using a modem.
Archive software (sold separately) is required when using these settings.
•[CAMERA] button
Used when making settings for the camera such as camera title, image quality and day/night mode.
•[ALARM] button
Used when making settings for alarm recording and motion sensors.
•[CLOCK] button
Used when setting the camera’s clock.
•[RS-232C] button
Used when setting the communication speed when the camera is connected directly to the computer.
•[LANGUAGE] button
Click this button if you would like to change the language. The language selection screen will be displayed.
•[STATUS] button
Used when checking firmware versions and information relating to the camera.
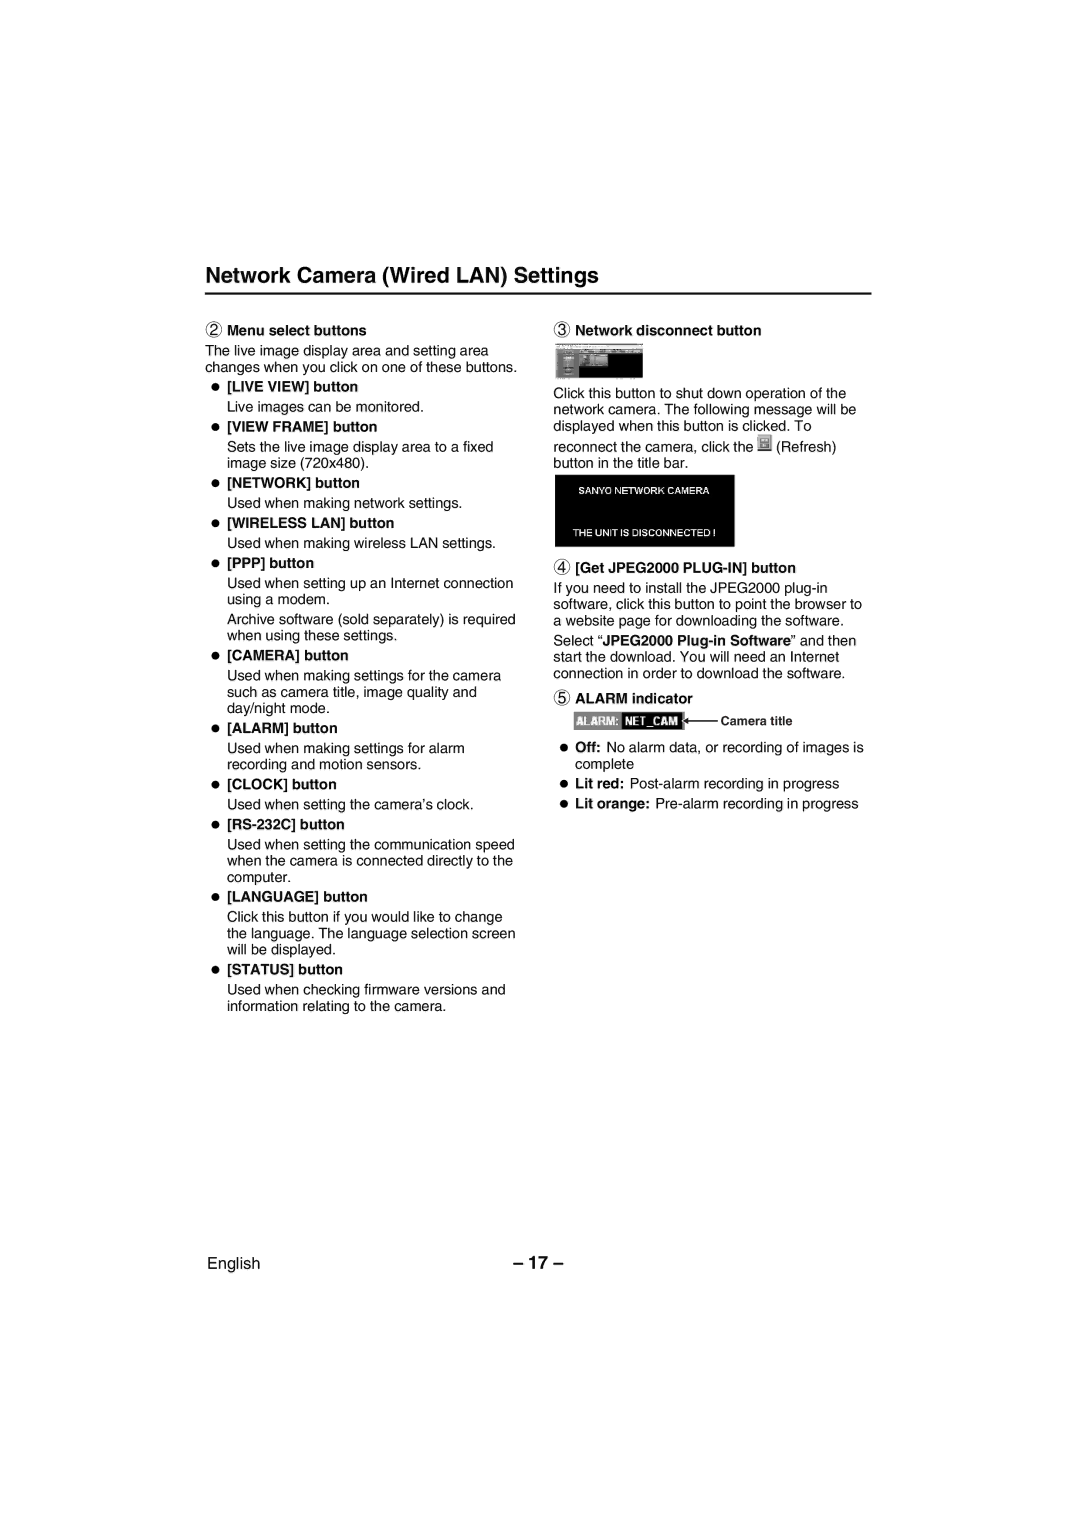
3Network disconnect button
Click this button to shut down operation of the network camera. The following message will be displayed when this button is clicked. To
reconnect the camera, click the ![]() (Refresh) button in the title bar.
(Refresh) button in the title bar.
4[Get JPEG2000 PLUG-IN] button
If you need to install the JPEG2000
Select “JPEG2000
5ALARM indicator
![]()
![]() Camera title
Camera title
•Off: No alarm data, or recording of images is complete
•Lit red:
•Lit orange:
English | – 17 – |
