Advanced Features
Camera Recording
Adjusting White Balance | 5 Press the MENU button to turn off the |
| menu screen. |
Available modes: |
|
The colour of the subject on the screen looks different depending on lighting conditions. Select a White Balance setting that matches the lighting conditions.
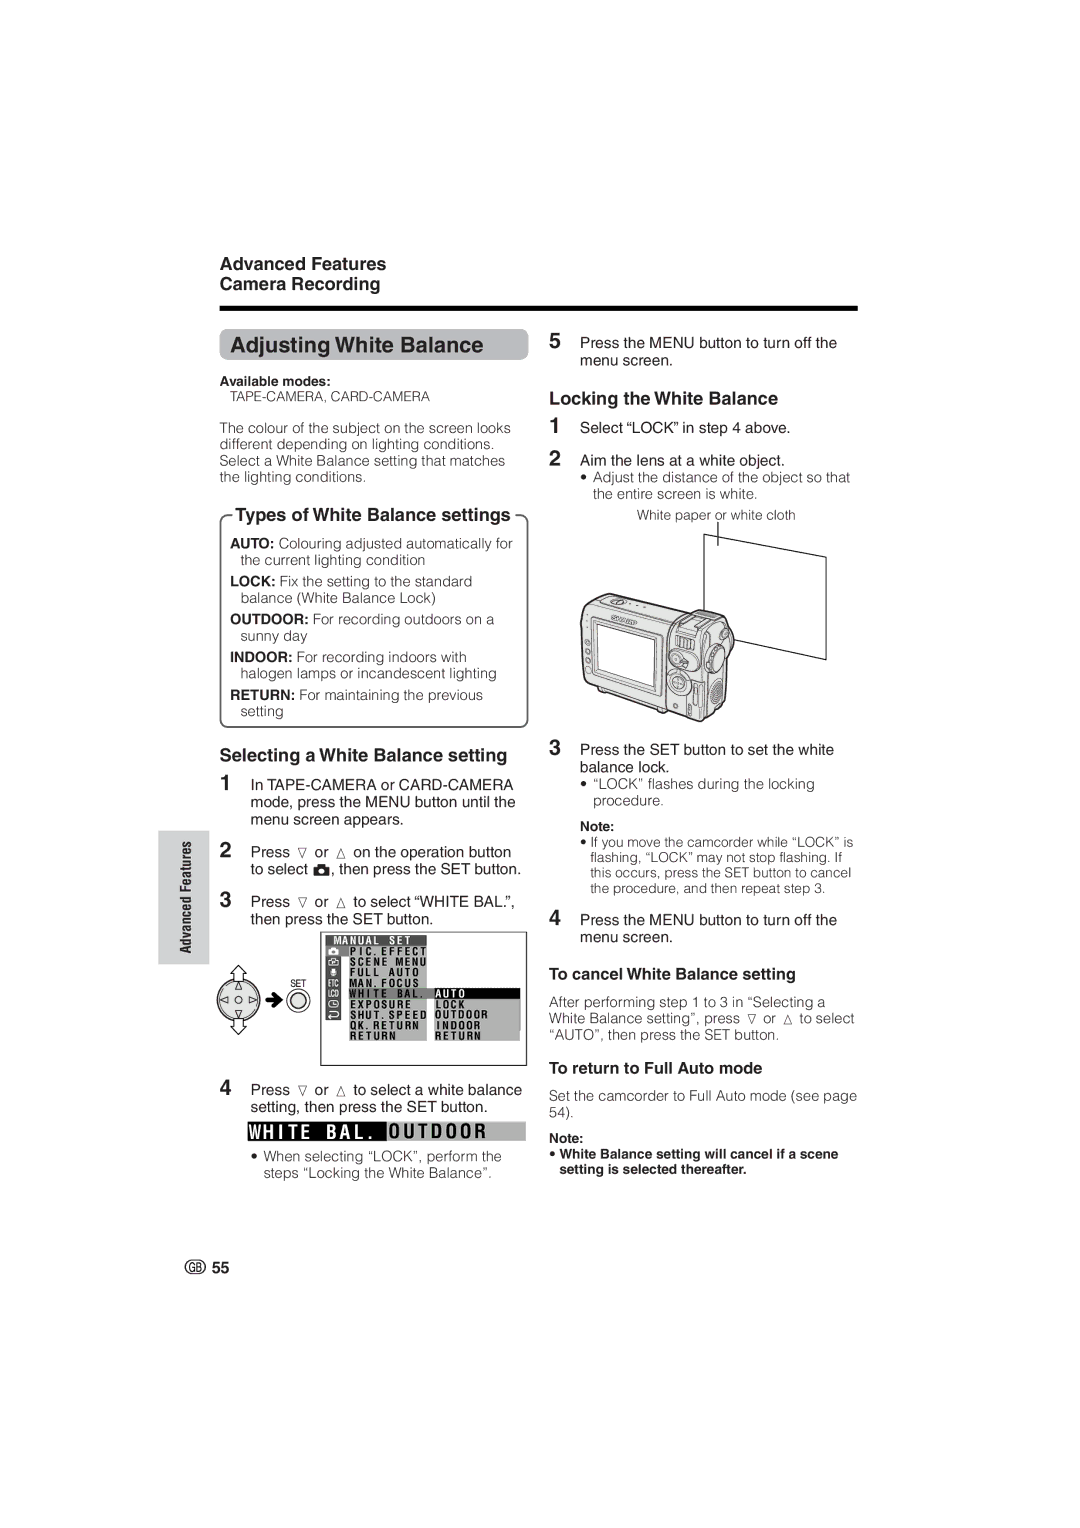
Locking the White Balance
1Select “LOCK” in step 4 above.
2Aim the lens at a white object.
•Adjust the distance of the object so that the entire screen is white.
Types of White Balance settings | White paper or white cloth |
AUTO: Colouring adjusted automatically for the current lighting condition
LOCK: Fix the setting to the standard balance (White Balance Lock)
OUTDOOR: For recording outdoors on a sunny day
INDOOR: For recording indoors with halogen lamps or incandescent lighting
RETURN: For maintaining the previous setting
Advanced Features
Selecting a White Balance setting
1In
2Press l or m on the operation button to select T, then press the SET button.
3Press l or m to select “WHITE BAL.”, then press the SET button.
MA N U A L | S E T | O F F | |
| P I C . E F F E C T | ||
| S C E N E | M E N U | |
| F U L L | A U T O | |
MA N . F O C U S
W H I T E B A L . A U T O
E X P O S U R E L O C K
S H U T . S P E E D O U T D O O R
Q K . R E T U R N I N D O O R
R E T U R NR E T U R N
4Press l or m to select a white balance setting, then press the SET button.
WH I T E B A L . O U T D O O R
•When selecting “LOCK”, perform the steps “Locking the White Balance”.
3Press the SET button to set the white balance lock.
•“LOCK” flashes during the locking procedure.
Note:
•If you move the camcorder while “LOCK” is flashing, “LOCK” may not stop flashing. If this occurs, press the SET button to cancel the procedure, and then repeat step 3.
4Press the MENU button to turn off the menu screen.
To cancel White Balance setting
After performing step 1 to 3 in “Selecting a White Balance setting”, press l or m to select “AUTO”, then press the SET button.
To return to Full Auto mode
Set the camcorder to Full Auto mode (see page 54).
Note:
•White Balance setting will cancel if a scene setting is selected thereafter.
![]() 55
55