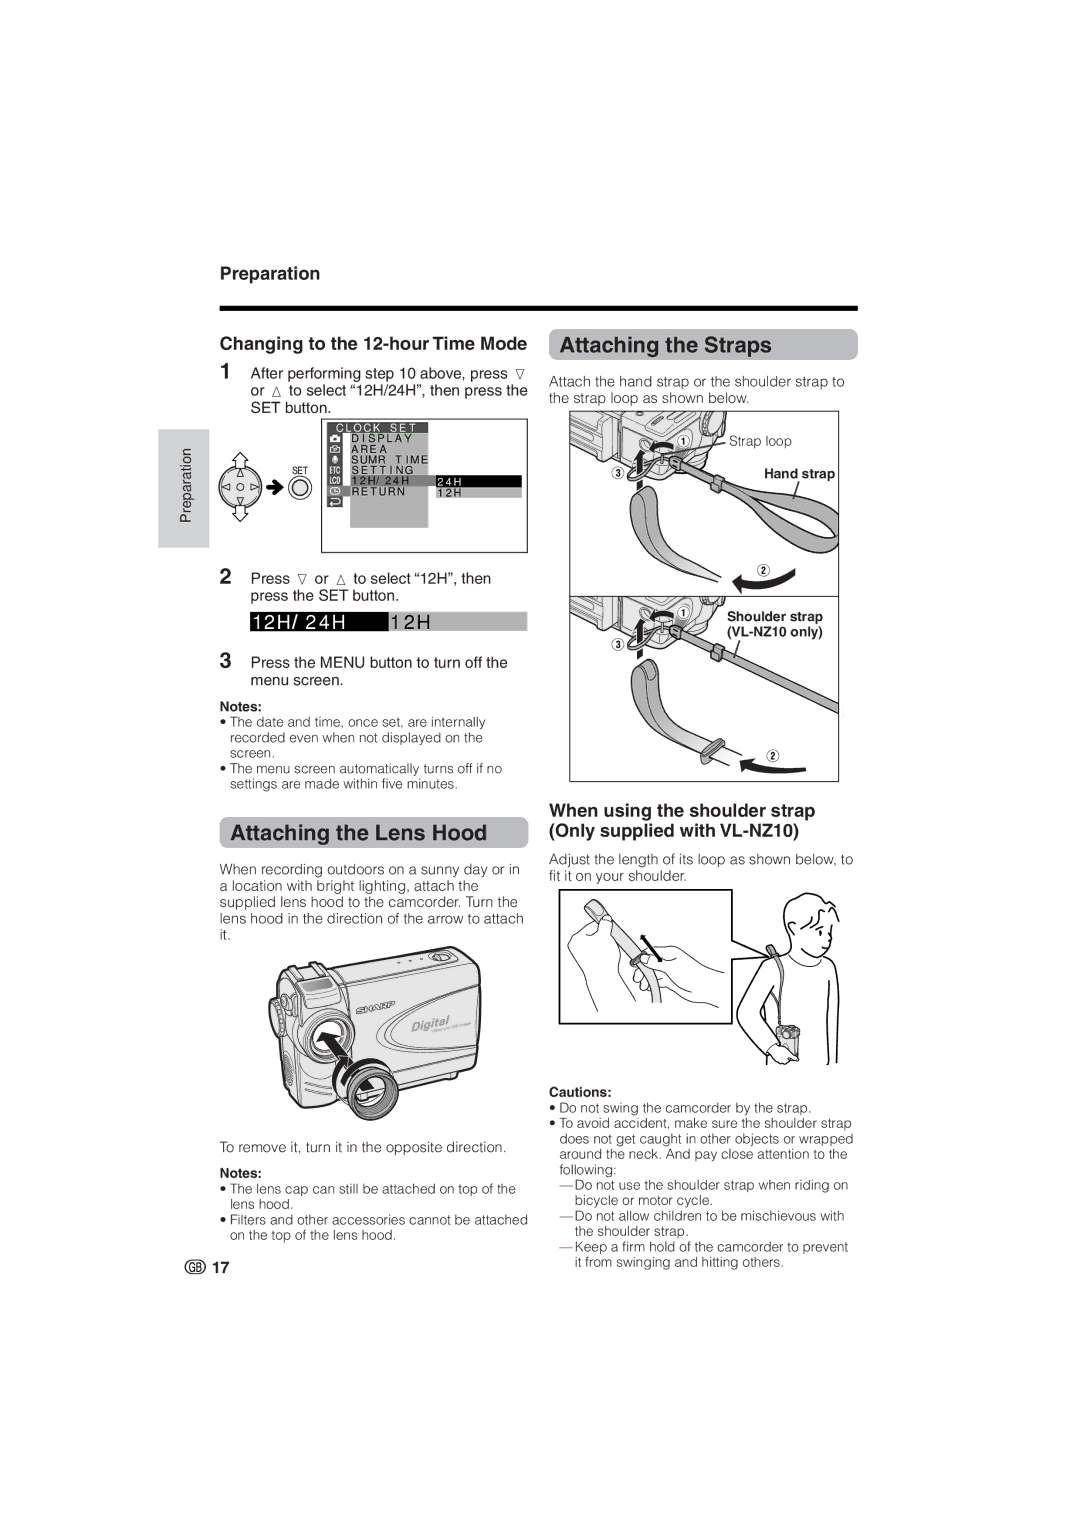
Preparation
Preparation
Changing to the 12-hour Time Mode
1After performing step 10 above, press l or m to select “12H/24H”, then press the SET button.
C L O C K S E T |
|
D I S P L A Y |
|
A R E A |
|
S UMR T I M E |
|
S E T T I N G |
|
1 2 H / 2 4 H | 2 4 H |
R E T U R N | 1 2 H |
2Press l or m to select “12H”, then press the SET button.
1 2 H 2 4 H | 1 2 H |
3Press the MENU button to turn off the menu screen.
Notes:
•The date and time, once set, are internally recorded even when not displayed on the screen.
•The menu screen automatically turns off if no settings are made within five minutes.
Attaching the Straps
Attach the hand strap or the shoulder strap to the strap loop as shown below.
Strap loop
Hand strap
Shoulder strap (VL-NZ10 only)
Attaching the Lens Hood
When recording outdoors on a sunny day or in a location with bright lighting, attach the supplied lens hood to the camcorder. Turn the lens hood in the direction of the arrow to attach it.
To remove it, turn it in the opposite direction.
Notes:
•The lens cap can still be attached on top of the lens hood.
•Filters and other accessories cannot be attached on the top of the lens hood.
![]() 17
17
When using the shoulder strap (Only supplied with VL-NZ10)
Adjust the length of its loop as shown below, to fit it on your shoulder.
Cautions:
•Do not swing the camcorder by the strap.
•To avoid accident, make sure the shoulder strap does not get caught in other objects or wrapped around the neck. And pay close attention to the following:
—Do not use the shoulder strap when riding on bicycle or motor cycle.
—Do not allow children to be mischievous with the shoulder strap.
—Keep a firm hold of the camcorder to prevent it from swinging and hitting others.
