Advanced Features
Playback
Editing with the DV | To Record from Video Equipment |
Terminal (IEEE1394) |
|
| 1 Set the camcorder to |
Available mode: | and insert a Mini DV cassette. | |
|
This camcorder enables you to perform digital video editing. Connect the camcorder to video equipment with a DV terminal using the supplied DV cable. The DV cable is able to transfer all dubbing signals including video and audio.
To Record to Video Equipment
See “Cutting Unwanted Sequences” on page 60, using the video equipment as the recording source.
Note:
•Make sure that the video equipment to which you are recording can input dubbing signals via the DV terminal.
2Begin playback on the video equipment connected to the camcorder.
•Check the camcorder screen to see if the picture is properly received.
3Press the REC START/STOP button on the camcorder.
•The camcorder enters Recording Standby mode.
4Press m on the Operation button to begin recording.
To stop recording
Press l on the Operation button.
Advanced Features
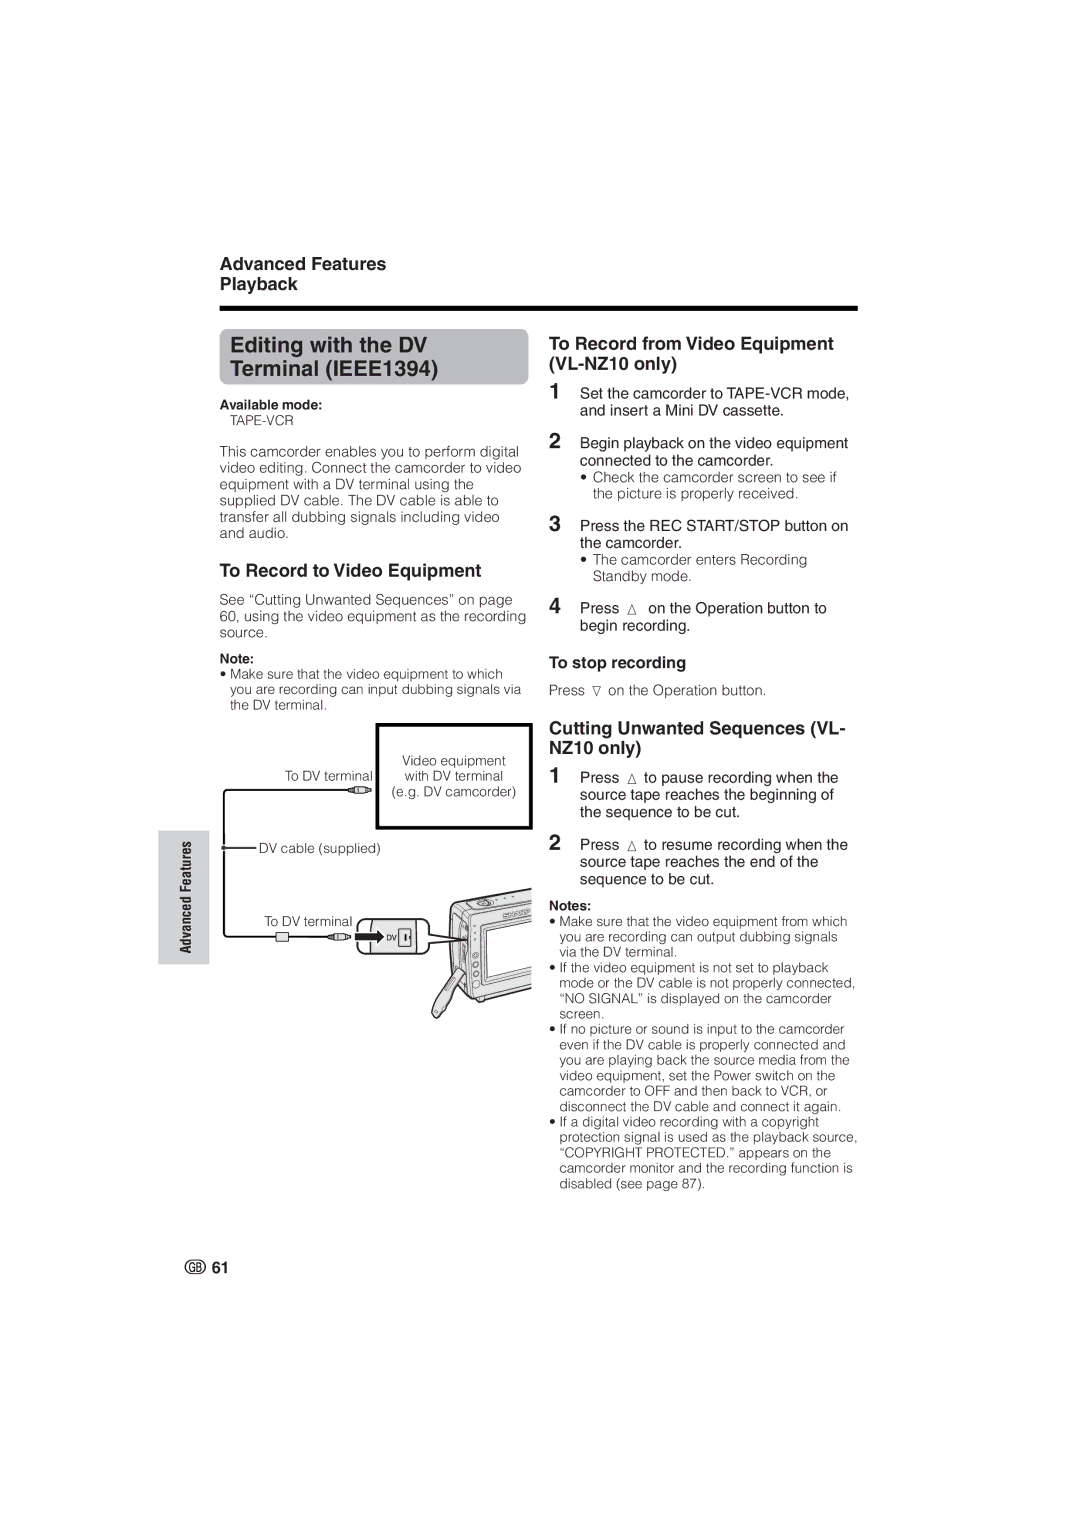
To DV terminal | Video equipment |
with DV terminal | |
| (e.g. DV camcorder) |
![]() DV cable (supplied)
DV cable (supplied)
To DV terminal
Cutting Unwanted Sequences (VL- NZ10 only)
1Press m to pause recording when the source tape reaches the beginning of the sequence to be cut.
2Press m to resume recording when the source tape reaches the end of the sequence to be cut.
Notes:
•Make sure that the video equipment from which you are recording can output dubbing signals via the DV terminal.
•If the video equipment is not set to playback mode or the DV cable is not properly connected, “NO SIGNAL” is displayed on the camcorder screen.
•If no picture or sound is input to the camcorder even if the DV cable is properly connected and you are playing back the source media from the video equipment, set the Power switch on the camcorder to OFF and then back to VCR, or disconnect the DV cable and connect it again.
•If a digital video recording with a copyright protection signal is used as the playback source, “COPYRIGHT PROTECTED.” appears on the camcorder monitor and the recording function is disabled (see page 87).
![]() 61
61