ENTRETIEN _i.............................

risques

_li DANGER! Pour reduire les

de decharge electrique :

Debranchez le cable d'alimentation avant d'entreprendre toute op6ration d'entretien.

NETTOYAGE

L'accumulation de peluches et de fibres de tissu dans le crochet perturbe le fonctionnement r6gulier de la machine. Verifiez donc le crochet r6guli@ement et nettoyez le m6canisme de couture a chaque fois que c'est n_cessaire.

A. Boitier de canette

Retirez le couvercle de la canette et la canette.

Nettoyez le bo'_tierde canette a I'aided'une brosse.

B.Entretien du crochet et des griffes d'entrainement

1.Retirez I'aiguille, le pied presseur et son support. Retirez le couvercle de la canette et la canette. Retirez les vis retenant la plaque aiguille.

2.Retirez la plaque a aiguille en soulevant le c6t6 droit de la plaque.

3.Soulevez le bo;tier de canette et retirezde.

4.Nettoyez le crochet, les griffes et le boTtier de canette 9 I'aided'une brosse. Vous pouvez aussi les entretenir en utilisant un chiffon doux et sec.

5.Remettez le bottier de canette en place dans le crochet de fagon B ce que le taquet (a) s'enclenche dans I'arr6toir (b) comme illustr6.

6.Replacez la plaque a aiguille en ins@ant le crochet dans la machine. Resserrez les vis.

Remarque :

*La machine est 6quip6e de lampes LED qui 6clairent la zone de couture. Celles-ci n'ont pas

besoin d'6tre remplac6es. Dans le cas peu probable oQ elles ne s'allumeraient pas, contactez votre distributeur.

* II n'estpas n6cessaire de lubrifier la machine.

MANTENIMIENTO

_

PELIGRO:

Para

reducir

el riesgo de I


descarga

electrica.


I

Desconecte el enchufe de

la toma

de corriente

I

antes de Ilevar a cabo ninguna labor de


mantenimiento.


]

LIMPIEZA

La acumulaci6n de polvo o hilachas en el garfio puede interferir en el funcionamiento suave de la

maquina. Revise la maquina regularmente y limpie el mecanismo de costura cuando sea necesario.

A.Capsula de la canilla

Retire la cubierta de la canilla y la canilla. Limpie la capsula de la canilla con un cepillo.

B.Recorrido del garfio y arrastre

1.Retire la aguja, el prensatelas y el portaprensatelas. Retire la cubierta de la canilla y la canilla. Retire los dos tornillos sujetando la placa de la aguja.

2.Retire la placa de la aguja levantando el lado derecho de la placa.

3.Levante la capsula de la canilla y quitela.

4.Limpie el recorrido del garfio, los transportadores y la capsula de la canilla con un cepillo. Tambien puede usar un trapo suave y seco.

5.Vuelva a colocar la capsula de la canilla en el recorrido del garfio de forma que el saliente (a) encaje en el tope (b) como se muestra en el dibujo.

6.Vuelva a colocar la placa de la aguja insertando el garfio en la maquina. Vuelva a apretar los tornillos.

Notas:

*Esta m_quina utiliza bombillas de LED para iluminar la zona de puntadas. No requieren recambio. En el caso improbable de que no iluminen, consulte a su distribuidor sobre c6mo proceder.

*No es necesario lubricar esta maquina.

81

Page 81
Image 81
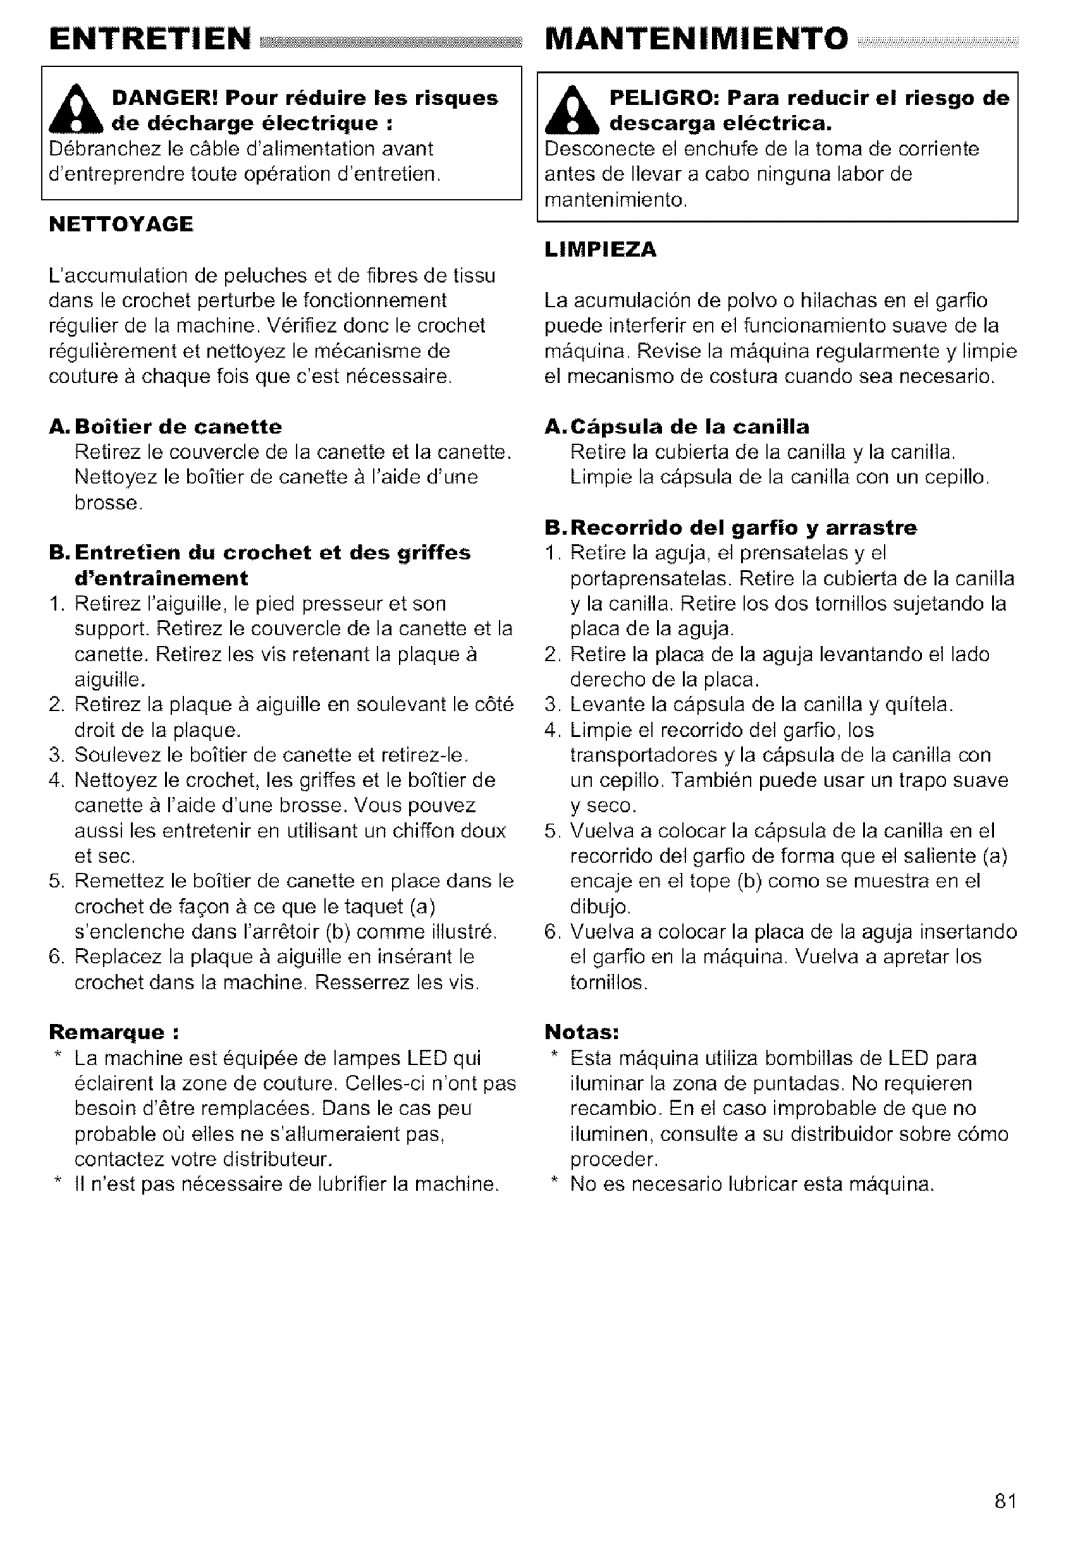
Singer MODEL 9920 instruction manual Mantenimiento, Nettoyage, Peligro, Limpieza

MODEL 9920 specifications

The Singer MODEL 9920 is a versatile and advanced sewing machine that caters to both beginner and experienced sewists. Renowned for its reliability and user-friendly features, the 9920 stands out in the market for its ability to handle a wide range of sewing tasks, making it a popular choice among hobbyists and professionals alike.

One of the key features of the Singer MODEL 9920 is its extensive selection of built-in stitches. With 600 stitch options, including utility, decorative, and stretch stitches, users have the flexibility to choose the perfect stitch for any project. Additionally, the machine offers unique stitch combinations, allowing for creative expression and customization in sewing projects.

The Singer MODEL 9920 is equipped with an automatic needle threader, a feature that simplifies the sewing process by allowing users to thread the needle with minimal effort. This is particularly useful for those who may struggle with manual threading, making the machine more accessible to all skill levels. Furthermore, the adjustable presser foot pressure allows sewists to work with a variety of fabric types, from lightweight materials to thick, heavy fabrics, providing versatility in sewing applications.

One of the standout technologies in the Singer MODEL 9920 is the computerized interface. The intuitive LCD screen displays stitch options, settings, and helpful information, making it easy for users to select and adjust their preferred stitches. With the touch of a button, users can quickly navigate through the different functions and settings, enhancing the overall sewing experience.

The sewing machine also features a drop-in bobbin system, which ensures easy bobbin installation and smooth, consistent stitching. This system minimizes bobbin jams and allows for quick bobbin changes, making the sewing process more efficient. Additionally, the Singer MODEL 9920 has a variety of included accessories, such as multiple presser feet, a seam ripper, and a quick start guide, ensuring that users have everything they need to get started right out of the box.

The Singer MODEL 9920 is designed with user comfort in mind. Its lightweight design makes it portable, ideal for classes or sewing groups. The built-in carrying handle contributes to its ease of transport, while the machine's quiet operation allows for a pleasant sewing experience.

Overall, the Singer MODEL 9920 encapsulates the perfect blend of advanced technology and user-friendly design, making it a remarkable choice for anyone looking to enhance their sewing skills and explore their creativity. With its extensive features, dependable performance, and thoughtful design, the Singer MODEL 9920 is a valuable addition to any sewing enthusiast’s toolkit.