3.PARTS REPLACEMENT
This section describes the procedure for replacing the parts, assemblies and units in the field. The replacing procedure is given for detachment. To attach, use the reverse procedure.
3.1Precautions in Replacing Parts
(1)Before replacing the parts, be sure to remove the AC cable and the interface cable.
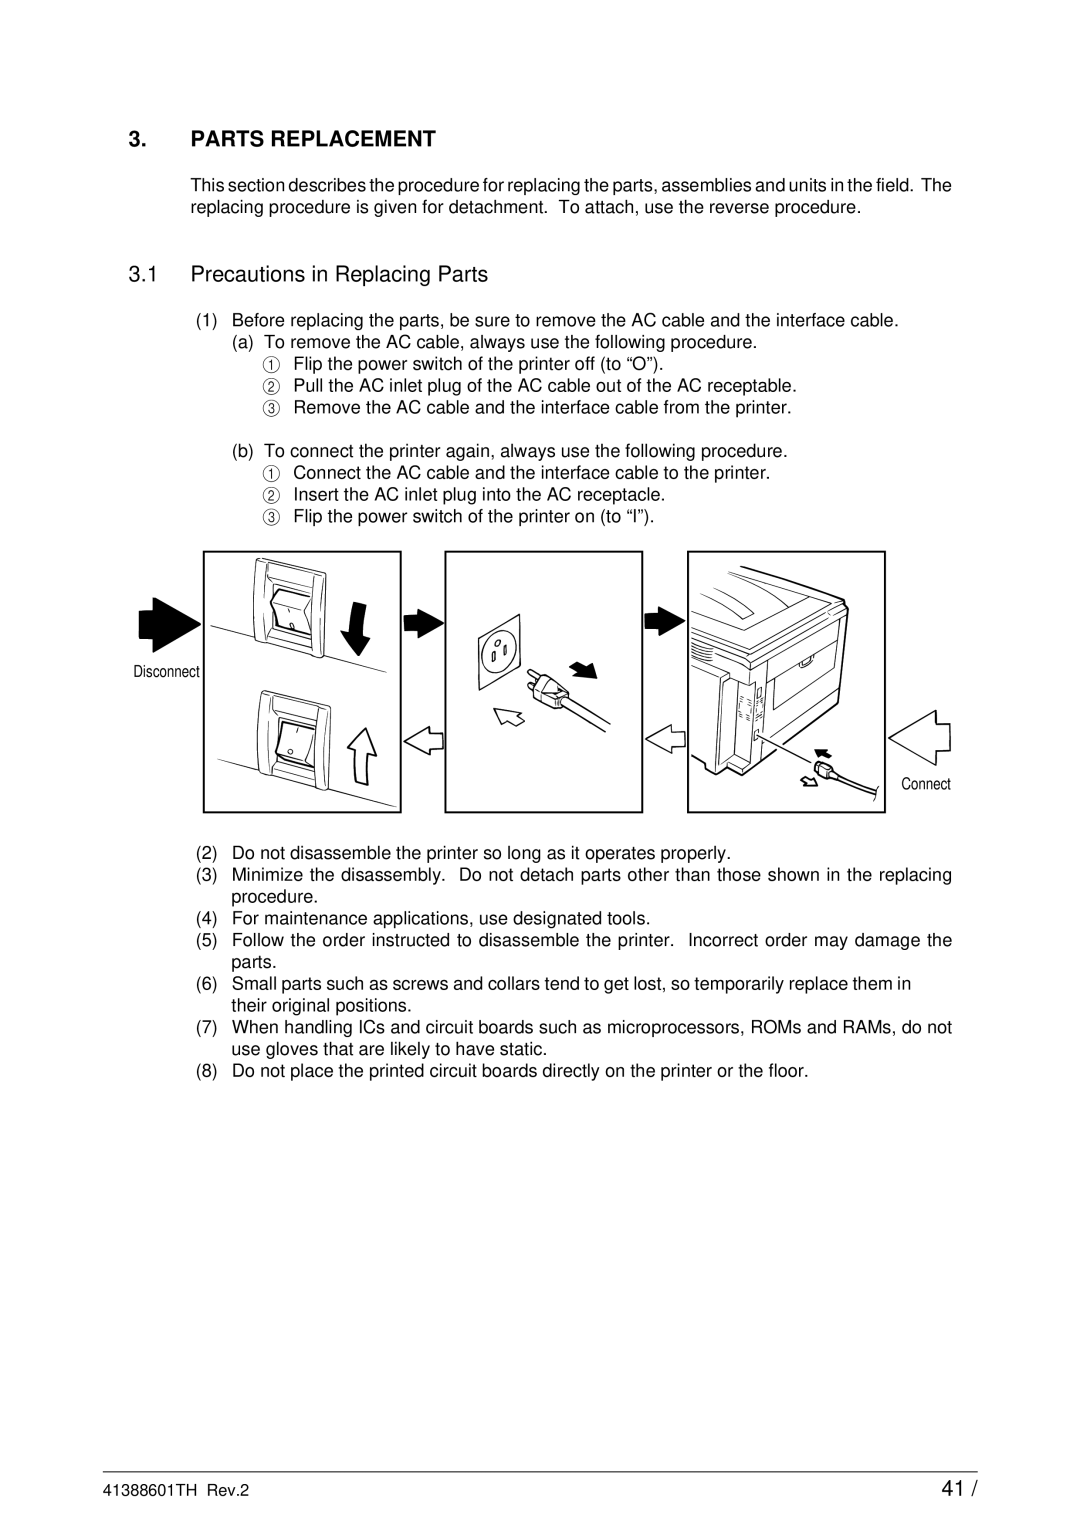
(a)To remove the AC cable, always use the following procedure.
1 Flip the power switch of the printer off (to “O”).
2 Pull the AC inlet plug of the AC cable out of the AC receptable. 3 Remove the AC cable and the interface cable from the printer.
(b)To connect the printer again, always use the following procedure. 1 Connect the AC cable and the interface cable to the printer. 2 Insert the AC inlet plug into the AC receptacle.
3 Flip the power switch of the printer on (to “I”).
Disconnect |
Connect |
(2)Do not disassemble the printer so long as it operates properly.
(3)Minimize the disassembly. Do not detach parts other than those shown in the replacing procedure.
(4)For maintenance applications, use designated tools.
(5)Follow the order instructed to disassemble the printer. Incorrect order may damage the parts.
(6)Small parts such as screws and collars tend to get lost, so temporarily replace them in their original positions.
(7)When handling ICs and circuit boards such as microprocessors, ROMs and RAMs, do not use gloves that are likely to have static.
(8)Do not place the printed circuit boards directly on the printer or the floor.
41388601TH Rev.2 | 41 / |