Configuring printer settings
If you cannot connect the parallel port printer to the port replicator after following the instructions in To connect a parallel port printer, you may need to manually configure your printer settings. The following instructions explain how to configure your settings and complete the installation of your printer.
To configure printer settings for a parallel port printer
1.Plug the printer cable into the Printer port ![]() on your port replicator.
on your port replicator.
2.Plug the other end of the printer cable into the port on the printer.
3.Turn the printer on, if it is not already on.
4.Click Start, and select Control Panel, Printers and Other Hardware, and then Add a Printer.
5.When the Add Printer Wizard appears, click Next to start the installation process.
6.Select the Local printer attached to this computer option, if it is not already selected, and deselect the
Automatically detect and install my Plug and Play printer option. Click Next.
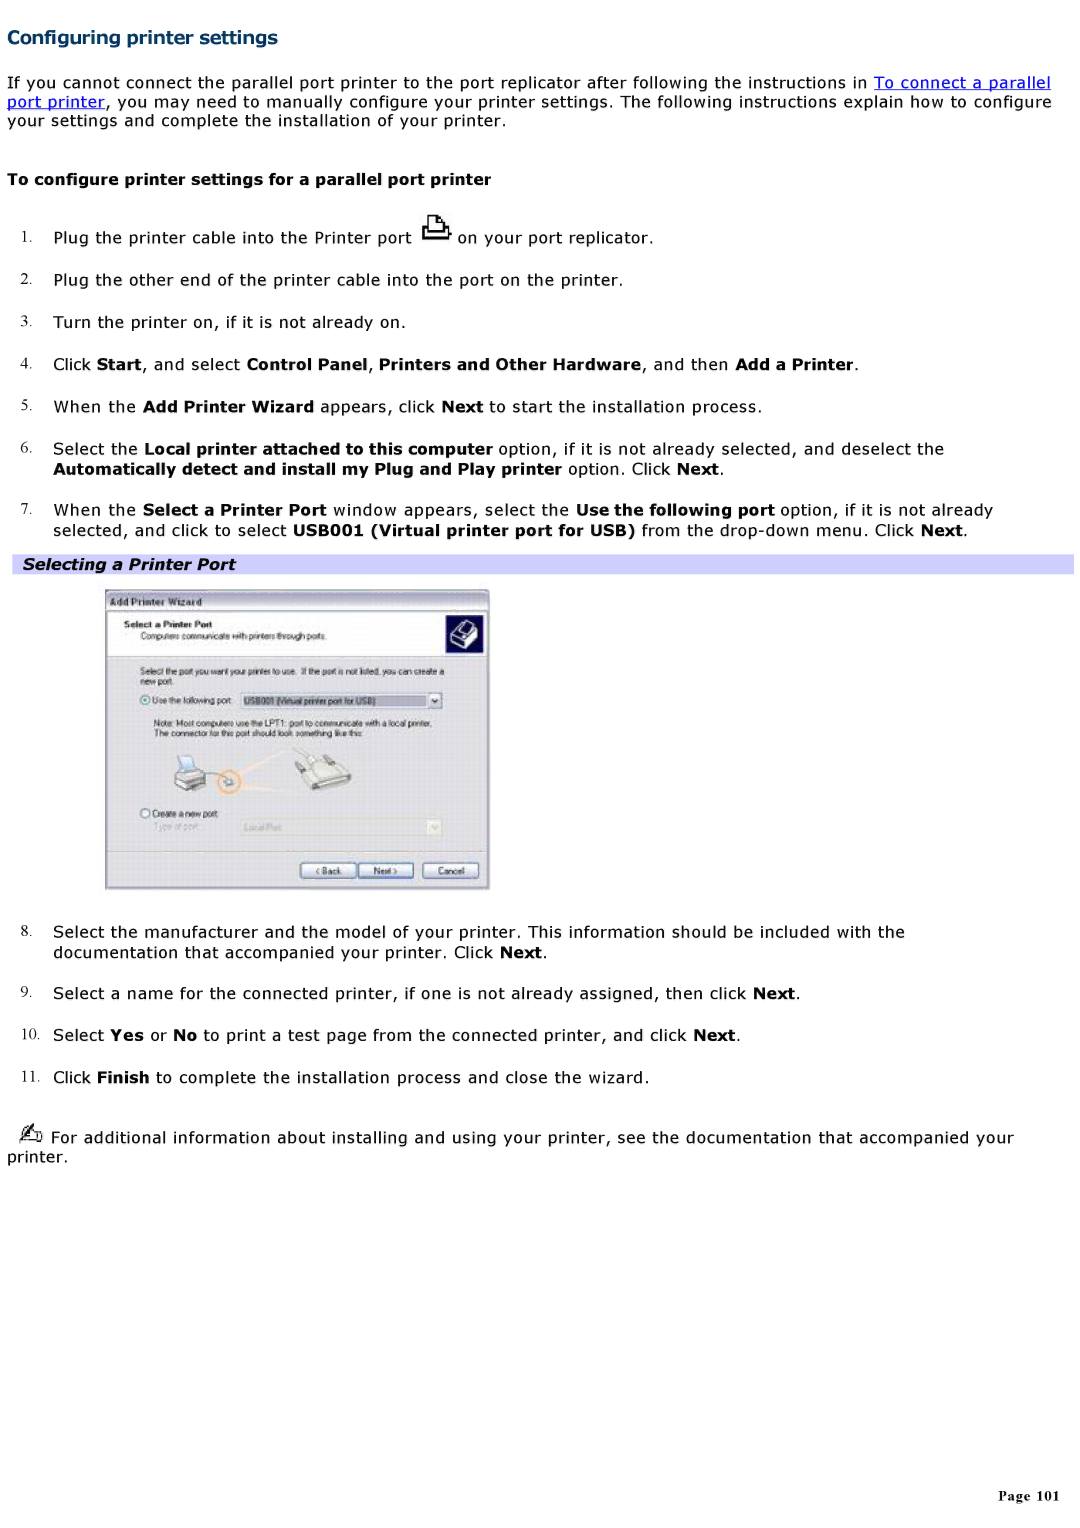
7.When the Select a Printer Port window appears, select the Use the following port option, if it is not already selected, and click to select USB001 (Virtual printer port for USB) from the
Selecting a Printer Port
8.Select the manufacturer and the model of your printer. This information should be included with the documentation that accompanied your printer. Click Next.
9.Select a name for the connected printer, if one is not already assigned, then click Next.
10.Select Yes or No to print a test page from the connected printer, and click Next.
11.Click Finish to complete the installation process and close the wizard.
![]() For additional information about installing and using your printer, see the documentation that accompanied your printer.
For additional information about installing and using your printer, see the documentation that accompanied your printer.
Page 101
