❏
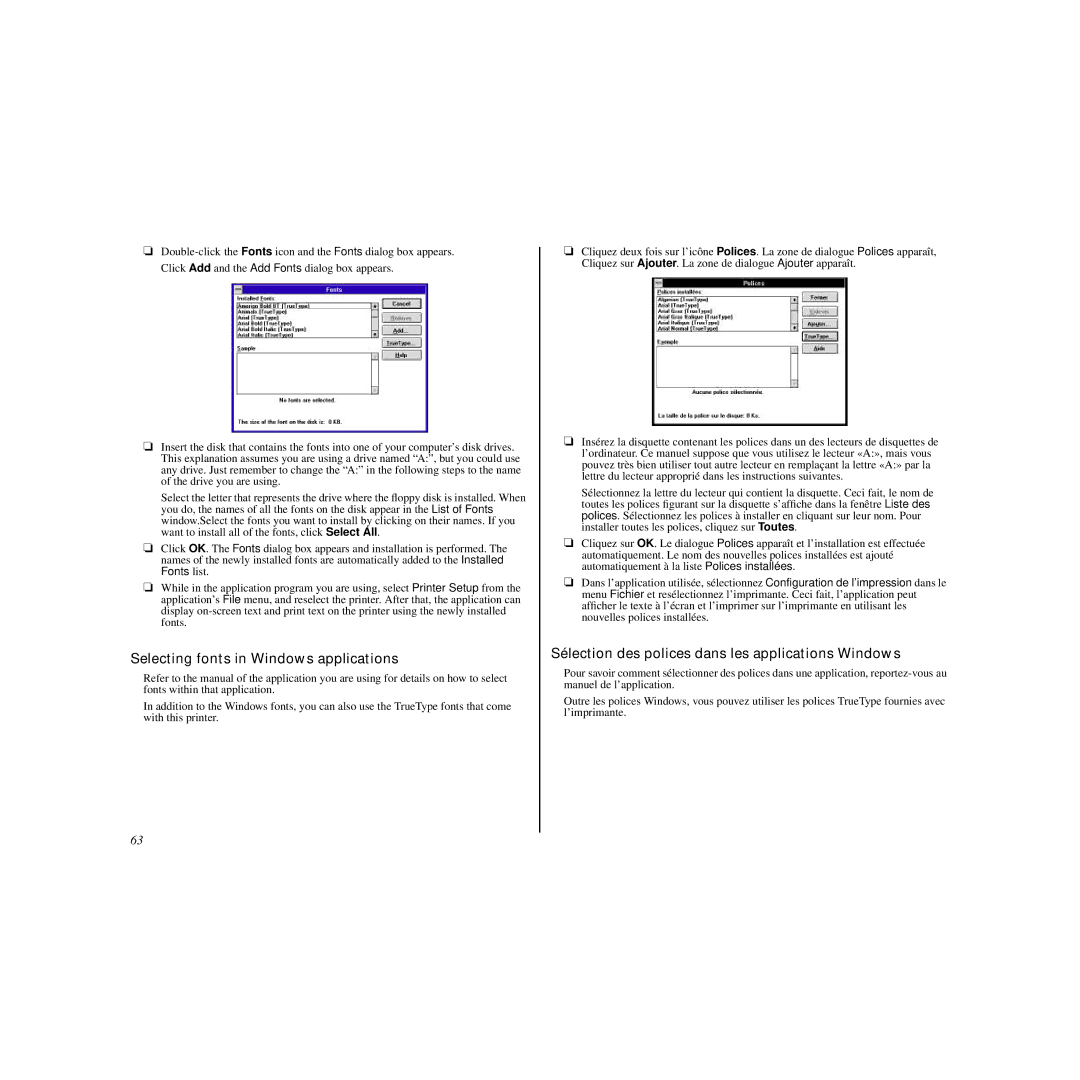
❏Insert the disk that contains the fonts into one of your computer’s disk drives. This explanation assumes you are using a drive named “A:”, but you could use any drive. Just remember to change the “A:” in the following steps to the name of the drive you are using.
Select the letter that represents the drive where the flopp y disk is installed. When you do, the names of all the fonts on the disk appear in the List of Fonts window.Select the fonts you want to install by clicking on their names. If you want to install all of the fonts, click Select All.
❏Click OK. The Fonts dialog box appears and installation is performed. The names of the newly installed fonts are automatically added to the Installed Fonts list.
❏While in the application program you are using, select Printer Setup from the application’s File menu, and reselect the printer. After that, the application can display
Selecting fonts in Windows applications
Refer to the manual of the application you are using for details on how to select fonts within that application.
In addition to the Windows fonts, you can also use the TrueType fonts that come with this printer.
❏Cliquez deux fois sur l’icône Polices. La zone de dialogue Polices apparaît, Cliquez sur Ajouter. La zone de dialogue Ajouter apparaît.
❏Insérez la disquette contenant les polices dans un des lecteurs de disquettes de l’ordinateur. Ce manuel suppose que vous utilisez le lecteur «A:», mais vous pouvez très bien utiliser tout autre lecteur en remplaçant la lettre «A:» par la lettre du lecteur approprié dans les instructions suivantes.
Sélectionnez la lettre du lecteur qui contient la disquette. Ceci fait, le nom de toutes les polices figurant sur la disquette s’affiche dans la fenêtre Liste des polices. Sélectionnez les polices à installer en cliquant sur leur nom. Pour installer toutes les polices, cliquez sur Toutes.
❏Cliquez sur OK. Le dialogue Polices apparaît et l’installation est effectuée automatiquement. Le nom des nouvelles polices installées est ajouté automatiquement à la liste Polices installées.
❏ Dans l’application utilisée, sélectionnez Configuration de l’impression dans le menu Fichier et resélectionnez l’imprimante. Ceci fait, l’application peut afficher le texte à l’écran et l’imprimer sur l’imprimante en utilisant les nouvelles polices installées.
Sélection des polices dans les applications Windows
Pour savoir comment sélectionner des polices dans une application,
Outre les polices Windows, vous pouvez utiliser les polices TrueType fournies avec l’imprimante.
63