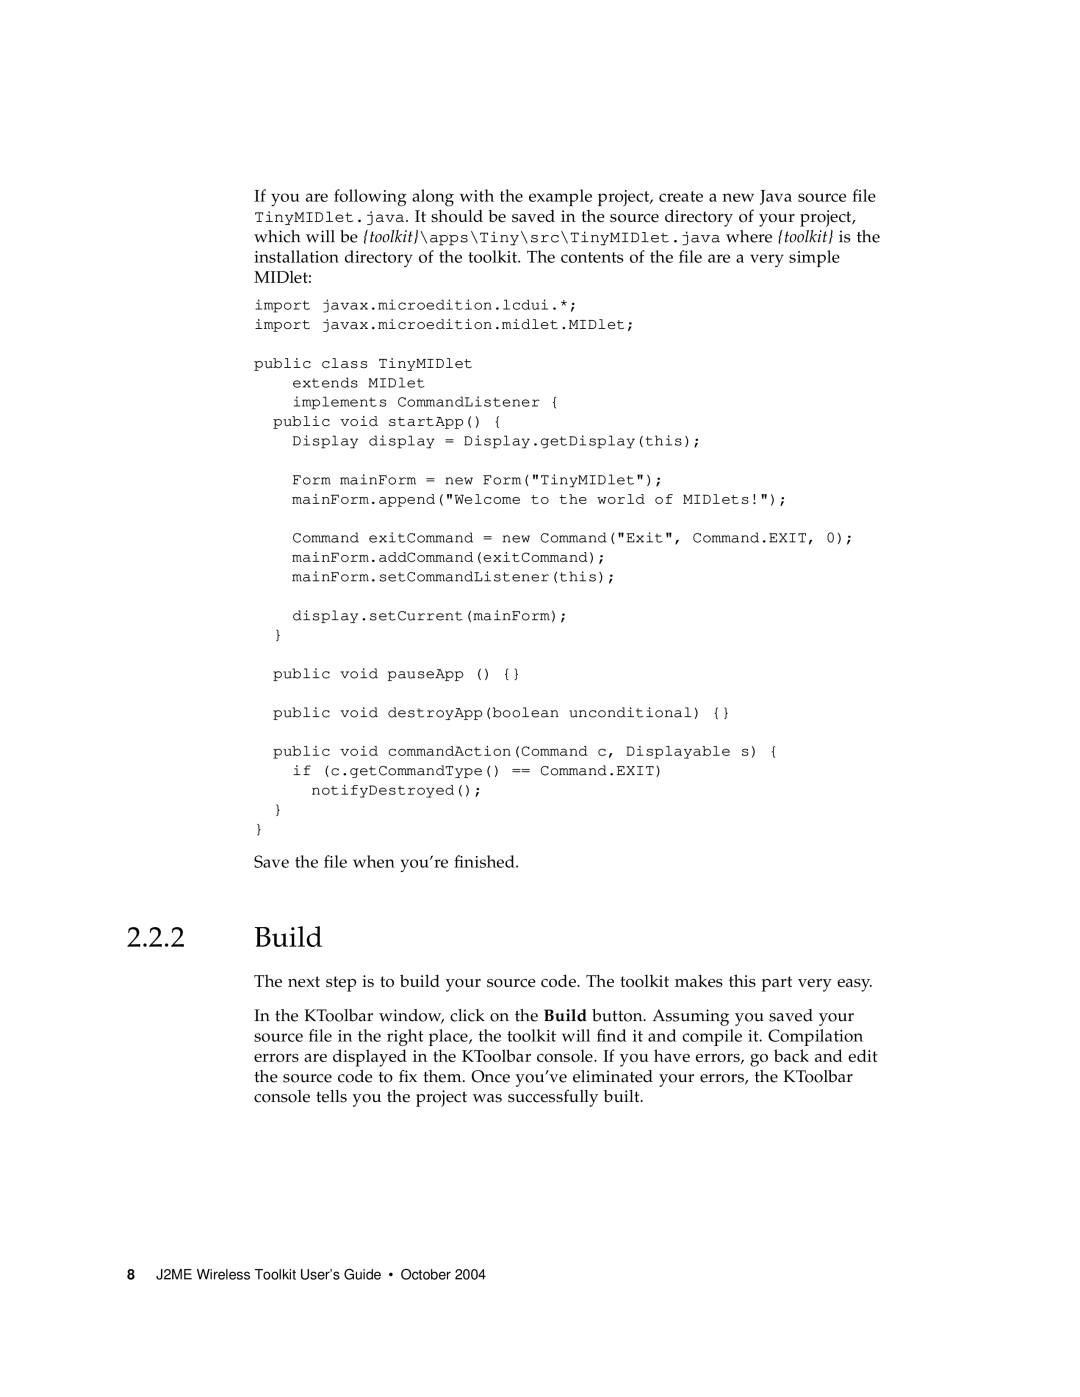
If you are following along with the example project, create a new Java source file TinyMIDlet.java. It should be saved in the source directory of your project, which will be {toolkit}\apps\Tiny\src\TinyMIDlet.java where {toolkit} is the installation directory of the toolkit. The contents of the file are a very simple MIDlet:
import javax.microedition.lcdui.*; import javax.microedition.midlet.MIDlet;
public class TinyMIDlet extends MIDlet
implements CommandListener { public void startApp() {
Display display = Display.getDisplay(this);
Form mainForm = new Form("TinyMIDlet"); mainForm.append("Welcome to the world of MIDlets!");
Command exitCommand = new Command("Exit", Command.EXIT, 0); mainForm.addCommand(exitCommand); mainForm.setCommandListener(this);
display.setCurrent(mainForm);
}
public void pauseApp () {}
public void destroyApp(boolean unconditional) {}
public void commandAction(Command c, Displayable s) { if (c.getCommandType() == Command.EXIT)
notifyDestroyed();
}
}
Save the file when you’re finished.
2.2.2Build
The next step is to build your source code. The toolkit makes this part very easy.
In the KToolbar window, click on the Build button. Assuming you saved your source file in the right place, the toolkit will find it and compile it. Compilation errors are displayed in the KToolbar console. If you have errors, go back and edit the source code to fix them. Once you’ve eliminated your errors, the KToolbar console tells you the project was successfully built.
8 J2ME Wireless Toolkit User’s Guide • October 2004
