4 Guest Additions
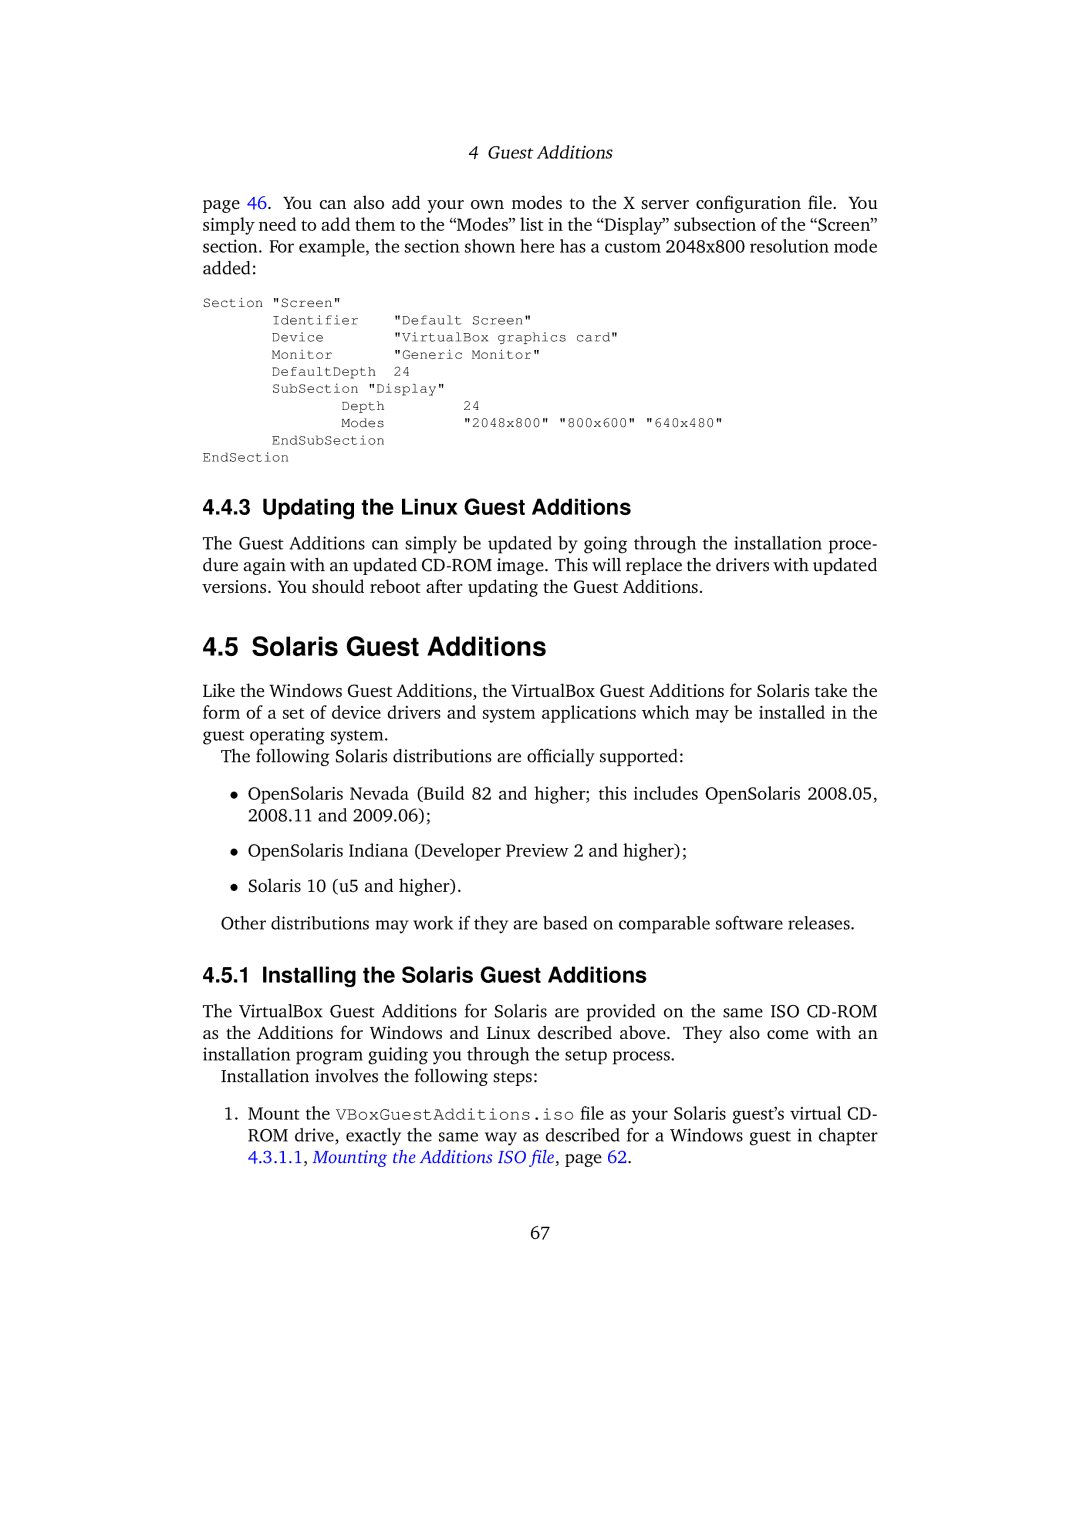
page 46. You can also add your own modes to the X server configuration file. You simply need to add them to the “Modes” list in the “Display” subsection of the “Screen” section. For example, the section shown here has a custom 2048x800 resolution mode added:
Section "Screen" |
|
Identifier | "Default Screen" |
Device | "VirtualBox graphics card" |
Monitor | "Generic Monitor" |
DefaultDepth | 24 |
SubSection "Display" | |
Depth | 24 |
Modes | "2048x800" "800x600" "640x480" |
EndSubSection |
|
EndSection |
|
4.4.3 Updating the Linux Guest Additions
The Guest Additions can simply be updated by going through the installation proce- dure again with an updated
4.5 Solaris Guest Additions
Like the Windows Guest Additions, the VirtualBox Guest Additions for Solaris take the form of a set of device drivers and system applications which may be installed in the guest operating system.
The following Solaris distributions are officially supported:
•OpenSolaris Nevada (Build 82 and higher; this includes OpenSolaris 2008.05, 2008.11 and 2009.06);
•OpenSolaris Indiana (Developer Preview 2 and higher);
•Solaris 10 (u5 and higher).
Other distributions may work if they are based on comparable software releases.
4.5.1 Installing the Solaris Guest Additions
The VirtualBox Guest Additions for Solaris are provided on the same ISO
Installation involves the following steps:
1.Mount the VBoxGuestAdditions.iso file as your Solaris guest’s virtual CD- ROM drive, exactly the same way as described for a Windows guest in chapter 4.3.1.1, Mounting the Additions ISO file, page 62.
67
