4 − Basic operations
Adjusting the input level
The input level is adjustable for all inputs (analog or digital), regardless of the current selection.
The balance between the left and right channels of the input may also be set.
For optimum sonic quality, it is also possible to bypass the input level and balance circuitry.
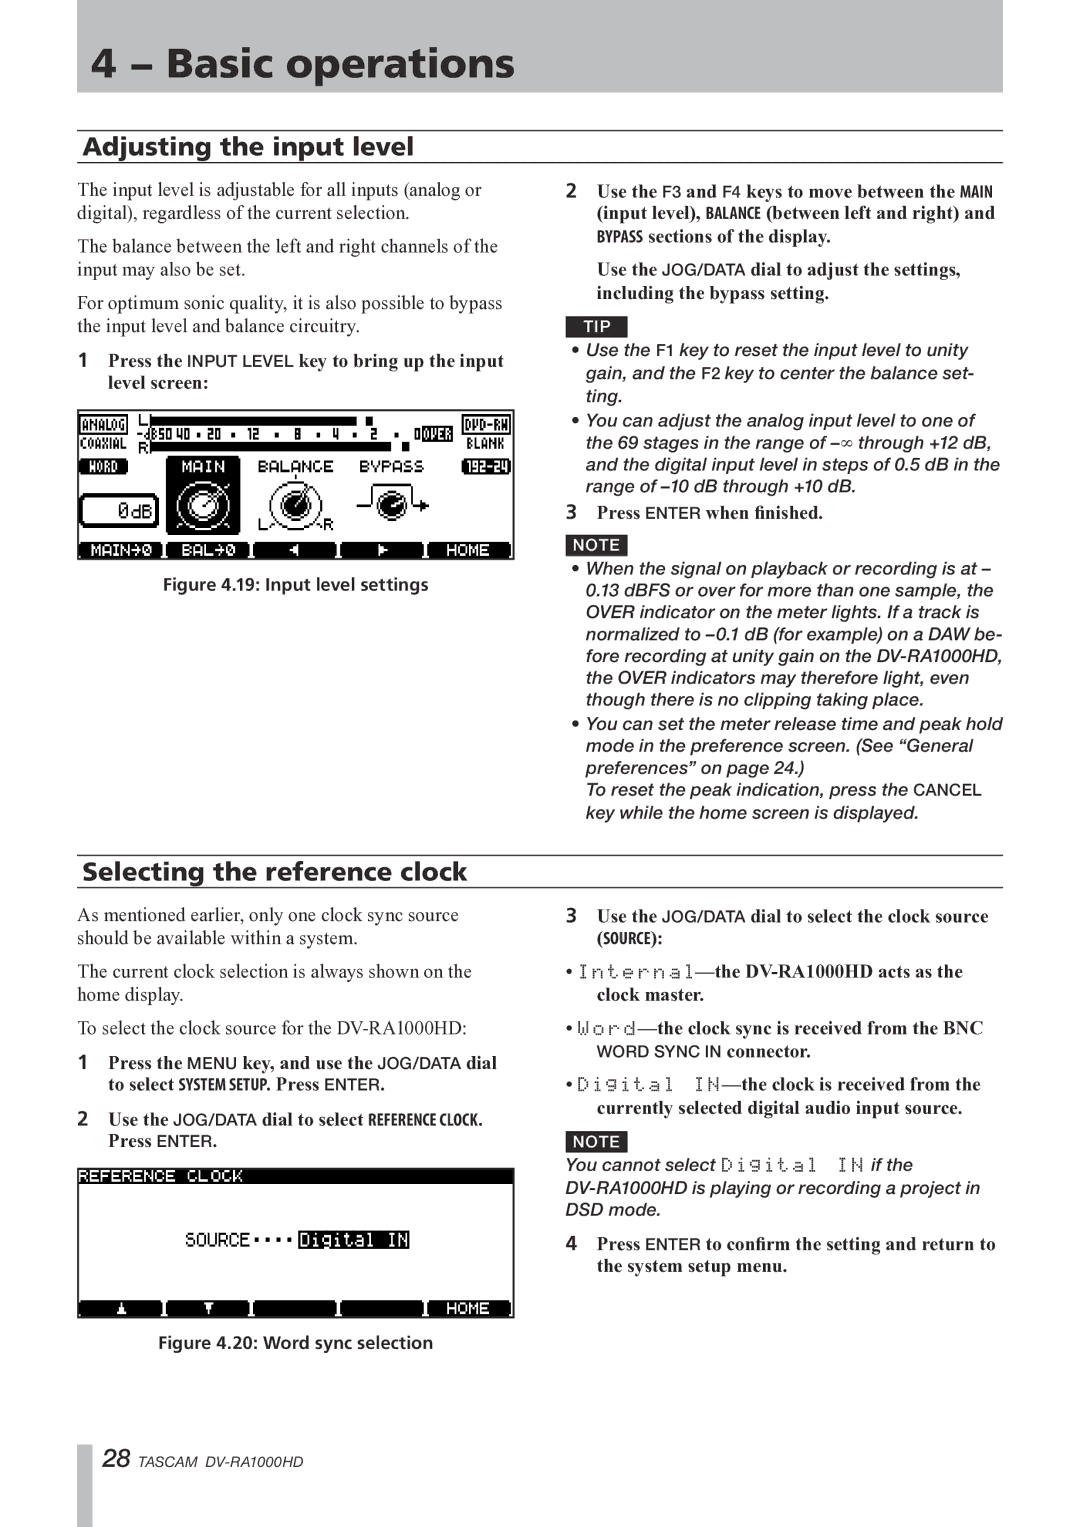
1Press the INPUT LEVEL key to bring up the input level screen:
Figure 4.19: Input level settings
2Use the F3 and F4 keys to move between the MAIN (input level), BALANCE (between left and right) and BYPASS sections of the display.
Use the JOG/DATA dial to adjust the settings, including the bypass setting.
TIP
•Use the F1 key to reset the input level to unity gain, and the F2 key to center the balance set- ting.
•You can adjust the analog input level to one of the 69 stages in the range of
3Press ENTER when finished.
NOTE
•When the signal on playback or recording is at – 0.13 dBFS or over for more than one sample, the OVER indicator on the meter lights. If a track is normalized to
•You can set the meter release time and peak hold mode in the preference screen. (See “General preferences” on page 24.)
To reset the peak indication, press the CANCEL key while the home screen is displayed.
Selecting the reference clock
As mentioned earlier, only one clock sync source should be available within a system.
The current clock selection is always shown on the home display.
To select the clock source for the
1Press the MENU key, and use the JOG/DATA dial to select SYSTEM SETUP. Press ENTER.
2Use the JOG/DATA dial to select REFERENCE CLOCK. Press ENTER.
3Use the JOG/DATA dial to select the clock source (SOURCE):
•
•
WORD SYNC IN connector.
•Digital
NOTE
You cannot select Digital IN if the
4Press ENTER to confirm the setting and return to the system setup menu.
Figure 4.20: Word sync selection
28 TASCAM