The
•DVD to HDD (Copying files and projects from a DVD to the HD)
•HDD to DVD (Copying files and projects from the HD to a DVD)
•HDD to CD (Creating an audio CD using a project on the HD)
7 − Copy function
•CD to HDD (Copying tracks from a CD to the HD)
You can use the copy functions with DVD±RW discs as well as DVD±R discs.
NOTE
Refer to “9 – Use with a computer” on page 59 for information on copying files between the computer and the HD of
Selecting a copy mode and copy source
The following procedure is common to all copy func- tions.
Select a copy mode, then select a copy source (project or file). If a project in the copy destination uses the same name as the selected source project, select to indi- cate whether you wish to overwrite the existing project or cancel the copy operation.
1Select the COPY
The
press the ENTER key. (To change the disc, press the CANCEL key. The
If an inserted disc is not compatible, the tray opens, and a popup message requests that you insert another disc.
4The
Figure 7.1: Copy menu screen
2Select a desired copy mode, then press the ENTER key.
If a compatible copy source or destination disc has already been inserted into the tray, a popup message requests confirmation. Press the ENTER key.
If a compatible copy source or destination disc is not inserted into the tray, or if you press the
CANCEL key at the confirmation popup message, the disc tray automatically opens and a popup message requests that you insert a copy source disc into the tray.
3Insert a copy source or destination disc (depend- ing on the copy mode) into the tray, then press the ENTER key.
The
If you insert an unsupported disc, an error mes- sage appears. To continue the copy operation,
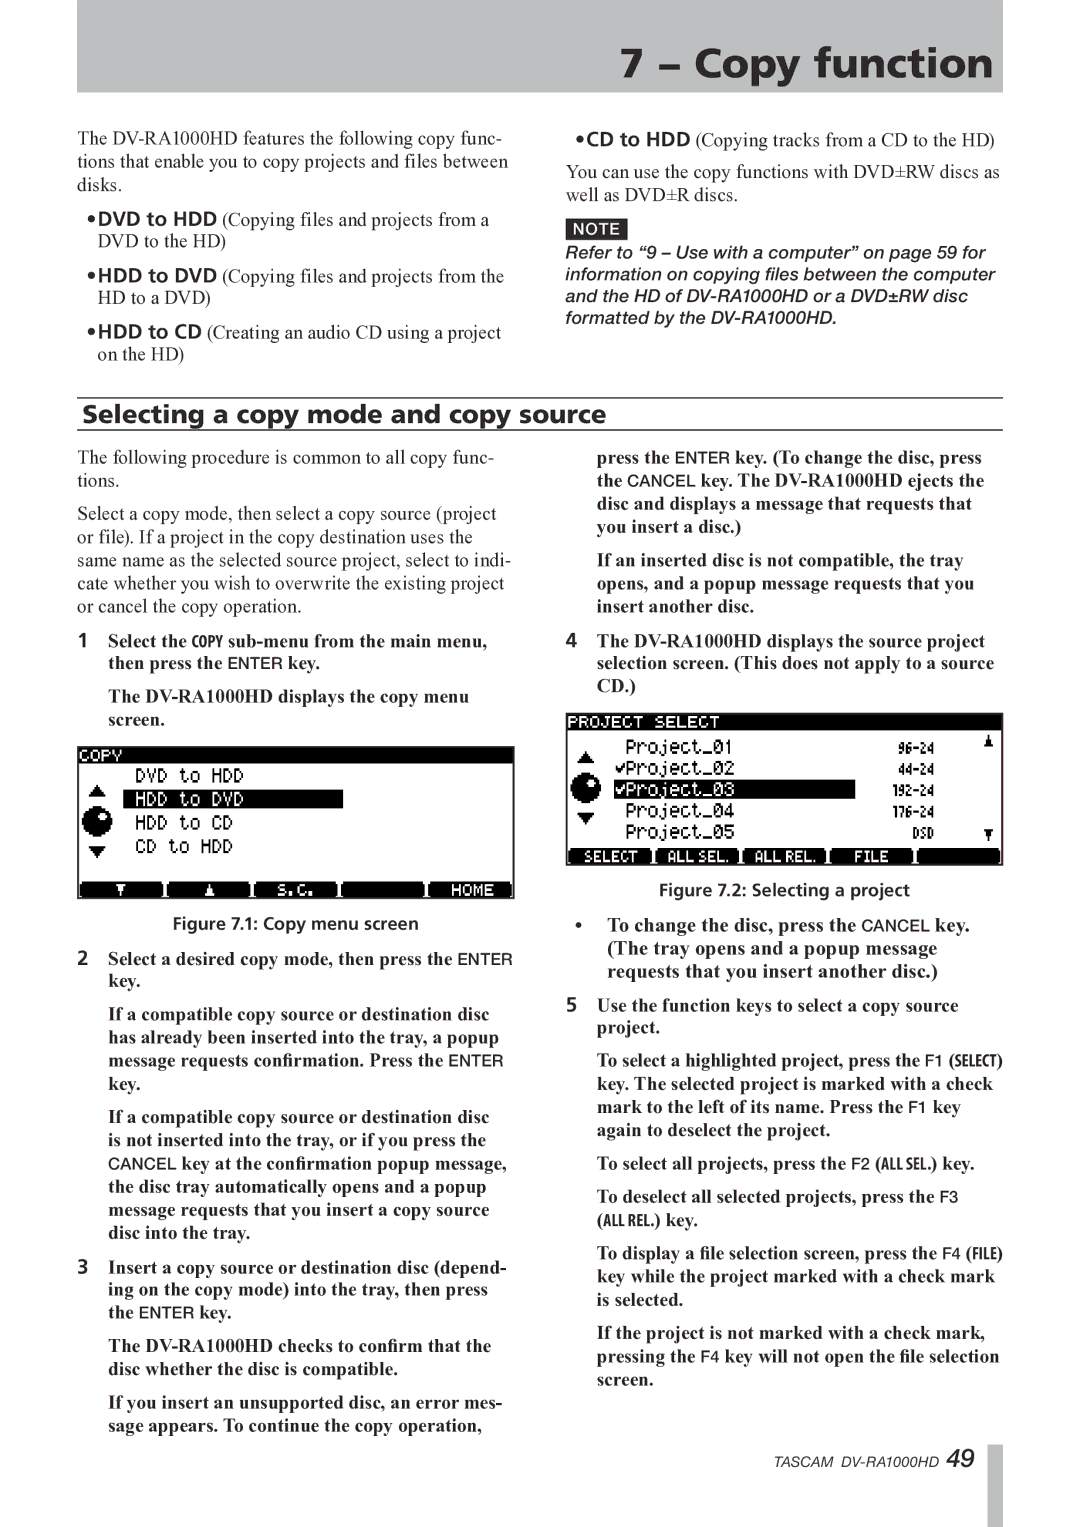
Figure 7.2: Selecting a project
•To change the disc, press the CANCEL key. (The tray opens and a popup message requests that you insert another disc.)
5Use the function keys to select a copy source project.
To select a highlighted project, press the F1 (SELECT) key. The selected project is marked with a check mark to the left of its name. Press the F1 key again to deselect the project.
To select all projects, press the F2 (ALL SEL.) key.
To deselect all selected projects, press the F3
(ALL REL.) key.
To display a file selection screen, press the F4 (FILE) key while the project marked with a check mark is selected.
If the project is not marked with a check mark, pressing the F4 key will not open the file selection screen.
TASCAM