
RAV-SM800BT-E, RAV-SM560BT-E, RAV-SM560AT-E, RAV-SM560UT-E, RAV-SM800UT-E specifications
Toshiba offers a range of innovative air conditioning units designed for optimal performance and efficiency, including the RAV-SM800UT-E, RAV-SM560UT-E, RAV-SM800AT-E, RAV-SM560BT-E, and RAV-SM800BT-E models. Each of these units is part of Toshiba's commitment to quality air conditioning solutions that cater to both residential and commercial spaces.The RAV-SM800UT-E and RAV-SM800AT-E models are notable for their impressive cooling and heating capacities, making them ideal for larger spaces. They feature advanced inverter technology, which adjusts the compressor's speed to maintain a consistent temperature while reducing energy consumption. This not only ensures comfort but also translates into significant energy savings over time.
In terms of design, these models benefit from Toshiba's sleek and modern aesthetics, allowing them to blend seamlessly into various interior styles. The noise levels are remarkably low, thanks to Toshiba's engineering, making these units suitable for use in environments where quiet operation is paramount, such as offices and bedrooms.
The RAV-SM560UT-E and RAV-SM560BT-E models offer similar performance but are tailored for smaller spaces without compromising on efficiency. They include features such as multilayer air filtration systems that effectively remove dust, allergens, and other pollutants, ensuring a healthier indoor air environment. Furthermore, they come equipped with intelligent control options, allowing users to operate the units remotely via smartphone applications.
Another standout characteristic of the RAV-SM800BT-E is its ability to provide both cooling and heating, making it a versatile option throughout the year. These units utilize R32 refrigerant, which has a lower global warming potential compared to traditional refrigerants, aligning with Toshiba's commitment to sustainability.
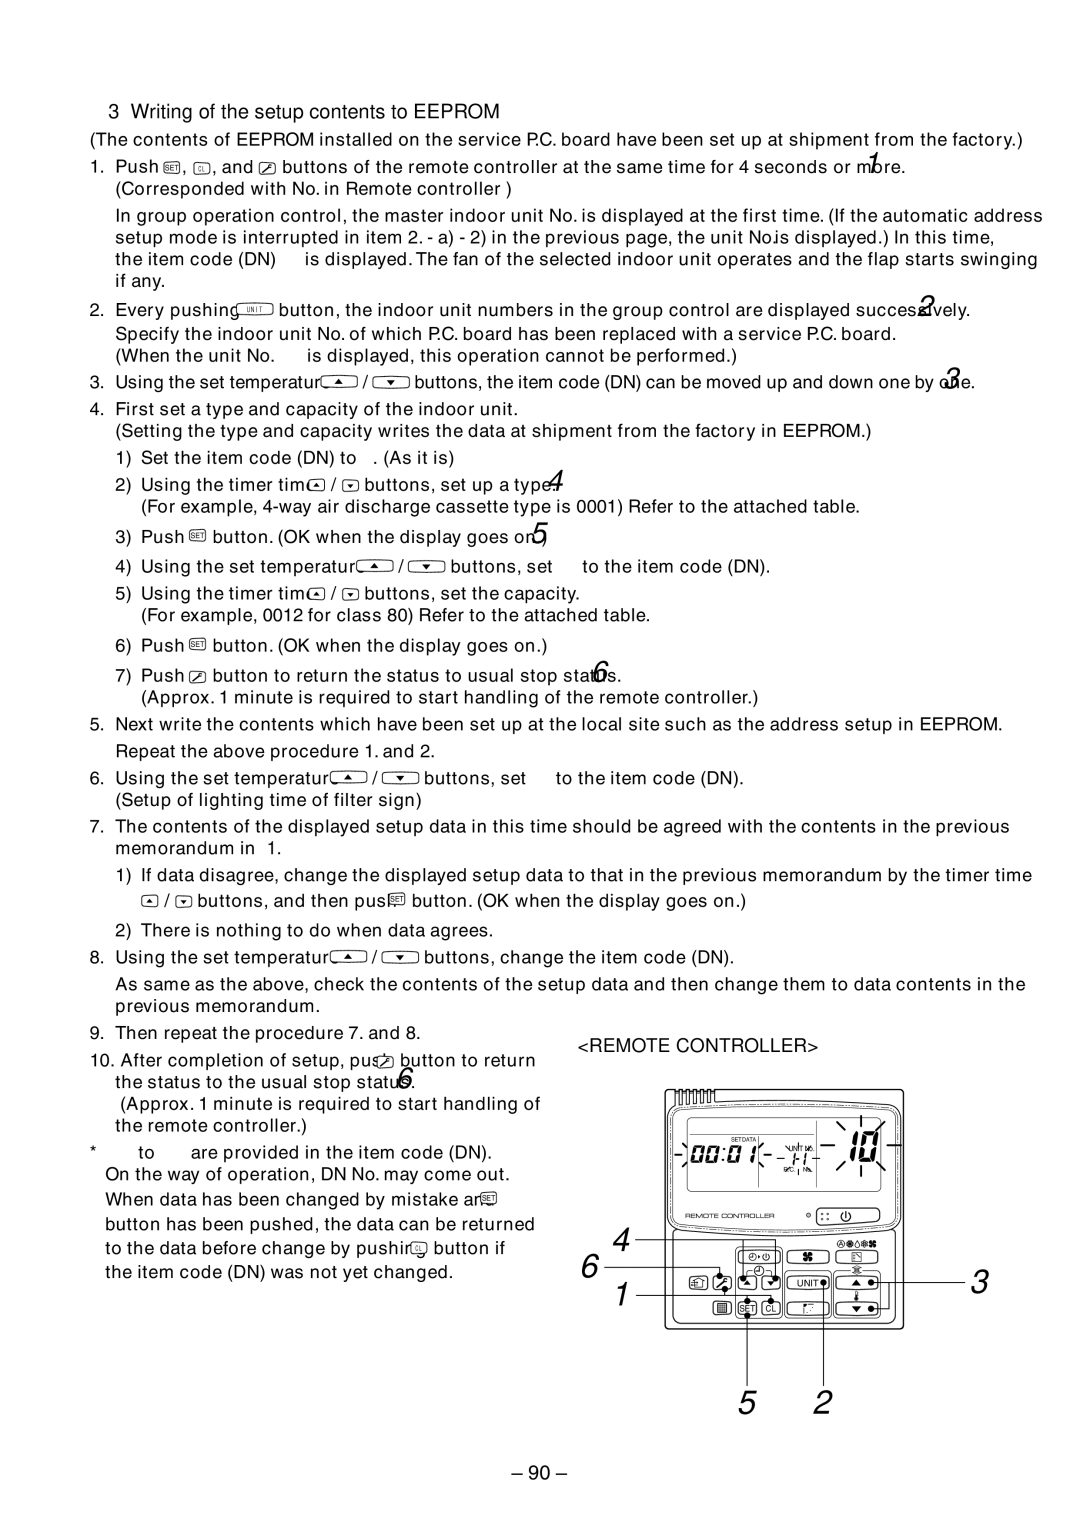
Each of these models is designed for easy installation and maintenance, featuring a user-friendly interface and robust build quality. The advanced diagnostics feature allows for timely troubleshooting and maintenance, ensuring the longevity of the units.
In summary, Toshiba's RAV-SM800UT-E, RAV-SM560UT-E, RAV-SM800AT-E, RAV-SM560BT-E, and RAV-SM800BT-E models represent a blend of innovative technology, user-centric design, and environmental responsibility. These units not only deliver exceptional climate control but also contribute to reducing energy costs and improving indoor air quality, making them a smart choice for a wide range of applications.