Step 2. Customize Printer Connectivity Settings
In this step, you will use CentreWare Printer Admin Services or CentreWare Internet Services to enable TCP/IP connectivity.
Follow the instructions for the CentreWare network software that you will use to complete the network installation of your copier/printer. Continue with the section titled Using CentreWare Printer Admin Services below or Using CentreWare Internet Services, which begins on page
Using CentreWare Printer Admin Services
To customize printer TCP/IP settings:
1Install the Printer Admin Services software. Refer to the section titled Installing Printer Admin Services, located in Chapter 2 Network Software for installation details. Refer to the Using Printer Admin Services section of Chapter 2 Network Software for information on additional Printer Admin Services functions.
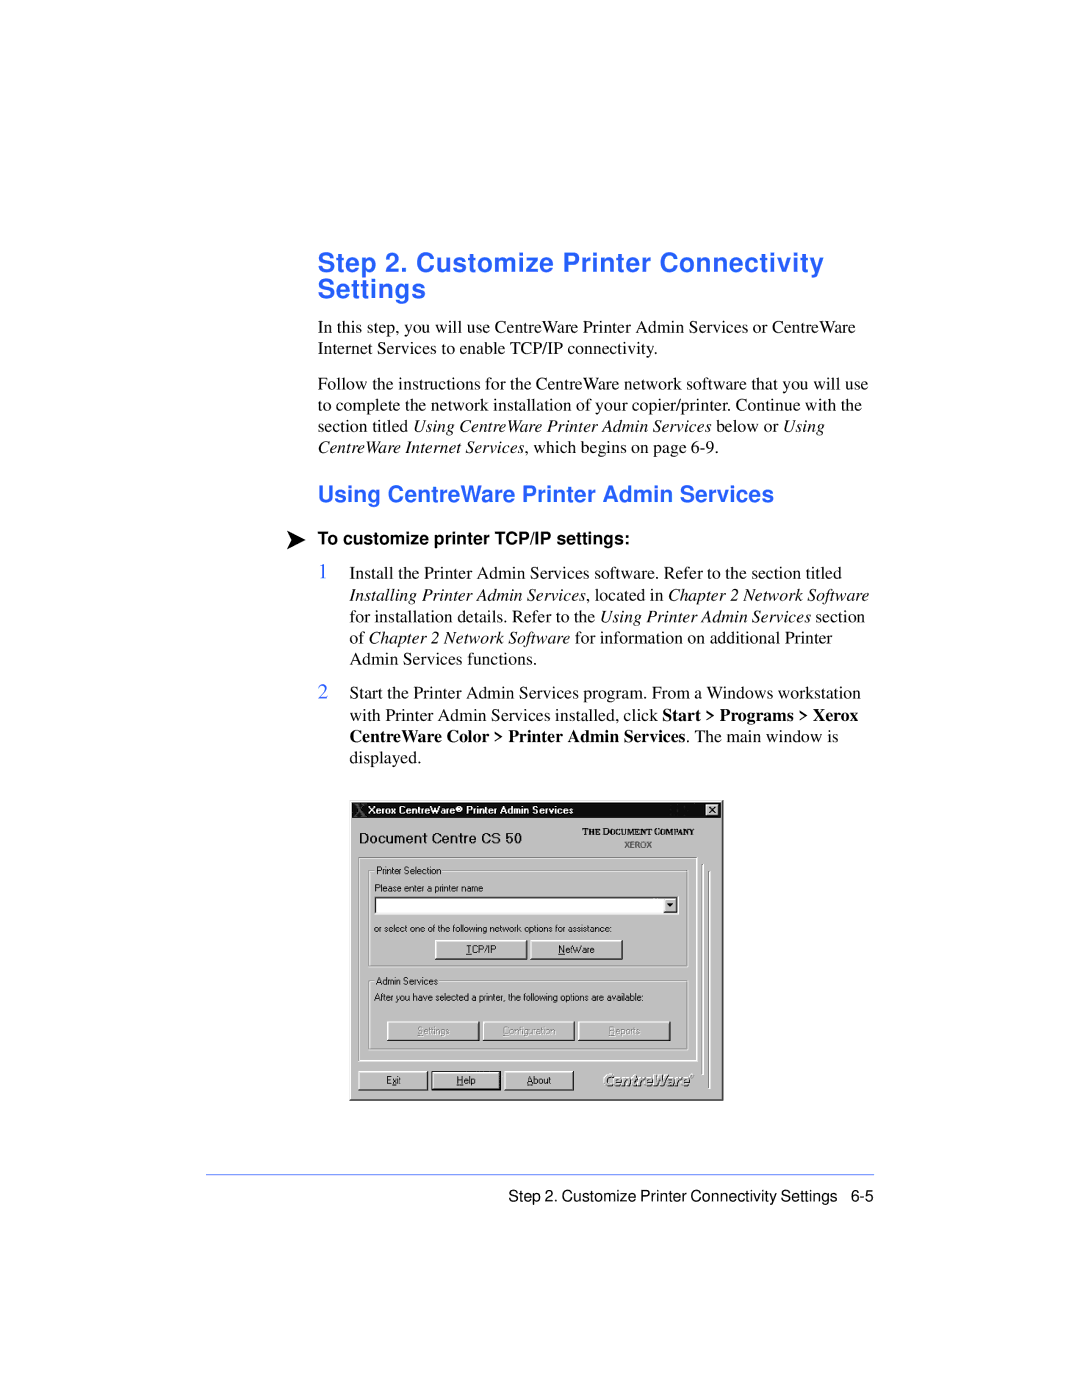
2Start the Printer Admin Services program. From a Windows workstation with Printer Admin Services installed, click Start > Programs > Xerox CentreWare Color > Printer Admin Services. The main window is displayed.