SET MENU
OPTICAL IN for OPTICAL INPUT jacks (3), (4), (5) and (6)
Choices: CD, PHONO, DVR/VCR 2, VCR 1, CBL/SAT, DTV, DVD, MD/TAPE,
OPTICAL IN
. (3);;;;; | CD |
|
( | CD | ) |
(4);;;;; | DVD |
|
(5);;;;; | DTV |
|
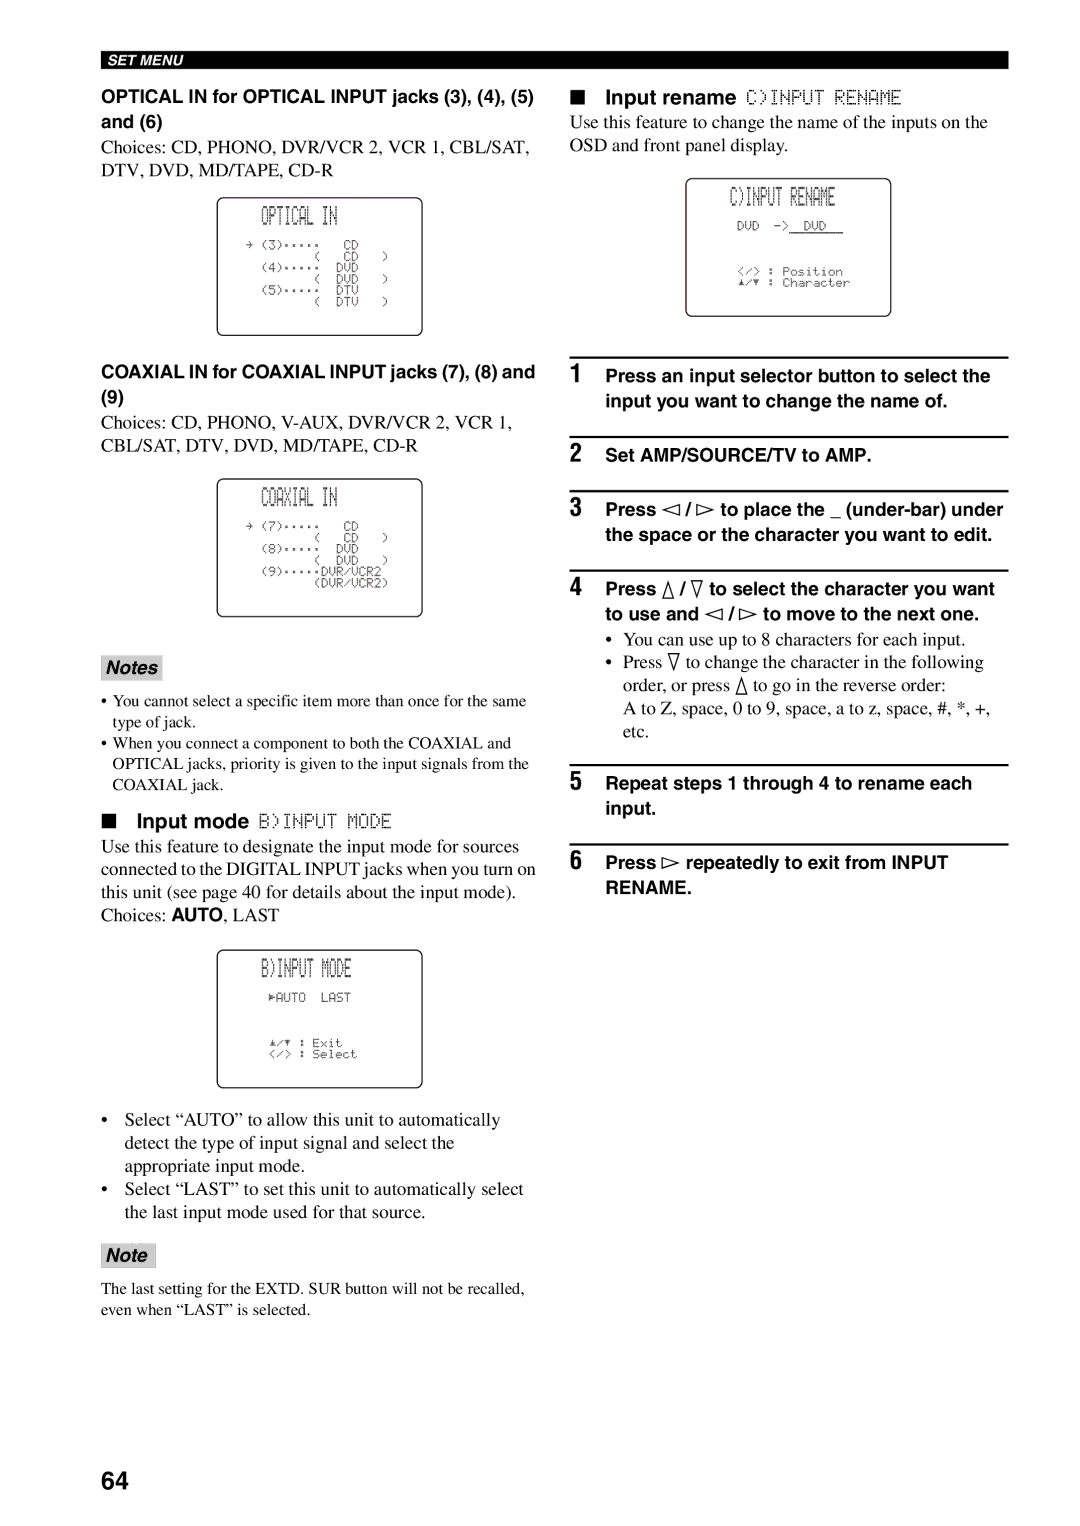
■Input rename C)INPUT RENAME
Use this feature to change the name of the inputs on the OSD and front panel display.
C)INPUT RENAME
DVD
</> : | Position |
p/p : | Character |
COAXIAL IN for COAXIAL INPUT jacks (7), (8) and
(9)
Choices: CD, PHONO,
COAXIAL IN
. (7);;;;; | CD |
|
( | CD | ) |
(8);;;;; | DVD |
|
(9);;;;;DVR/VCR2
Notes
•You cannot select a specific item more than once for the same type of jack.
•When you connect a component to both the COAXIAL and OPTICAL jacks, priority is given to the input signals from the COAXIAL jack.
■Input mode B)INPUT MODE
Use this feature to designate the input mode for sources connected to the DIGITAL INPUT jacks when you turn on this unit (see page 40 for details about the input mode). Choices: AUTO, LAST
B)INPUT MODE
[AUTO LAST
p/p : | Exit |
</> : | Select |
• Select “AUTO” to allow this unit to automatically detect the type of input signal and select the appropriate input mode.
• Select “LAST” to set this unit to automatically select the last input mode used for that source.
Note
The last setting for the EXTD. SUR button will not be recalled, even when “LAST” is selected.
1Press an input selector button to select the input you want to change the name of.
2Set AMP/SOURCE/TV to AMP.
3Press l / h to place the _
4Press k / n to select the character you want to use and l / h to move to the next one.
•You can use up to 8 characters for each input.
•Press n to change the character in the following order, or press k to go in the reverse order:
A to Z, space, 0 to 9, space, a to z, space, #, *, +, etc.
5Repeat steps 1 through 4 to rename each input.
6Press h repeatedly to exit from INPUT
RENAME.
64