SET MENU
Video conversion V CONV.
Use this feature to turn on/off conversion of composite (VIDEO) signals to both
Choices: ON, OFF
•Select “OFF” not to convert any signals.
•Select “ON” to convert composite signals to
Notes
•Converted video signals are only output to the MONITOR OUT jacks. When recording you must make the same type of video connections (composite or
•When converting composite video or
Component OSD CMPNT OSD
Use this feature to turn on/off OSD output to the COMPONENT VIDEO MONITOR OUT jacks when using SET MENU, the test tone or the parameter functions.
Choices: ON, OFF
•Select “ON” to output the OSD signals from COMPONENT VIDEO MONITOR OUT jacks.
•Select “OFF” if you do not want to output the OSD signals from COMPONENT VIDEO MONITOR OUT jacks.
Note
SET MENU functions even when “OFF” is selected.
■Memory guard B)MEMORY GUARD
Use this feature to prevent accidental changes to DSP program parameter values and other system settings. Choices: OFF, ON
B)MEMORY GUARD
[OFF ON
p/p : | Exit |
</> : | Select |
Select “ON” to protect:
•DSP program parameters
•All SET MENU items
•All speaker levels
•The
Note
When MEMORY GUARD is set to “ON”, you cannot use the test tone or select any other SET MENU items.
■Parameter initialization C)PARAM. INI
Use this feature to initialize the parameters for each sound field program within a sound field program group. When you initialize a sound field program group, all of the parameter values within that group revert to their initial settings.
Press the corresponding numeric button for the sound field program that you want to initialize.
An asterisk (*) next to a program number means that the parameter values have been changed from their initial settings.
C)PARAM. INI
1 2 3 *4
*5 6 7 8
9*0
Notes
•You cannot automatically revert to the previous parameter settings once you initialize a sound field program group.
•You cannot separately initialize individual sound field programs.
•You cannot initialize any program groups when MEMORY GUARD is set to ON.
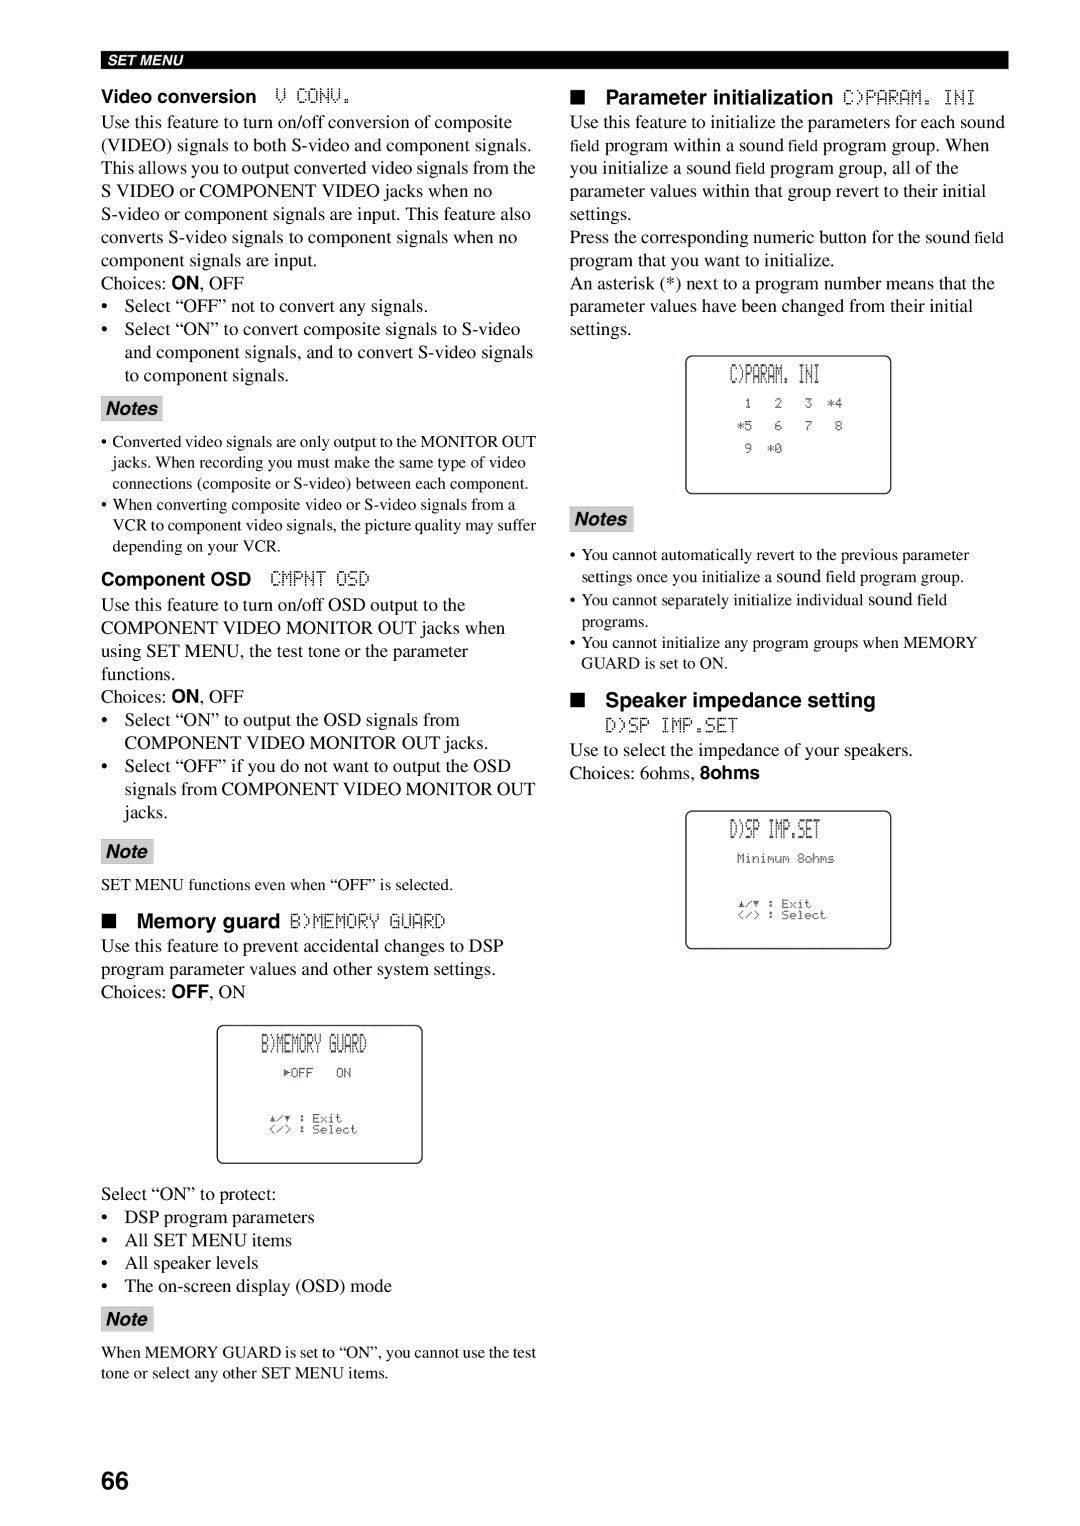
■Speaker impedance setting
D)SP IMP.SET
Use to select the impedance of your speakers. Choices: 6ohms, 8ohms
D)SP IMP.SET
Minimum 8ohms
p/p : | Exit |
</> : | Select |
66