BMULTI CH INPUT
Selects the source connected to the MULTI CH INPUT jacks. When selected, the MULTI CH INPUT source takes priority over the source selected with INPUT (or the input selector buttons on the remote control).
CINPUT MODE
Sets the priority (AUTO, DTS, ANALOG) for the type of signals received when one component is connected to two or more of this unit’s input jacks (see page 40).
DOPTIMIZER MIC jack
Use to connect and input audio signals from the supplied microphone for use with the AUTO SETUP function (see page 26).
EA/B/C/D/E
Selects one of the 5 preset station groups (A to E).
FPRESET/TUNING l / h
Selects preset station number 1 through 8 when a colon (:) is displayed next to the band indication in the front panel display.
Selects the tuning frequency when the colon (:) is not displayed.
G PHONES (SILENT CINEMA) jack
Outputs audio signals for listening with headphones. When you connect headphones, no signals are output to the PRE OUT jacks or to the speakers.
All Dolby Digital and DTS audio signals are mixed down to the left and right headphone channels.
HVIDEO AUX jacks
Input audio and video signals from an external source such as a game console. To reproduce source signals from these jacks, select
ITONE CONTROL
Use to adjust the bass/treble balance for the front left/right and center channels (see page 35).
JPROGRAM
Use to select sound field programs or adjust bass/treble balance (in conjunction with TONE CONTROL).
KSTRAIGHT/EFFECT
Switches the sound fields off or on. When STRAIGHT is selected, input signals
CONTROLS AND FUNCTIONS
■U.K. and Europe models only
LRDS MODE/FREQ
Press this button when the unit is receiving an RDS station to cycle the display mode between the PS mode, PTY mode, RT mode, CT mode (if the station offers those RDS data services) and/or the frequency display mode (see page 45).
MEON
Press this button to select a radio program type (NEWS, INFO, AFFAIRS, SPORT) to tune in automatically (see page 47).
NPTY SEEK MODE
Press this button to set the unit to the PTY SEEK mode (see page 46).
OPTY SEEK START
Press this button to begin searching for a station after the desired program type has been selected in the PTY SEEK mode (see page 46).
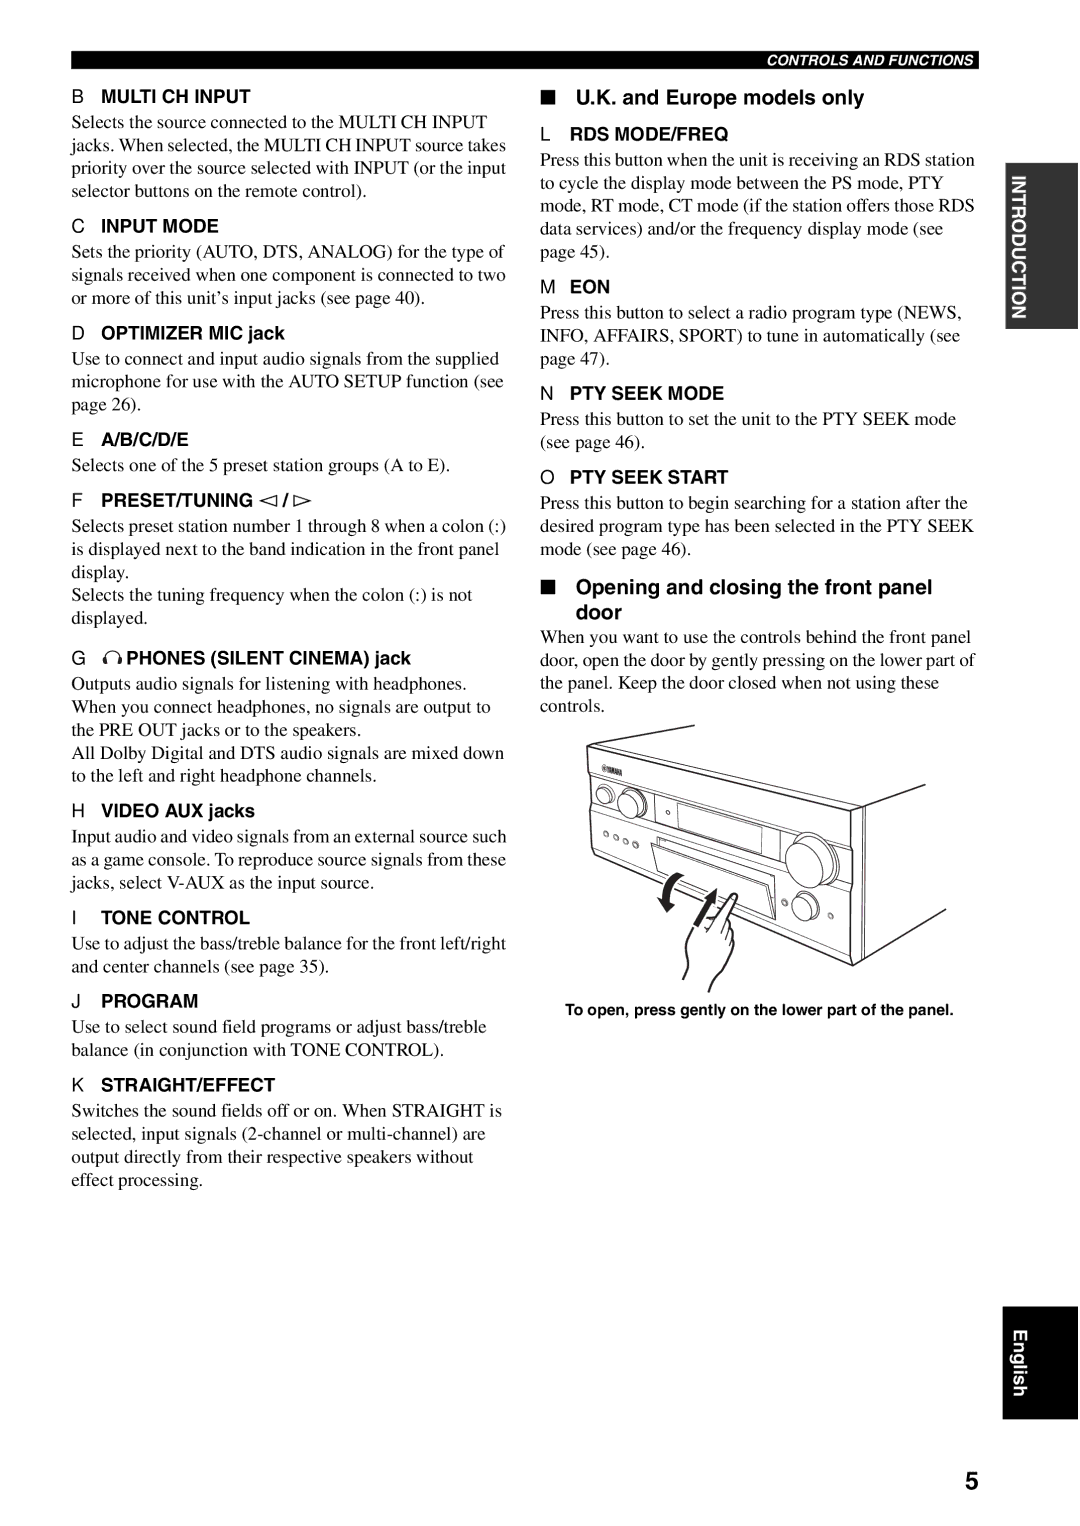
■Opening and closing the front panel
door
When you want to use the controls behind the front panel door, open the door by gently pressing on the lower part of the panel. Keep the door closed when not using these controls.
To open, press gently on the lower part of the panel.
INTRODUCTION
English
5