IP address | 10.2.2.16 |
|
|
Subnet mask | 255.255.255.0 |
|
|
Now click the DNS Configuration tab at the top of the menu. Then click Enable DNS. Enter any name (i.e., your name, the words “My Computer”, a favorite word, or any other letters or numbers) in the box labeled Host:. A Host: name is required.
Fill in the DNS Server Search Order box with the number 10.2.2.2, click Add, and then click the Gateway tab. Fill in the New gateway: box with the number 10.2.2.2, click Add, and then
continue with Step 6.
4 Macintosh Users Only: Open the TCP/IP Pane or Window and enter the IP settings.
For Mac OS X:
From the Dock, choose System Preferences and then Network to display the Network pane. (For OS X 3, you also have to click the Configure button.)
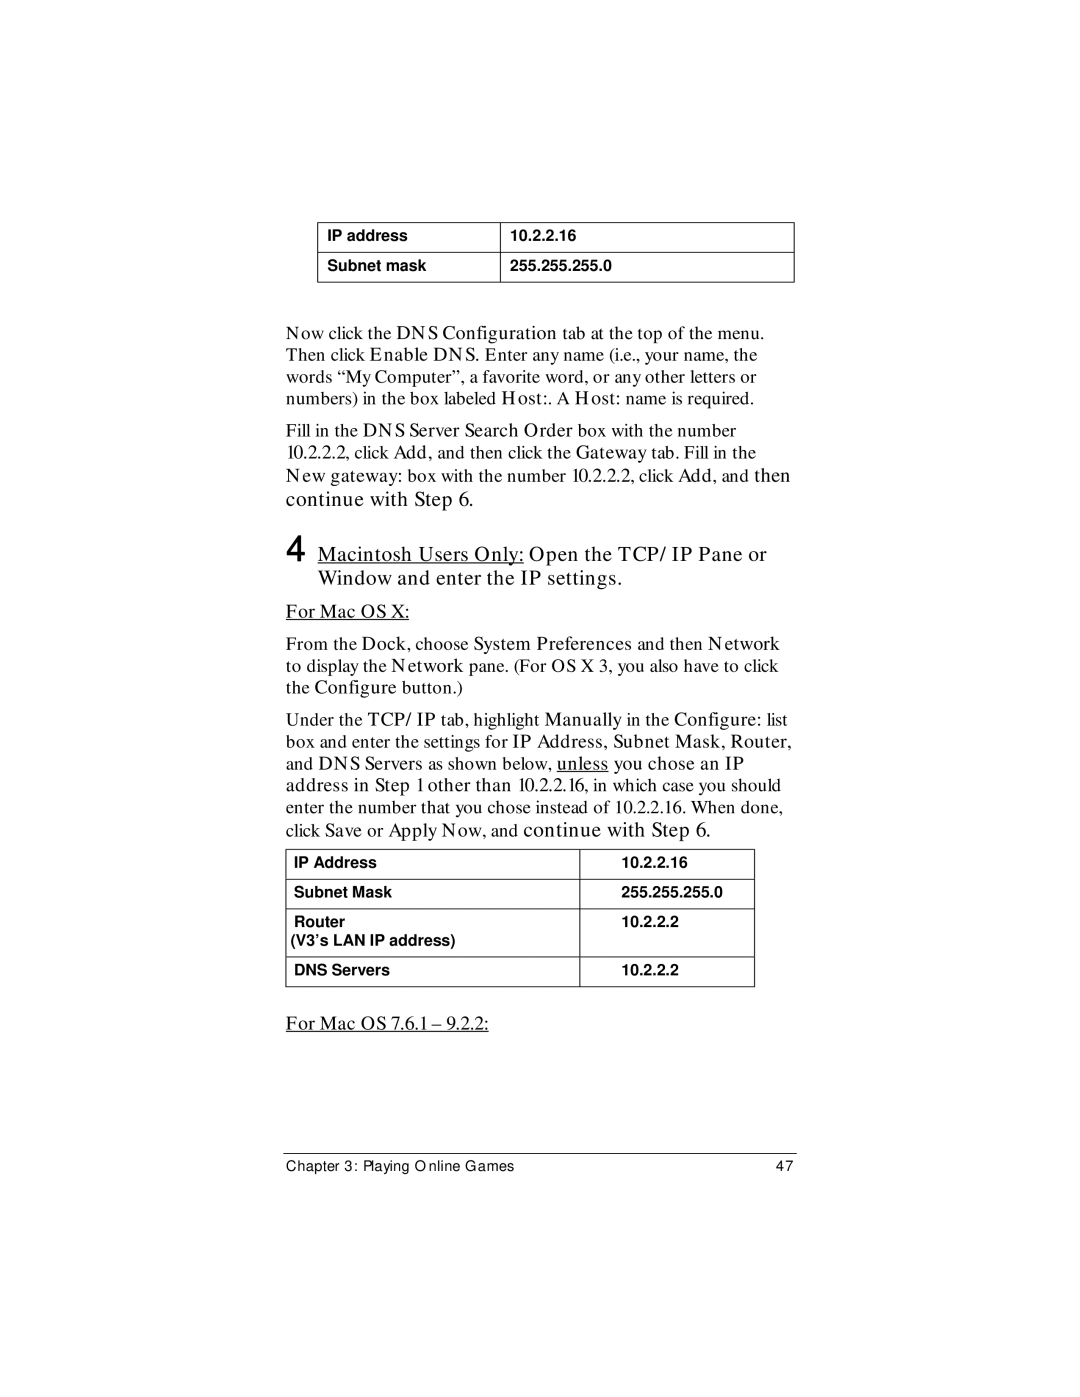
Under the TCP/IP tab, highlight Manually in the Configure: list box and enter the settings for IP Address, Subnet Mask, Router, and DNS Servers as shown below, unless you chose an IP address in Step 1 other than 10.2.2.16, in which case you should enter the number that you chose instead of 10.2.2.16. When done, click Save or Apply Now, and continue with Step 6.
IP Address | 10.2.2.16 |
|
|
Subnet Mask | 255.255.255.0 |
|
|
Router | 10.2.2.2 |
(V3’s LAN IP address) |
|
|
|
DNS Servers | 10.2.2.2 |
|
|
For Mac OS 7.6.1 – 9.2.2:
Chapter 3: Playing Online Games | 47 |
