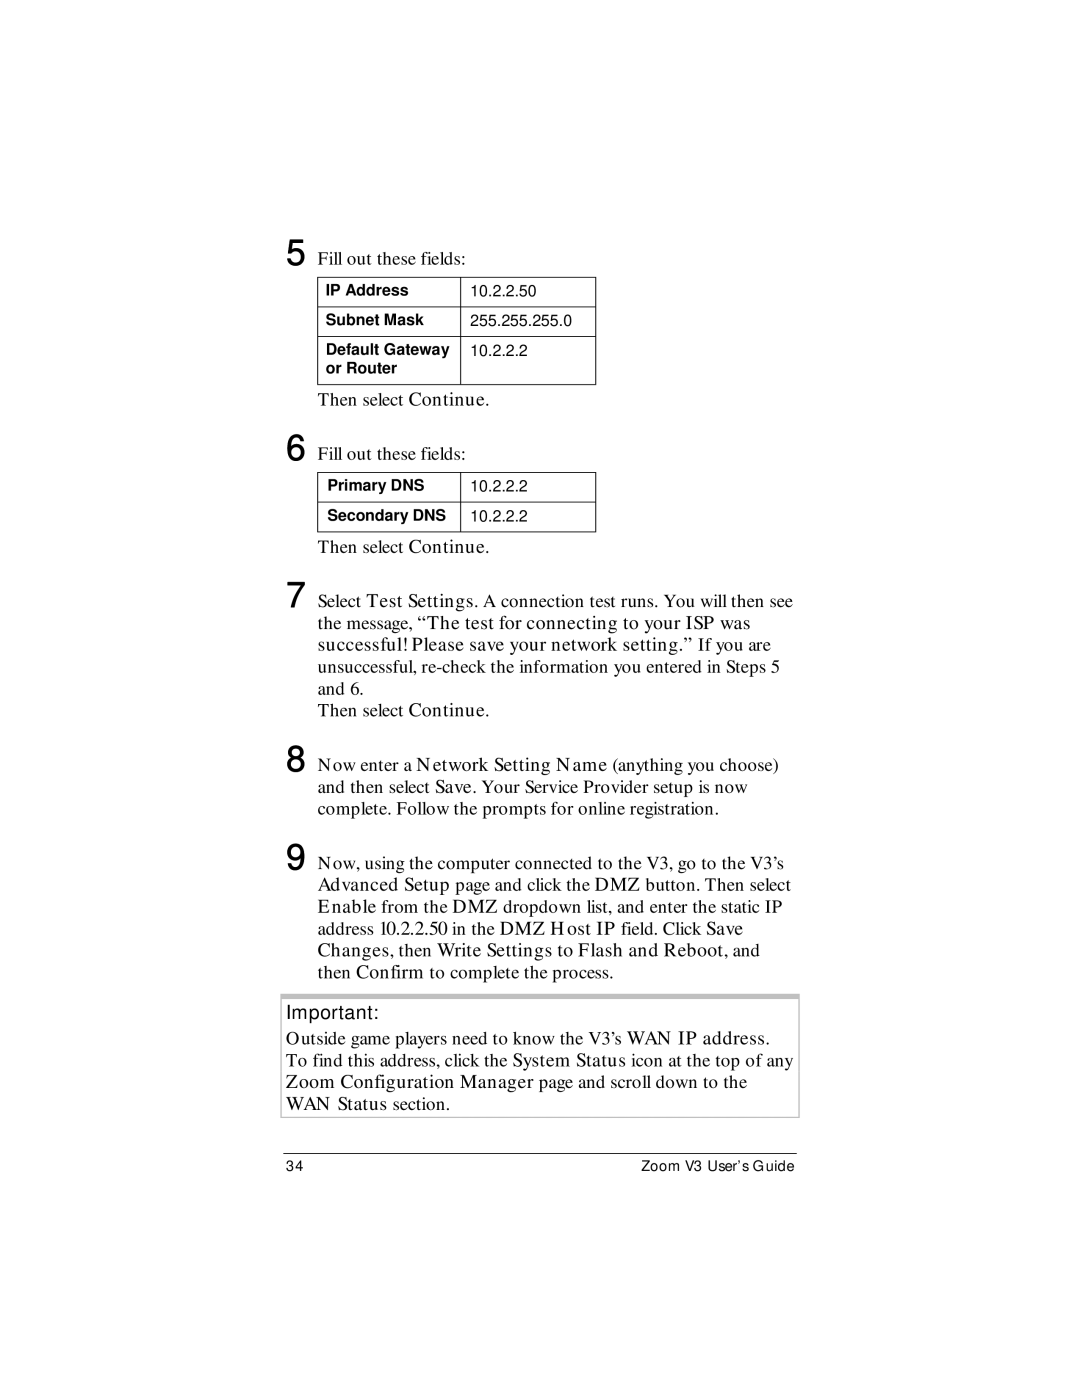
5 Fill out these fields:
IP Address | 10.2.2.50 |
|
|
Subnet Mask | 255.255.255.0 |
|
|
Default Gateway | 10.2.2.2 |
or Router |
|
|
|
Then select Continue.
6 Fill out these fields:
Primary DNS | 10.2.2.2 |
|
|
Secondary DNS | 10.2.2.2 |
|
|
Then select Continue.
7 Select Test Settings. A connection test runs. You will then see the message, “The test for connecting to your ISP was successful! Please save your network setting.” If you are unsuccessful,
Then select Continue.
8 Now enter a Network Setting Name (anything you choose)
and then select Save. Your Service Provider setup is now complete. Follow the prompts for online registration.
9 Now, using the computer connected to the V3, go to the V3’s Advanced Setup page and click the DMZ button. Then select Enable from the DMZ dropdown list, and enter the static IP address 10.2.2.50 in the DMZ Host IP field. Click Save Changes, then Write Settings to Flash and Reboot, and then Confirm to complete the process.
Important:
Outside game players need to know the V3’s WAN IP address. To find this address, click the System Status icon at the top of any Zoom Configuration Manager page and scroll down to the WAN Status section.
34 | Zoom V3 User’s Guide |