|
|
| Prestige 1100 Internet Access Router | |
|
|
| ||
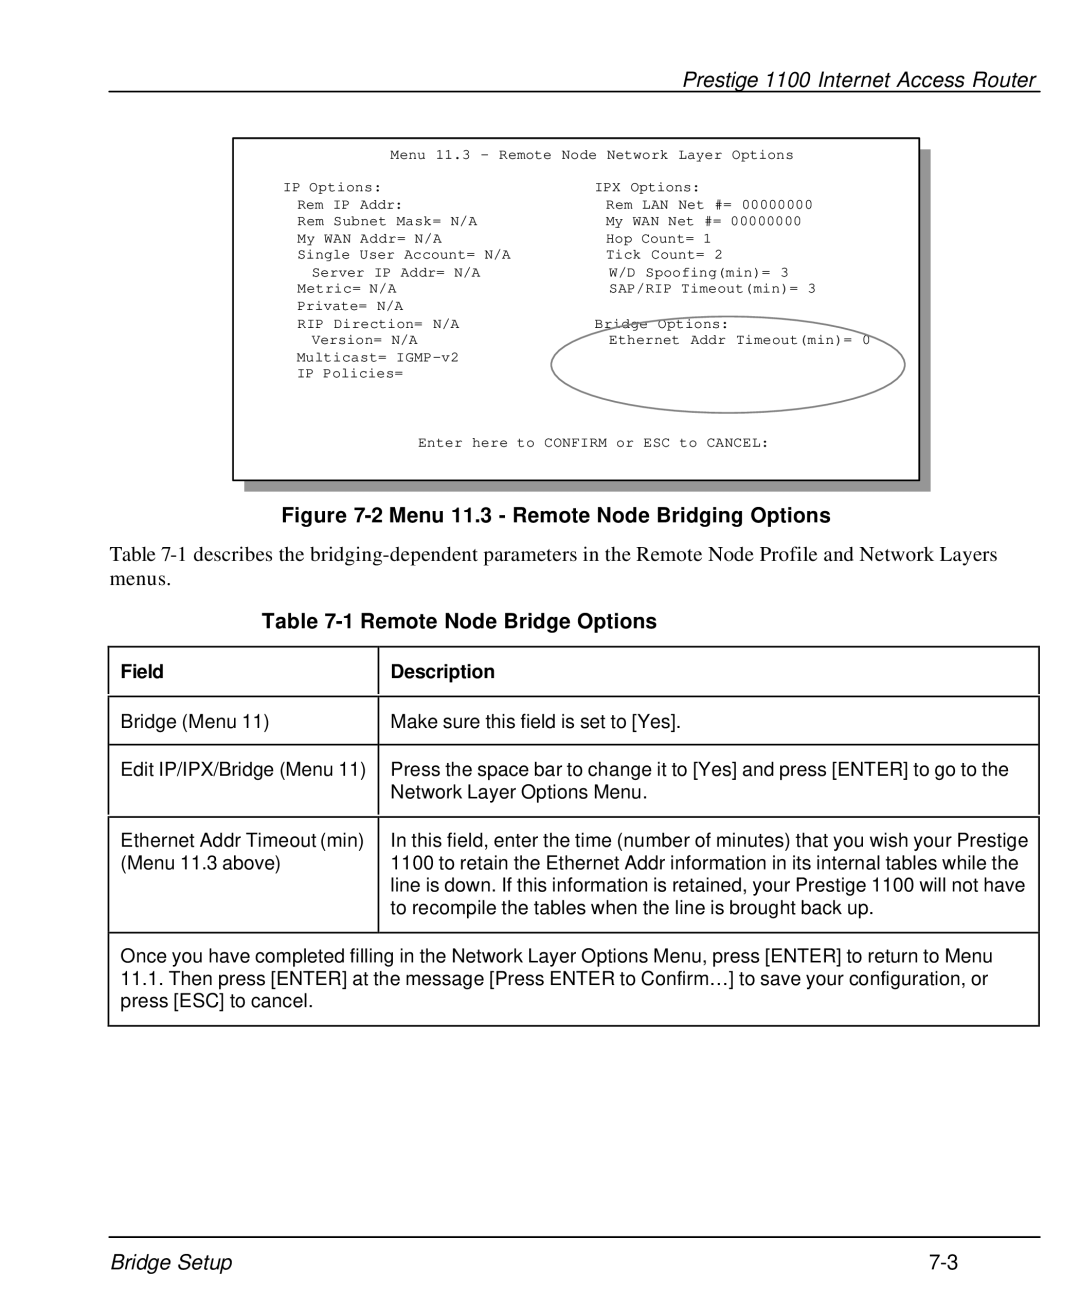
| Menu 11.3 - Remote Node Network Layer Options | |||
| IP Options: | IPX Options: | ||
| Rem IP Addr: | Rem LAN Net #= 00000000 | ||
| Rem Subnet Mask= N/A | My WAN Net #= 00000000 | ||
| My WAN Addr= N/A | Hop Count= 1 | ||
| Single User Account= N/A | Tick | Count= 2 | |
| Server IP Addr= N/A | W/D | Spoofing(min)= 3 | |
| Metric= N/A | SAP/RIP Timeout(min)= 3 | ||
| Private= N/A |
|
|
|
| RIP Direction= N/A | Bridge Options: | ||
| Version= N/A | Ethernet Addr Timeout(min)= 0 | ||
| Multicast= |
|
|
|
| IP Policies= |
|
|
|
Enter here to CONFIRM or ESC to CANCEL:
Figure 7-2 Menu 11.3 - Remote Node Bridging Options
Table
Table 7-1 Remote Node Bridge Options
Field
Description
Bridge (Menu 11) | Make sure this field is set to [Yes]. |
|
|
Edit IP/IPX/Bridge (Menu 11) | Press the space bar to change it to [Yes] and press [ENTER] to go to the |
| Network Layer Options Menu. |
|
|
Ethernet Addr Timeout (min) (Menu 11.3 above)
In this field, enter the time (number of minutes) that you wish your Prestige 1100 to retain the Ethernet Addr information in its internal tables while the line is down. If this information is retained, your Prestige 1100 will not have to recompile the tables when the line is brought back up.
Once you have completed filling in the Network Layer Options Menu, press [ENTER] to return to Menu
11.1.Then press [ENTER] at the message [Press ENTER to Confirm…] to save your configuration, or press [ESC] to cancel.
Bridge Setup |