Enabling PACE Support |
Enabling PACE Support
PACE technology enables you to establish
Follow these steps to select applications for PACE support:
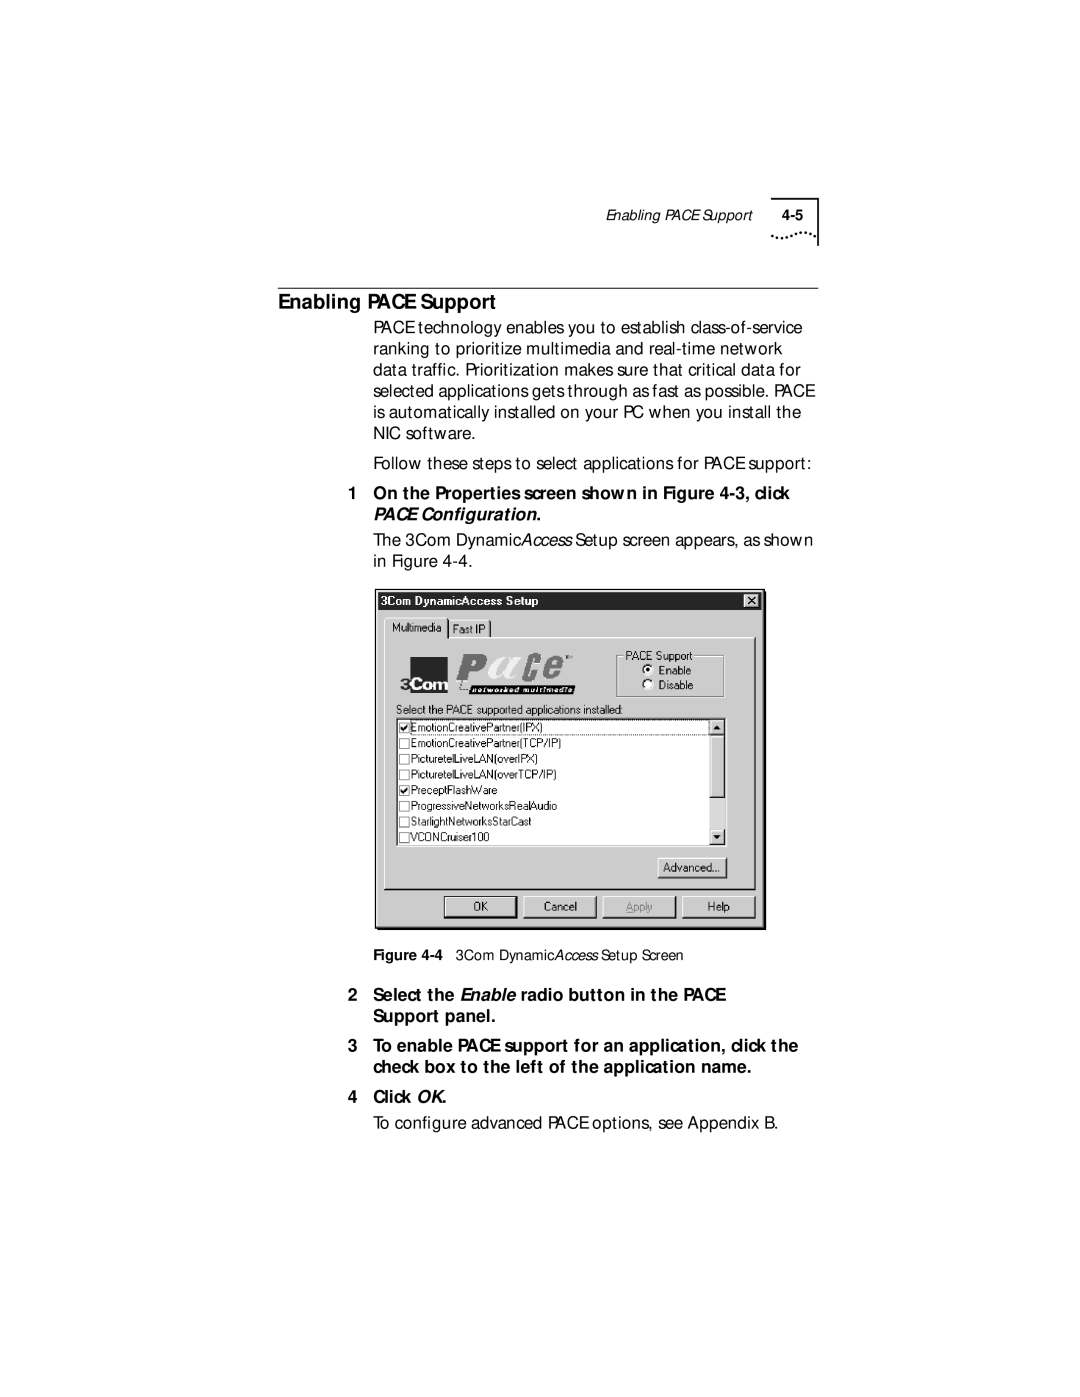
1On the Properties screen shown in Figure
The 3Com DynamicAccess Setup screen appears, as shown in Figure
Figure 4-4 3Com DynamicAccess Setup Screen
2Select the Enable radio button in the PACE Support panel.
3To enable PACE support for an application, click the check box to the left of the application name.
4Click OK.
To configure advanced PACE options, see Appendix B.