2-7-1 Retrieving Data from the Monitor
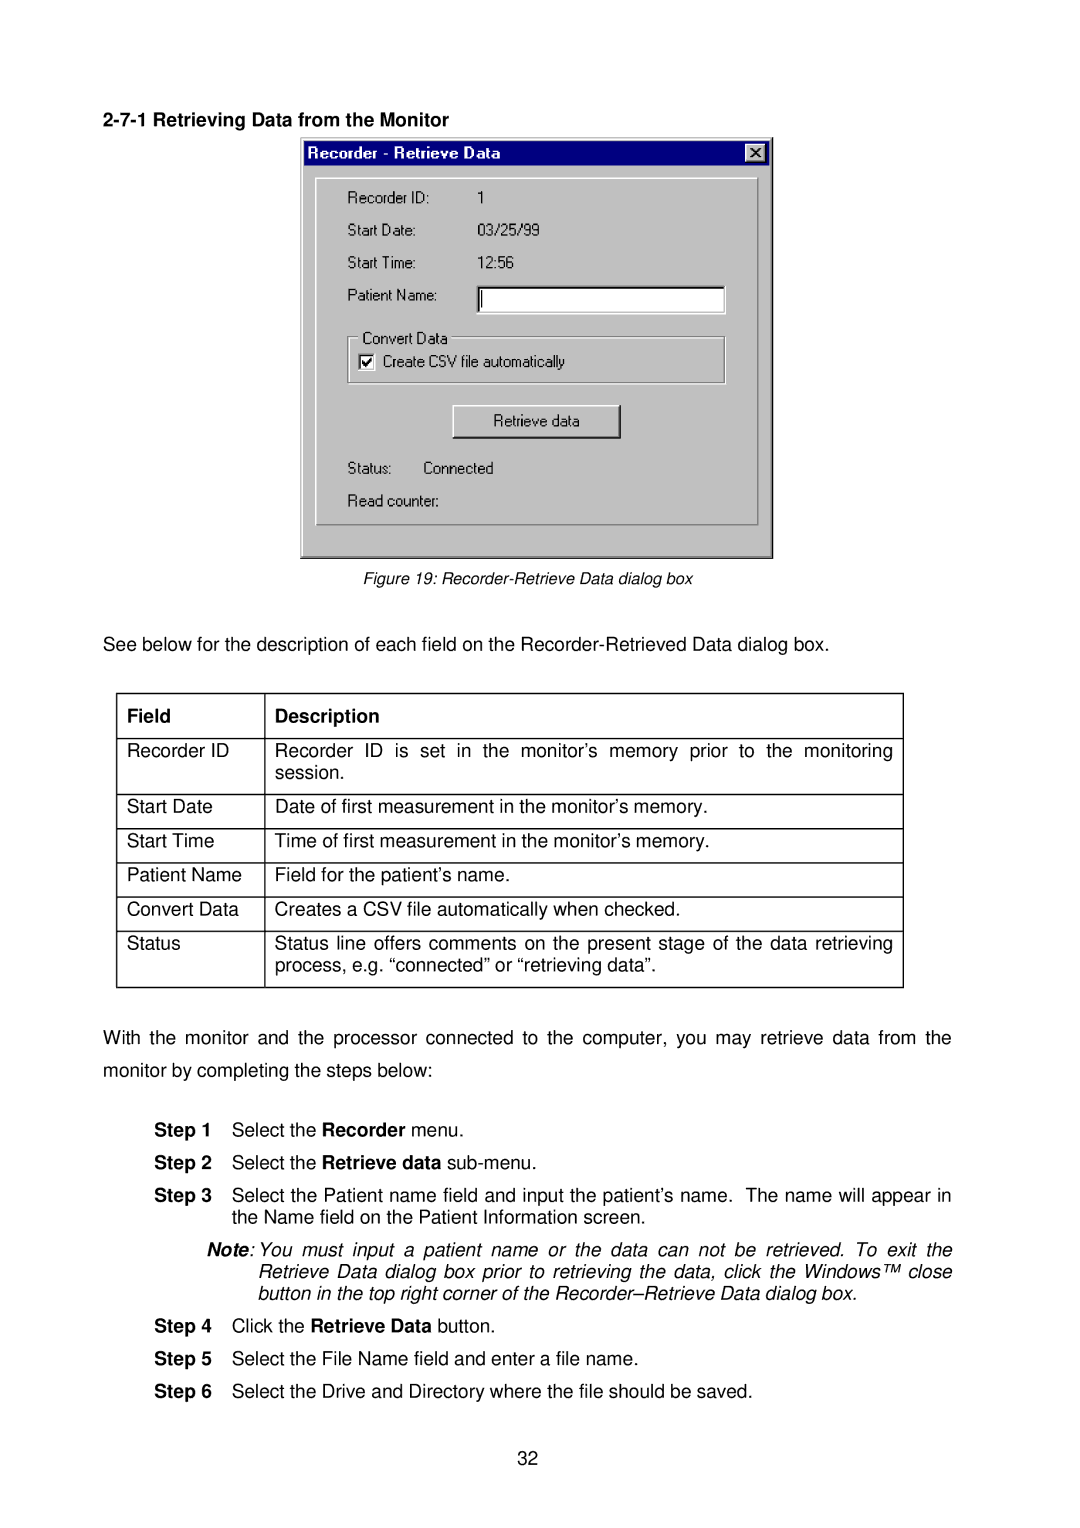
Figure 19: Recorder-Retrieve Data dialog box
See below for the description of each field on the
Field | Description |
|
|
Recorder ID | Recorder ID is set in the monitor’s memory prior to the monitoring |
| session. |
|
|
Start Date | Date of first measurement in the monitor’s memory. |
|
|
Start Time | Time of first measurement in the monitor’s memory. |
|
|
Patient Name | Field for the patient’s name. |
|
|
Convert Data | Creates a CSV file automatically when checked. |
|
|
Status | Status line offers comments on the present stage of the data retrieving |
| process, e.g. “connected” or “retrieving data”. |
|
|
With the monitor and the processor connected to the computer, you may retrieve data from the monitor by completing the steps below:
Step 1 Select the Recorder menu.
Step 2 Select the Retrieve data sub-menu.
Step 3 Select the Patient name field and input the patient’s name. The name will appear in the Name field on the Patient Information screen.
Note: You must input a patient name or the data can not be retrieved. To exit the Retrieve Data dialog box prior to retrieving the data, click the Windows™ close button in the top right corner of the
Step 4 Click the Retrieve Data button.
Step 5 Select the File Name field and enter a file name.
Step 6 Select the Drive and Directory where the file should be saved.
32