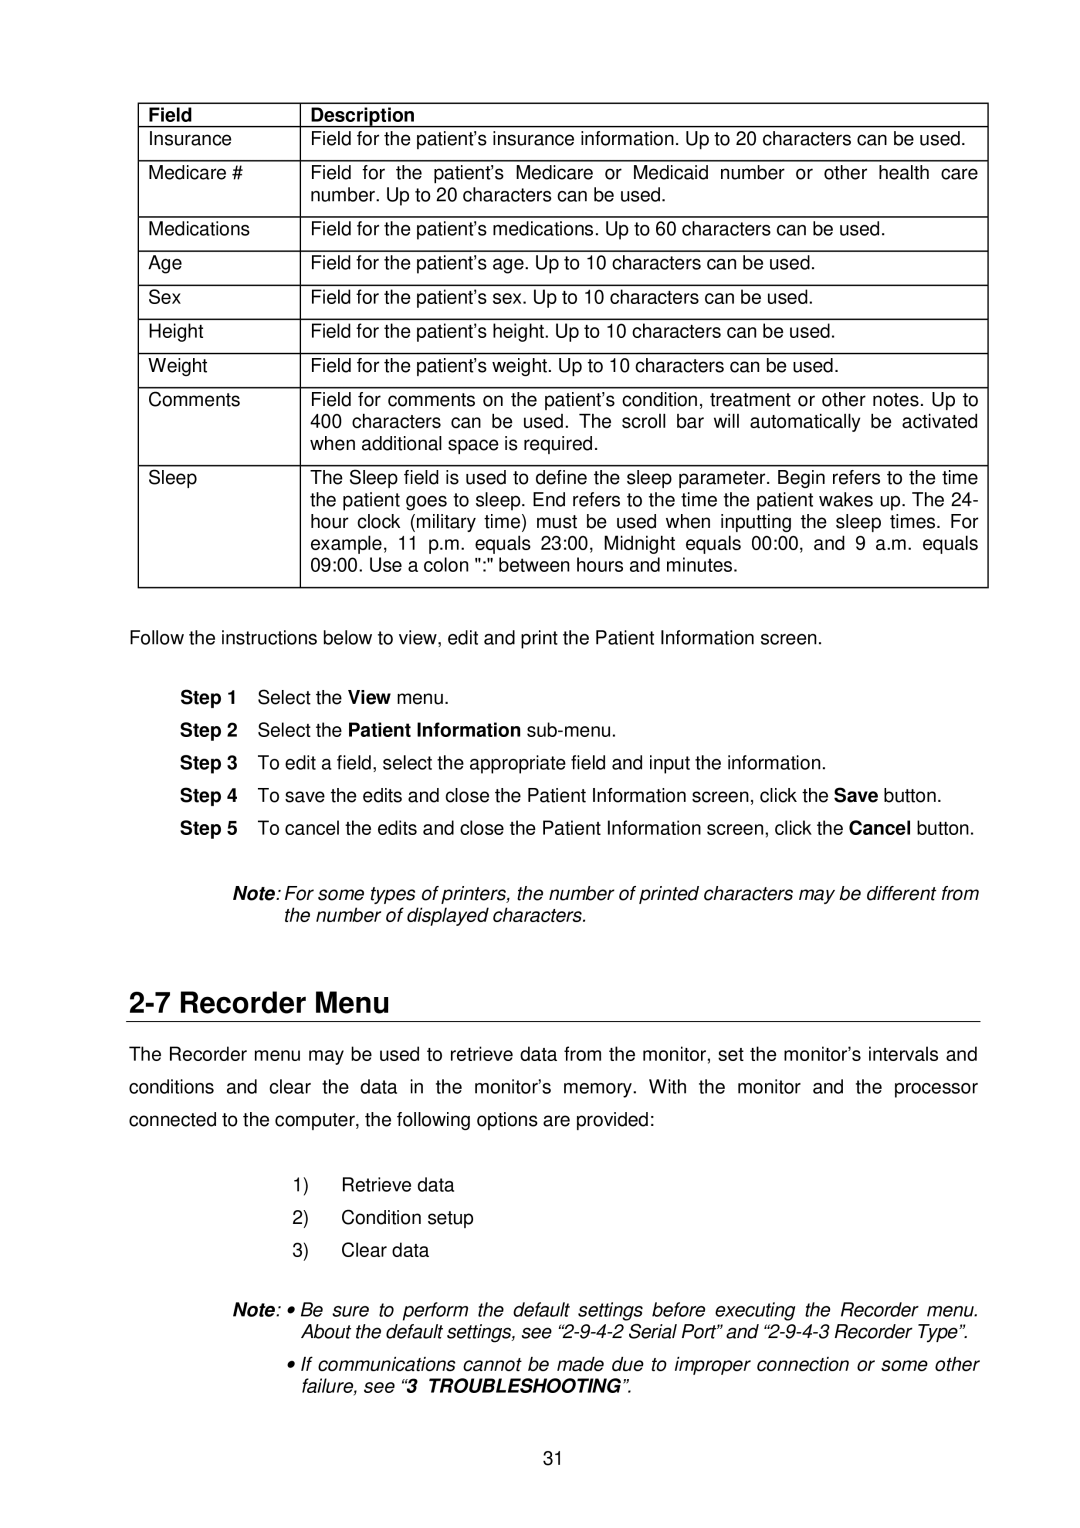
Field | Description |
Insurance | Field for the patient’s insurance information. Up to 20 characters can be used. |
|
|
Medicare # | Field for the patient’s Medicare or Medicaid number or other health care |
| number. Up to 20 characters can be used. |
|
|
Medications | Field for the patient’s medications. Up to 60 characters can be used. |
|
|
Age | Field for the patient’s age. Up to 10 characters can be used. |
|
|
Sex | Field for the patient’s sex. Up to 10 characters can be used. |
|
|
Height | Field for the patient’s height. Up to 10 characters can be used. |
|
|
Weight | Field for the patient’s weight. Up to 10 characters can be used. |
|
|
Comments | Field for comments on the patient’s condition, treatment or other notes. Up to |
| 400 characters can be used. The scroll bar will automatically be activated |
| when additional space is required. |
|
|
Sleep | The Sleep field is used to define the sleep parameter. Begin refers to the time |
| the patient goes to sleep. End refers to the time the patient wakes up. The 24- |
| hour clock (military time) must be used when inputting the sleep times. For |
| example, 11 p.m. equals 23:00, Midnight equals 00:00, and 9 a.m. equals |
| 09:00. Use a colon ":" between hours and minutes. |
|
|
Follow the instructions below to view, edit and print the Patient Information screen.
Step 1 Select the View menu.
Step 2 Select the Patient Information sub-menu.
Step 3 To edit a field, select the appropriate field and input the information.
Step 4 To save the edits and close the Patient Information screen, click the Save button. Step 5 To cancel the edits and close the Patient Information screen, click the Cancel button.
Note: For some types of printers, the number of printed characters may be different from the number of displayed characters.
2-7 Recorder Menu
The Recorder menu may be used to retrieve data from the monitor, set the monitor’s intervals and conditions and clear the data in the monitor’s memory. With the monitor and the processor connected to the computer, the following options are provided:
1)Retrieve data
2)Condition setup
3)Clear data
Note: • Be sure to perform the default settings before executing the Recorder menu. About the default settings, see
•If communications cannot be made due to improper connection or some other failure, see “3 TROUBLESHOOTING”.
31
