4 Click [ ![]() ] for “Level Adjustment” for each external input in the setup screen and select and click the level from the
] for “Level Adjustment” for each external input in the setup screen and select and click the level from the
MX Plus level increases in the following order: 1  2
2  3.
3.
Compressed 1 to 3:
This corrects information lost in the compression process. This reproduces a
Music 1 to 3:
Lower register sounds (drums, bass, etc.) and vocals are emphasized for clean and clear output.
Cinema:
Video dialogue is reproduced more clearly. Action movies are reproduced with more powerful sound.
Action:
Action movies are reproduced with more powerful sound.
Drama/Talk:
The dialogue portion of a video is reproduced more clearly.
•When “Non Effect” is selected, MX Plus becomes disabled.
•External Inputs to be set vary depending on the system set in “Setting the AUX Input System (AUX Input System Select)” (page 14).
5 When setting is complete, click [Close Window].
•To enable this function, Defeat should be is set to ON.
•After the setting, it is recommended to store the setting contents on the unit. For details, refer to “Storing the Preset Values (Preset Store)” (page 12).
From a PC
Setting the Graphic EQ
The graphic equalizer allows you to modify the sound using 31 bands each for the front (left and right), rear (left and right) and center speakers. An additional 10 bands are available for the subwoofer. This allows you to customize the sound to suit your taste.
1 Click [G.EQ] for [Shortcut] tab in the main menu.
The EQ Setup screen is displayed.
•When you click [Mobile Sound Manager] on the Function switching tab, and then [EQ Setup], the EQ Setup screen will also be displayed. Refer to “Operating the Function Switching Tab” (page 7).
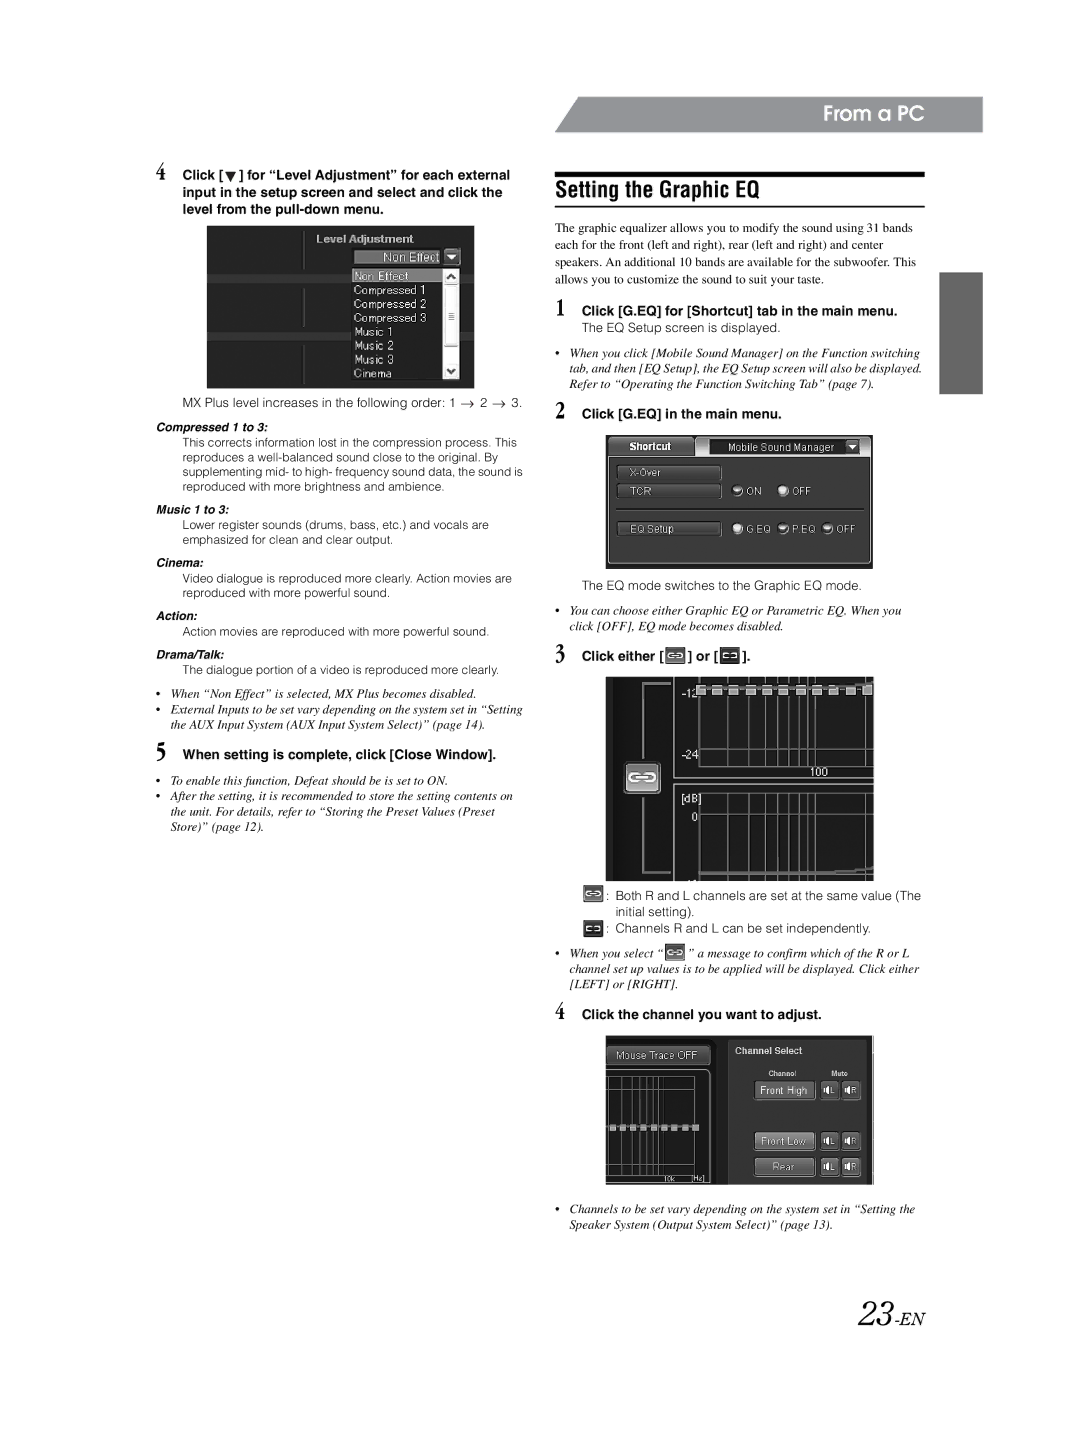
2 Click [G.EQ] in the main menu.
The EQ mode switches to the Graphic EQ mode.
•You can choose either Graphic EQ or Parametric EQ. When you click [OFF], EQ mode becomes disabled.
3 Click either [  ] or [
  ].
].
![]() : Both R and L channels are set at the same value (The initial setting).
: Both R and L channels are set at the same value (The initial setting).
![]() : Channels R and L can be set independently.
: Channels R and L can be set independently.
•When you select “ ![]() ” a message to confirm which of the R or L channel set up values is to be applied will be displayed. Click either [LEFT] or [RIGHT].
” a message to confirm which of the R or L channel set up values is to be applied will be displayed. Click either [LEFT] or [RIGHT].
4 Click the channel you want to adjust.
•Channels to be set vary depending on the system set in “Setting the Speaker System (Output System Select)” (page 13).
