Chapter 4 Upgrading the
Opening the Access Cover
Opening the Access Cover
To open the
Step 1 Remove all cables and power connections from the access point.
Step 2 Remove all
Step 3 Place the access point and the new
Step 4 Discharge any static buildup on your body by touching a grounded surface (antistatic work surface) before proceeding.
Step 5 Position the access point so that the bottom cover is facing up.
Caution The internal access point components and the
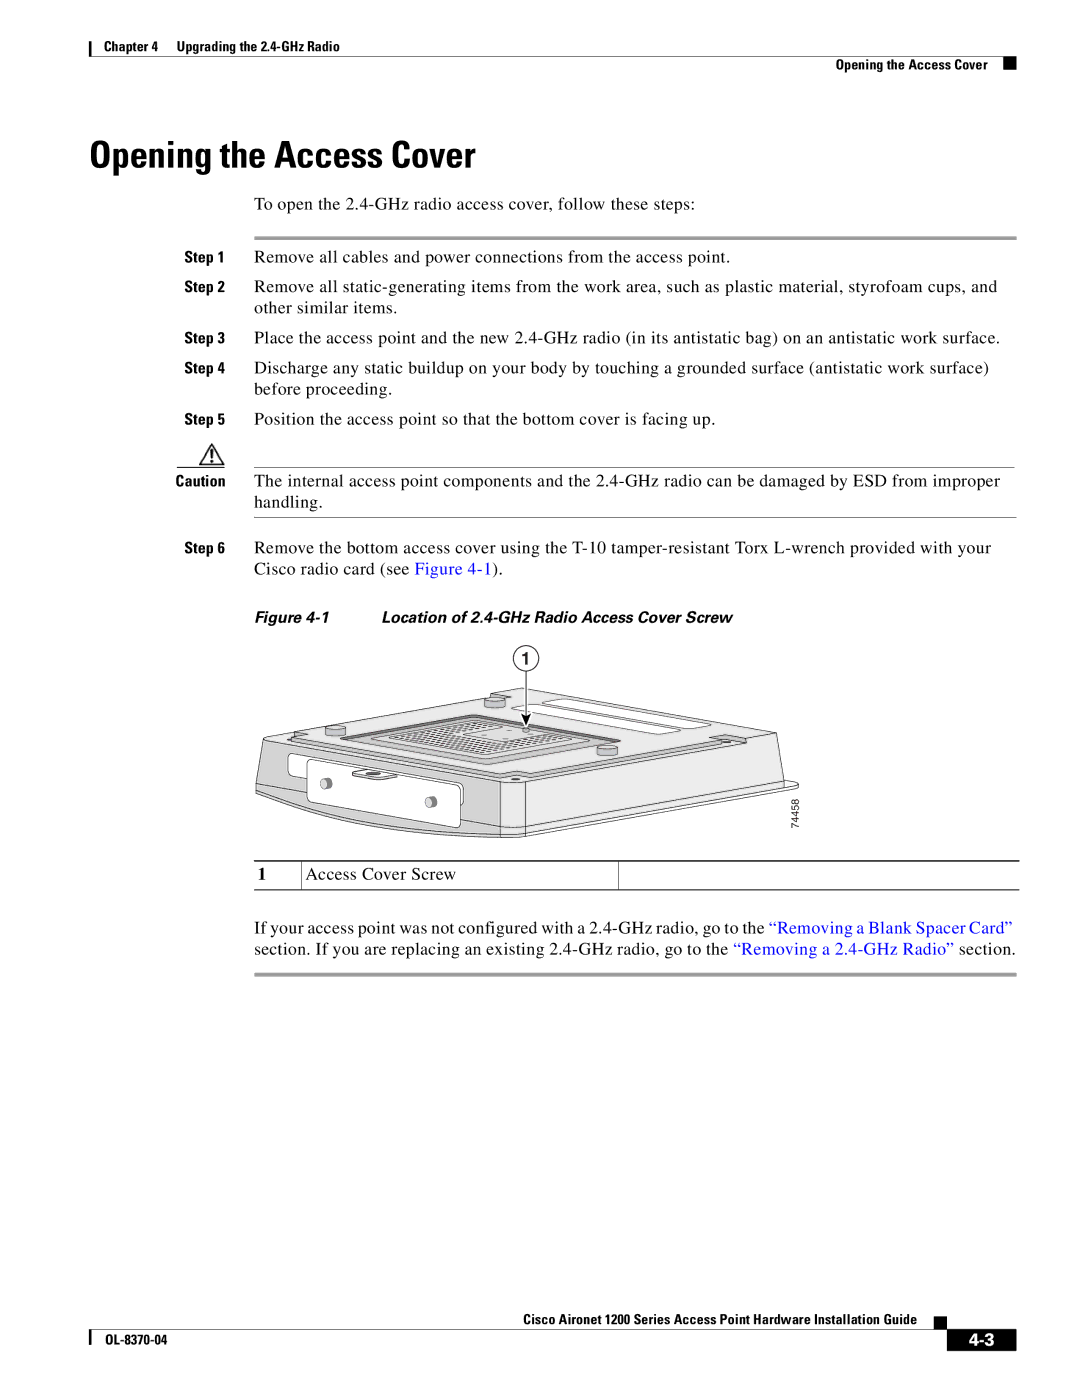
Step 6 Remove the bottom access cover using the
Figure 4-1 Location of 2.4-GHz Radio Access Cover Screw
1
74458
1
Access Cover Screw
If your access point was not configured with a
Cisco Aironet 1200 Series Access Point Hardware Installation Guide
|
| ||
|
|