Chapter 3 Maintaining the Server
Installing or Replacing Components
Installing Power Supplies
The qualified and supported part numbers for this component are subject to change over time. For the most
http://www.cisco.com/en/US/products/ps10493/products_data_sheets_list.html
To replace or install a power supply, follow these steps:
Note If you have ordered a server with power supply redundancy (at least two power supplies), you do not have to power off the server to replace a power supply because they are hot pluggable.
Step 1 Remove a power supply or a blanking panel from an empty bay:
a.Do one of the following actions:
–If your server has only one power supply, shut down and power off the server as described in the “Shutting Down and Powering Off the Server” section on page
–If your server has two power supplies, the power supplies are hot pluggable so you do not have to shut down the server.
b.Remove the power cord from the power supply that you are replacing.
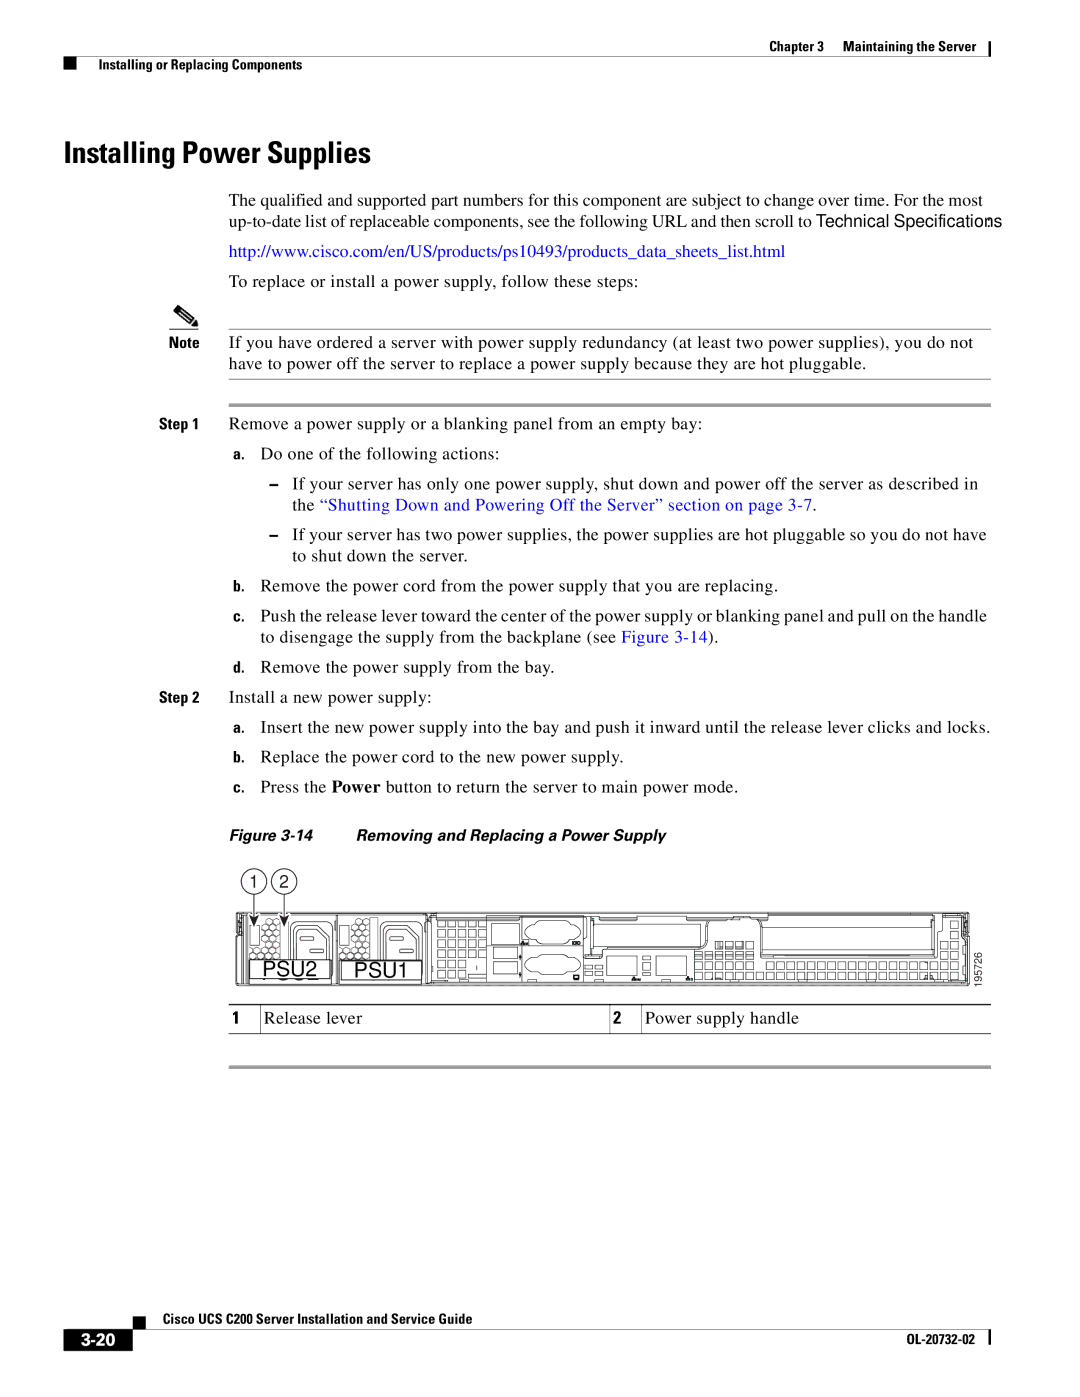
c.Push the release lever toward the center of the power supply or blanking panel and pull on the handle to disengage the supply from the backplane (see Figure
d.Remove the power supply from the bay.
Step 2 Install a new power supply:
a.Insert the new power supply into the bay and push it inward until the release lever clicks and locks.
b.Replace the power cord to the new power supply.
c.Press the Power button to return the server to main power mode.
Figure 3-14 Removing and Replacing a Power Supply
1 | 2 |
|
|
|
| PSU2 | PSU1 |
|
|
1 | Release lever | 2 | Power supply handle | |
195726
| Cisco UCS C200 Server Installation and Service Guide |
|