Wireless-G VPN Broadband Router
Status
•Router. This screen provides status information about the Router.
•Local Network. This provides status information about the local network.
How to Access the Web-based Utility
To access the
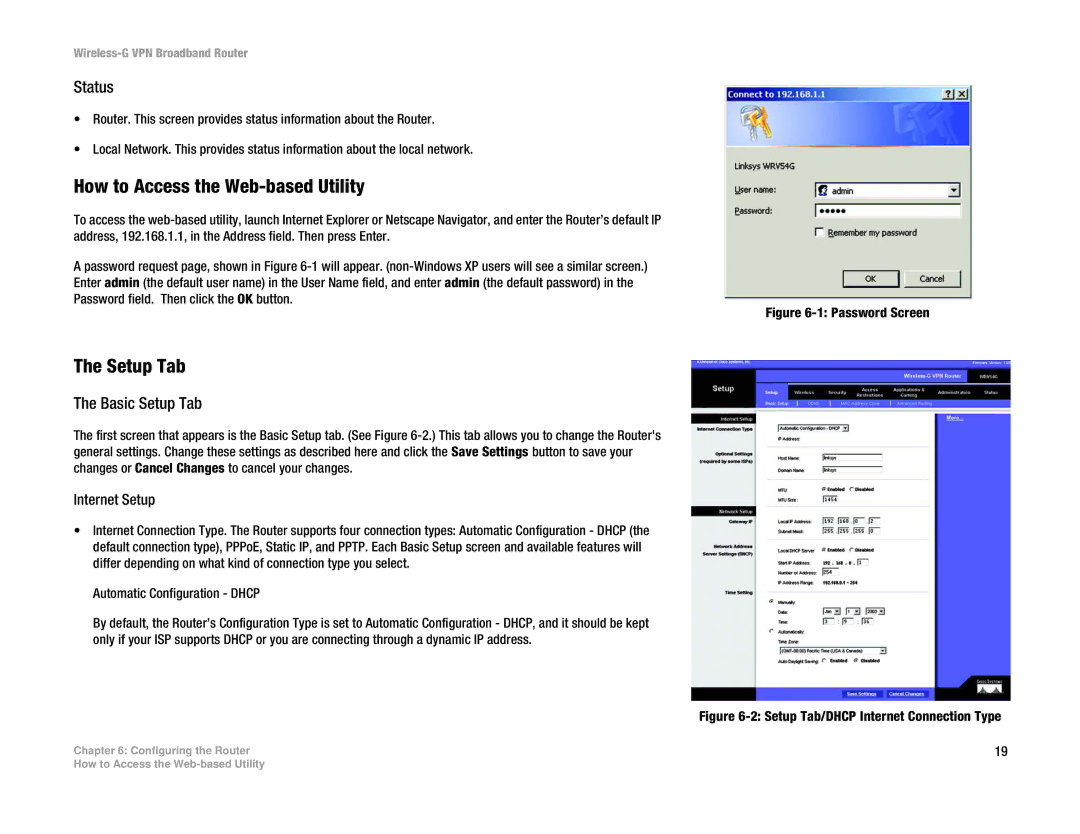
A password request page, shown in Figure
Enter admin (the default user name) in the User Name field, and enter admin (the default password) in the
Password field. Then click the OK button.
Figure 6-1: Password Screen
The Setup Tab
The Basic Setup Tab
The first screen that appears is the Basic Setup tab. (See Figure
Internet Setup
•Internet Connection Type. The Router supports four connection types: Automatic Configuration - DHCP (the default connection type), PPPoE, Static IP, and PPTP. Each Basic Setup screen and available features will differ depending on what kind of connection type you select.
Automatic Configuration - DHCP
By default, the Router’s Configuration Type is set to Automatic Configuration - DHCP, and it should be kept only if your ISP supports DHCP or you are connecting through a dynamic IP address.
| Figure |
Chapter 6: Configuring the Router | 19 |
How to Access the