Section 4 - Configuration
ISO Tree Editing
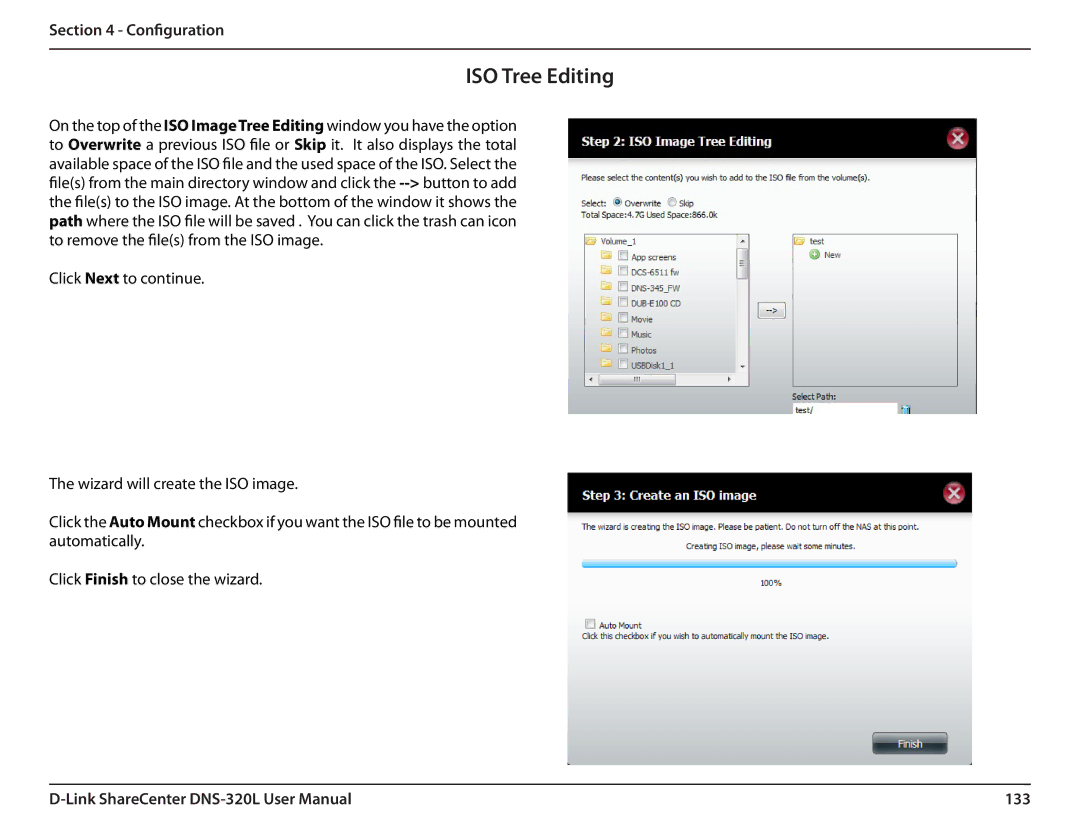
On the top of the ISO ImageTree Editing window you have the option to Overwrite a previous ISO file orSkip it. It also displays the total available space of the ISO file and the used space of the ISO. Select the file(s) from the main directory window and click
Click Next to continue.
The wizard will create the ISO image.
Click the Auto Mount checkbox if you want the ISO file to be mounted automatically.
Click Finish to close the wizard.
133 |