Section 4 - Configuration
Local Backups
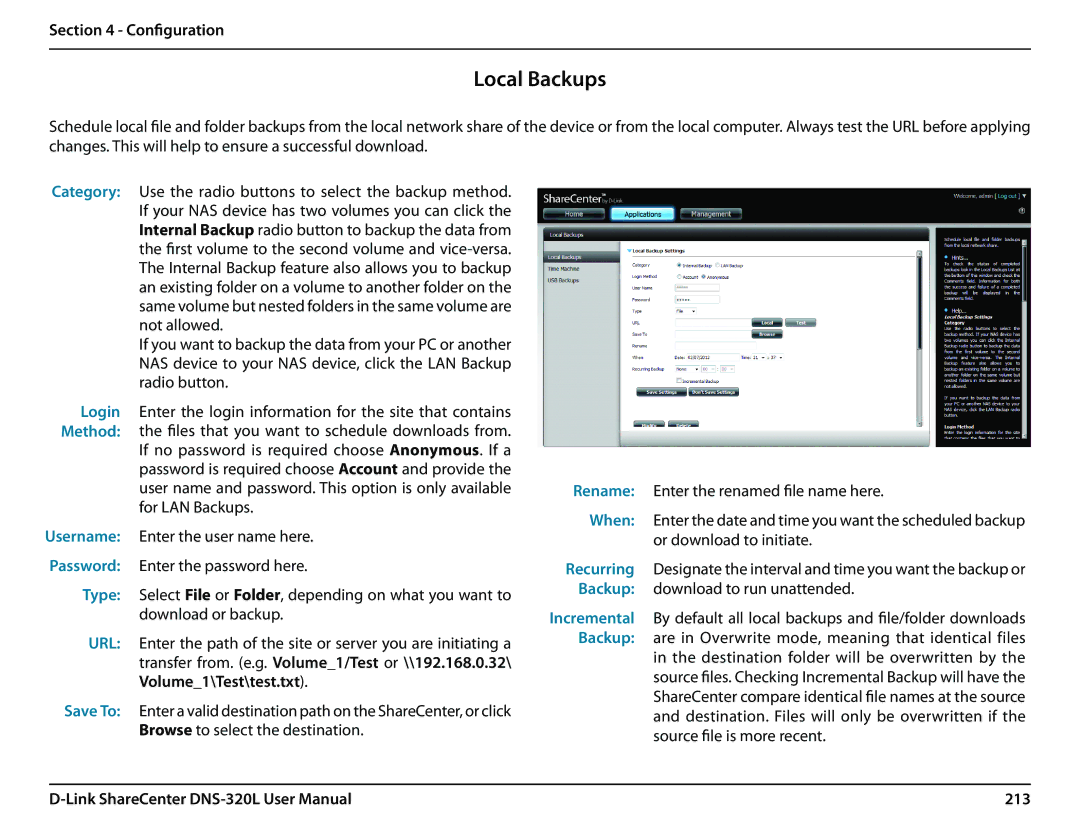
Schedule local file and folder backups from the local network share of the device or from the local computer. Always test the URL before applying changes. This will help to ensure a successful download.
Category: Use the radio buttons to select the backup method. If your NAS device has two volumes you can click the Internal Backup radio button to backup the data from the first volume to the second volume and
If you want to backup the data from your PC or another NAS device to your NAS device, click the LAN Backup radio button.
Login Enter the login information for the site that contains Method: the files that you want to schedule downloads from.
If no password is required choose Anonymous. If a password is required choose Account and provide the user name and password. This option is only available for LAN Backups.
Username: Enter the user name here. Password: Enter the password here.
Type: Select File or Folder, depending on what you want to download or backup.
URL: Enter the path of the site or server you are initiating a transfer from. (e.g. Volume_1/Test or \\192.168.0.32\ Volume_1\Test\test.txt).
Save To: Enter a valid destination path on the ShareCenter, or click Browse to select the destination.
Rename: | Enter the renamed file name here. |
When: | Enter the date and time you want the scheduled backup |
| or download to initiate. |
Recurring | Designate the interval and time you want the backup or |
Backup: | download to run unattended. |
Incremental | By default all local backups and file/folder downloads |
Backup: | are in Overwrite mode, meaning that identical files |
| in the destination folder will be overwritten by the |
| source files. Checking Incremental Backup will have the |
| ShareCenter compare identical file names at the source |
| and destination. Files will only be overwritten if the |
| source file is more recent. |
213 |