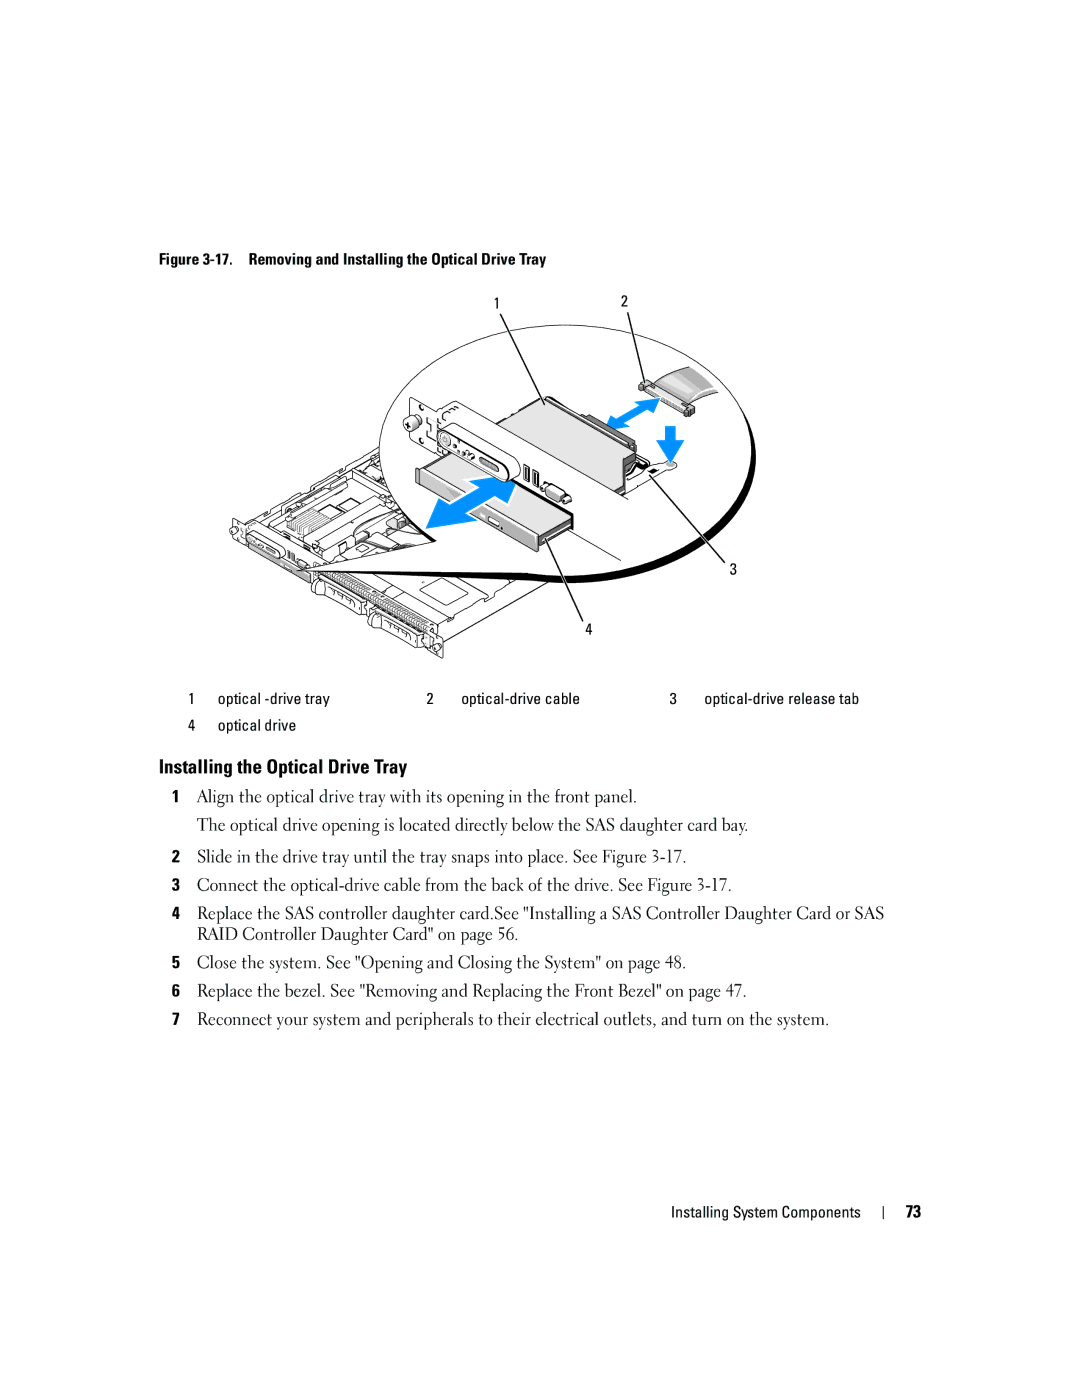
Figure 3-17. Removing and Installing the Optical Drive Tray
12
|
|
|
|
| 3 |
|
|
|
| 4 |
|
1 | optical | 2 | 3 |
| |
4 | optical drive |
|
|
|
|
Installing the Optical Drive Tray
1Align the optical drive tray with its opening in the front panel.
The optical drive opening is located directly below the SAS daughter card bay.
2Slide in the drive tray until the tray snaps into place. See Figure
3Connect the
4Replace the SAS controller daughter card.See "Installing a SAS Controller Daughter Card or SAS RAID Controller Daughter Card" on page 56.
5Close the system. See "Opening and Closing the System" on page 48.
6Replace the bezel. See "Removing and Replacing the Front Bezel" on page 47.
7Reconnect your system and peripherals to their electrical outlets, and turn on the system.
Installing System Components
73