Installing the Controller
Internal Serial Controller (2500S)
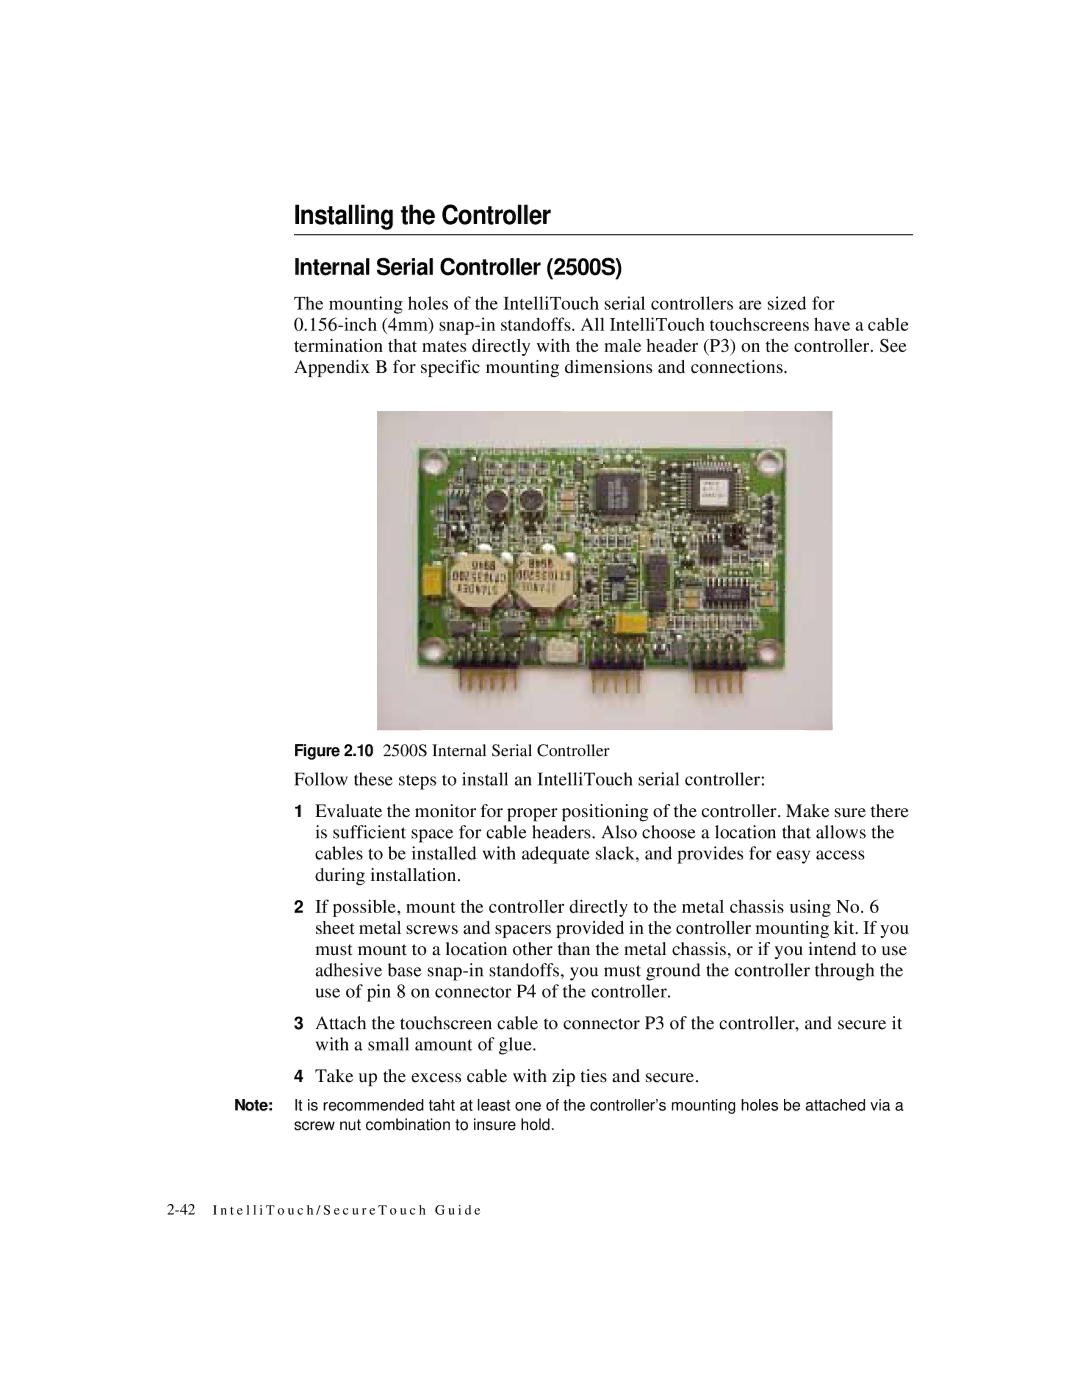
The mounting holes of the IntelliTouch serial controllers are sized for
Figure 2.10 2500S Internal Serial Controller
Follow these steps to install an IntelliTouch serial controller:
1Evaluate the monitor for proper positioning of the controller. Make sure there is sufficient space for cable headers. Also choose a location that allows the cables to be installed with adequate slack, and provides for easy access during installation.
2If possible, mount the controller directly to the metal chassis using No. 6 sheet metal screws and spacers provided in the controller mounting kit. If you must mount to a location other than the metal chassis, or if you intend to use adhesive base
3Attach the touchscreen cable to connector P3 of the controller, and secure it with a small amount of glue.
4Take up the excess cable with zip ties and secure.
Note: It is recommended taht at least one of the controller’s mounting holes be attached via a screw nut combination to insure hold.
