Installing and Removing a Fan Tray
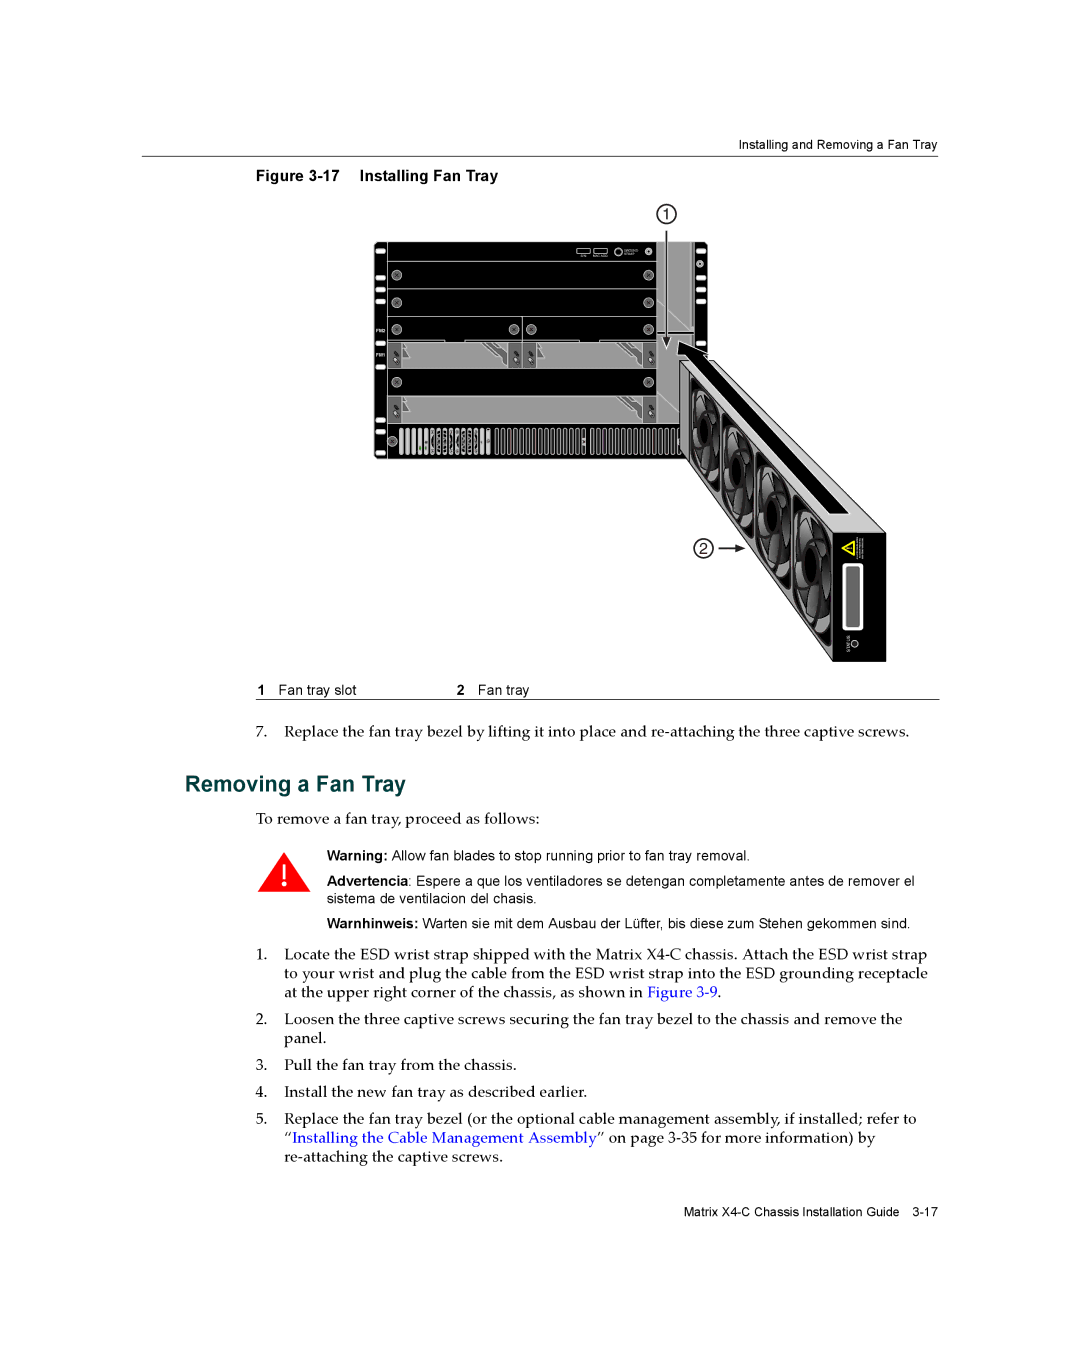
Figure 3-17 Installing Fan Tray
|
| 1 |
|
| GROUND |
S/N: | MAC ADD. | STRAP |
FM2 |
|
|
FM1 |
|
|
2
1 Fan tray slot | 2 Fan tray |
FAN TRAY REMOVAL
TO STOP PRIOR TO
ALLOW FAN BLADES
STATUS![]()
7.Replace the fan tray bezel by lifting it into place and re‐attaching the three captive screws.
Removing a Fan Tray
To remove a fan tray, proceed as follows:
Warning: Allow fan blades to stop running prior to fan tray removal.
Advertencia: Espere a que los ventiladores se detengan completamente antes de remover el sistema de ventilacion del chasis.
Warnhinweis: Warten sie mit dem Ausbau der Lüfter, bis diese zum Stehen gekommen sind.
1.Locate the ESD wrist strap shipped with the Matrix X4‐C chassis. Attach the ESD wrist strap to your wrist and plug the cable from the ESD wrist strap into the ESD grounding receptacle at the upper right corner of the chassis, as shown in Figure 3‐9.
2.Loosen the three captive screws securing the fan tray bezel to the chassis and remove the panel.
3.Pull the fan tray from the chassis.
4.Install the new fan tray as described earlier.
5.Replace the fan tray bezel (or the optional cable management assembly, if installed; refer to “Installing the Cable Management Assembly” on page 3‐35 for more information) by re‐attaching the captive screws.
Matrix