Attaching Cables, Installing Compact Flash Card and DIMM Upgrade Kit
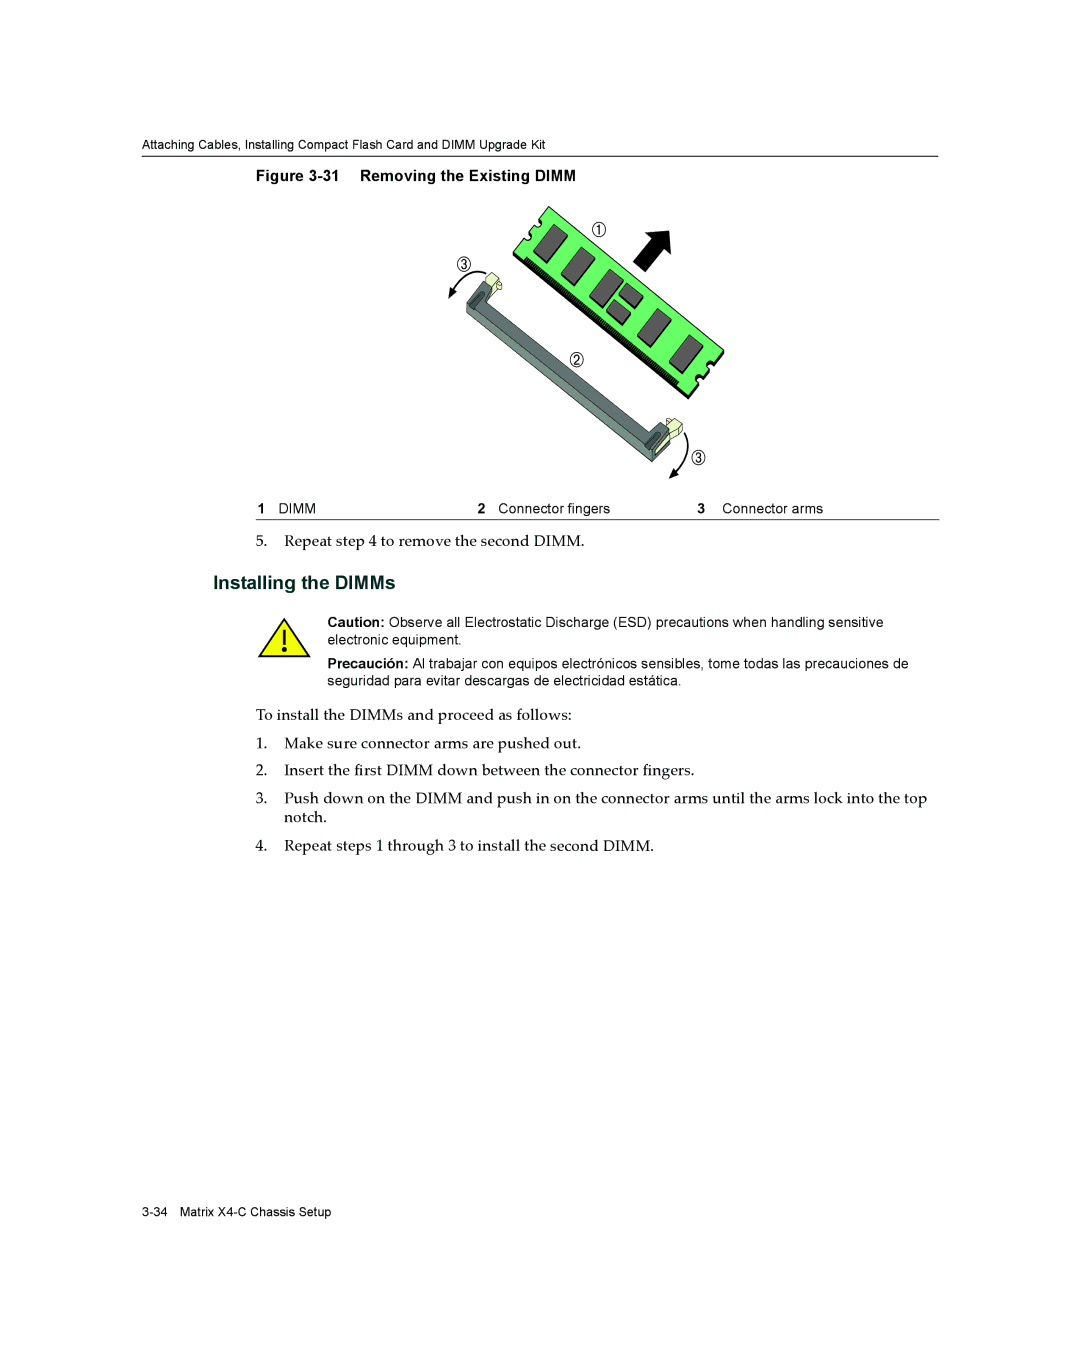
Figure 3-31 Removing the Existing DIMM
1 DIMM | 2 Connector fingers | 3 Connector arms |
5.Repeat step 4 to remove the second DIMM.
Installing the DIMMs
Caution: Observe all Electrostatic Discharge (ESD) precautions when handling sensitive electronic equipment.
Precaución: Al trabajar con equipos electrónicos sensibles, tome todas las precauciones de seguridad para evitar descargas de electricidad estática.
To install the DIMMs and proceed as follows:
1.Make sure connector arms are pushed out.
2.Insert the first DIMM down between the connector fingers.
3.Push down on the DIMM and push in on the connector arms until the arms lock into the top notch.
4.Repeat steps 1 through 3 to install the second DIMM.