TM-P60 with Peeler Technical Reference Guide
Install the Battery Pack or Connect the Printer to the AC adapter
You can supply power through the battery pack packaged with the printer or the AC adapter
![]() WARNING:
WARNING:
Be sure to use the battery
![]() CAUTION:
CAUTION:
There is a risk of explosion if the battery is replaced by an incorrect type. Dispose of used batteries according to the instructions.
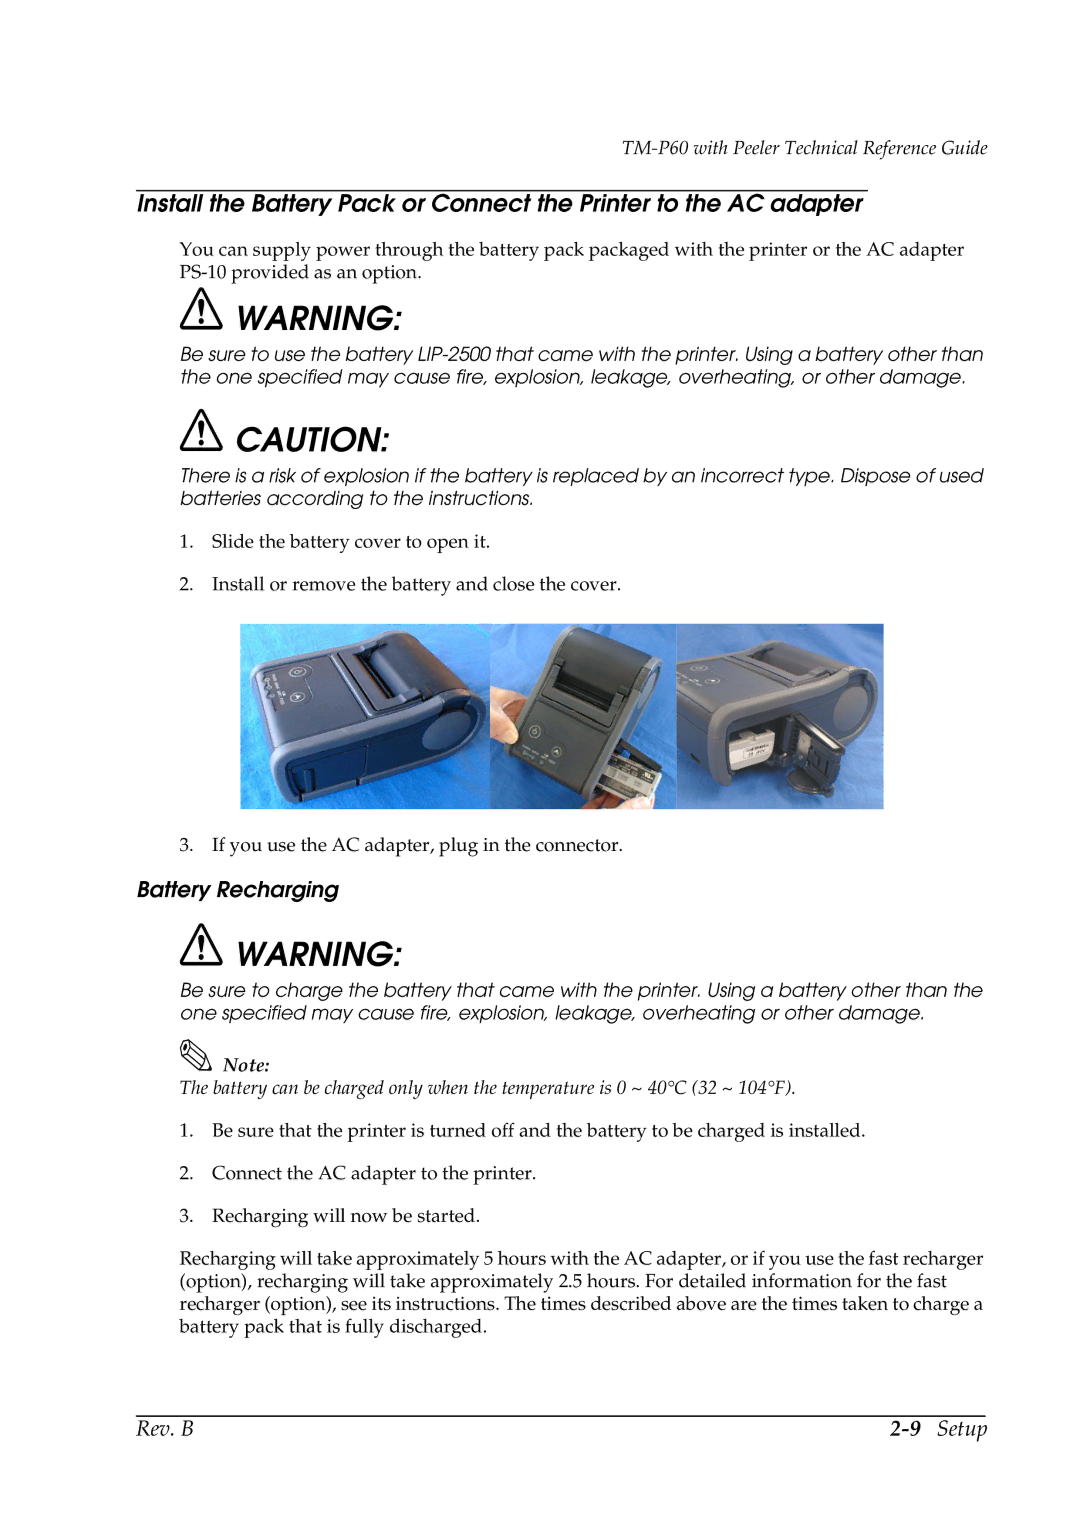
1.Slide the battery cover to open it.
2.Install or remove the battery and close the cover.
3. If you use the AC adapter, plug in the connector.
Battery Recharging
![]() WARNING:
WARNING:
Be sure to charge the battery that came with the printer. Using a battery other than the one specified may cause fire, explosion, leakage, overheating or other damage.
Note:
The battery can be charged only when the temperature is 0 ~ 40°C (32 ~ 104°F).
1.Be sure that the printer is turned off and the battery to be charged is installed.
2.Connect the AC adapter to the printer.
3.Recharging will now be started.
Recharging will take approximately 5 hours with the AC adapter, or if you use the fast recharger (option), recharging will take approximately 2.5 hours. For detailed information for the fast recharger (option), see its instructions. The times described above are the times taken to charge a battery pack that is fully discharged.
Rev. B |