Adjusting the host PC to the printer’s LAN setting
When you set up the printer with serial interface, omit this section and read from “Connecting a serial interface cable” on page 2- 16.
Adjust the LAN setting of the host PC corresponding to the status sheet. (It is printed at “Confirming the current LAN setting of the printer” on page 2- 15.) The setting items are the following.
❏Network mode (Ex:
❏SSID (Ex: EPSONNetIBSS)
❏WEP (Ex: None) (This item isn’t printed on status sheet. This printer isn’t registered any keys at shipped. When your printer isn’t registered any key, you have to set to “disabled” this item.)
❏IP address (Ex: Auto, or 192.168.192.XXX)
(Don’t set the IP address of host PC the same as the printer’s setting.
Ex; when printer’s IP address is 192.168.192.168, set the host PC’s to 192.168.192.2. Don’t set 192.168.192.168)
❏Subnet mask (Ex:255, 255, 255, 0)
Note:
For information about the PC setting method, see your PC’s manual or wireless LAN card’s manual.
The examples are for the default setting. You should use the settings printed on the status sheet.
After the setup, skip the “Connecting a serial interface cable” on page 16, and go to “Confirming the connection between the host PC and printer” on page 2- 17.
Connecting a serial interface cable
When you don’t set up the printer with serial interface, omit this section and read from “Confirming the connection between the host PC and printer” on page 2- 17.
Use the following procedure.
1.Turn off the printer.
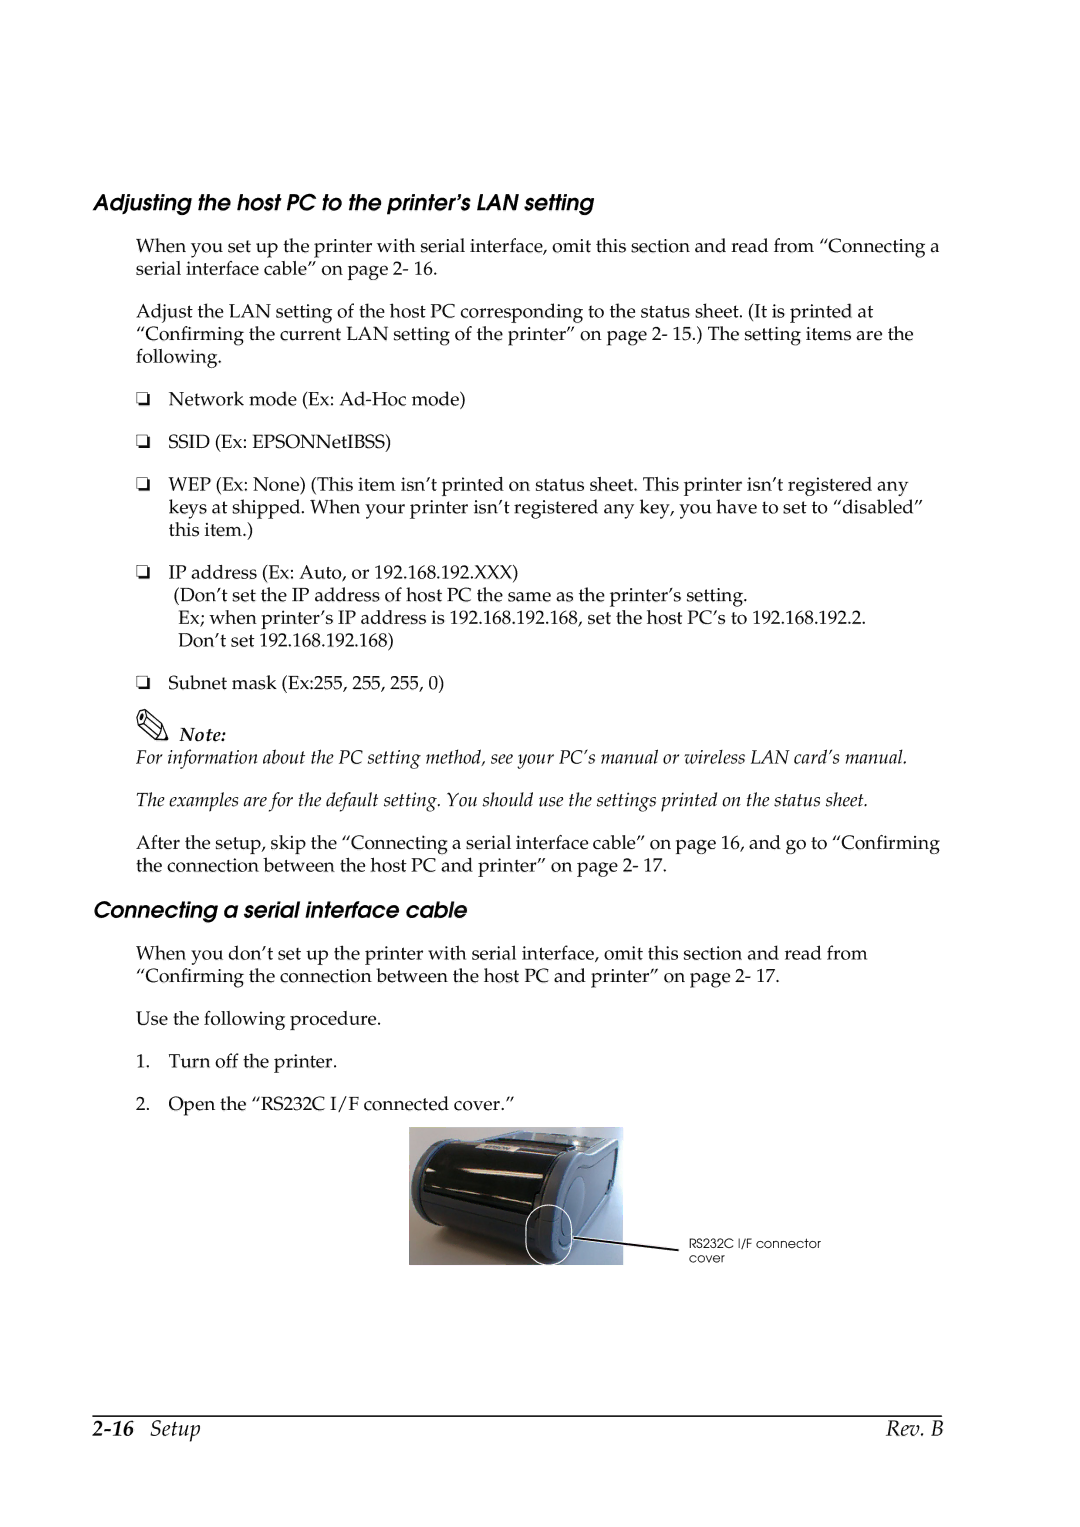
2.Open the “RS232C I/F connected cover.”
RS232C I/F connector cover
| Rev. B |