6.Set the following items for the wireless LAN installed in the printer.
•Method for specifying the IP address
•IP address setting (IP address, Subnet Mask, Default gateway) When you select the method “Auto,“ you can omit the IP address setting.
7.Click the “OK” button. (This utility shows a dialog box, follow the message.)
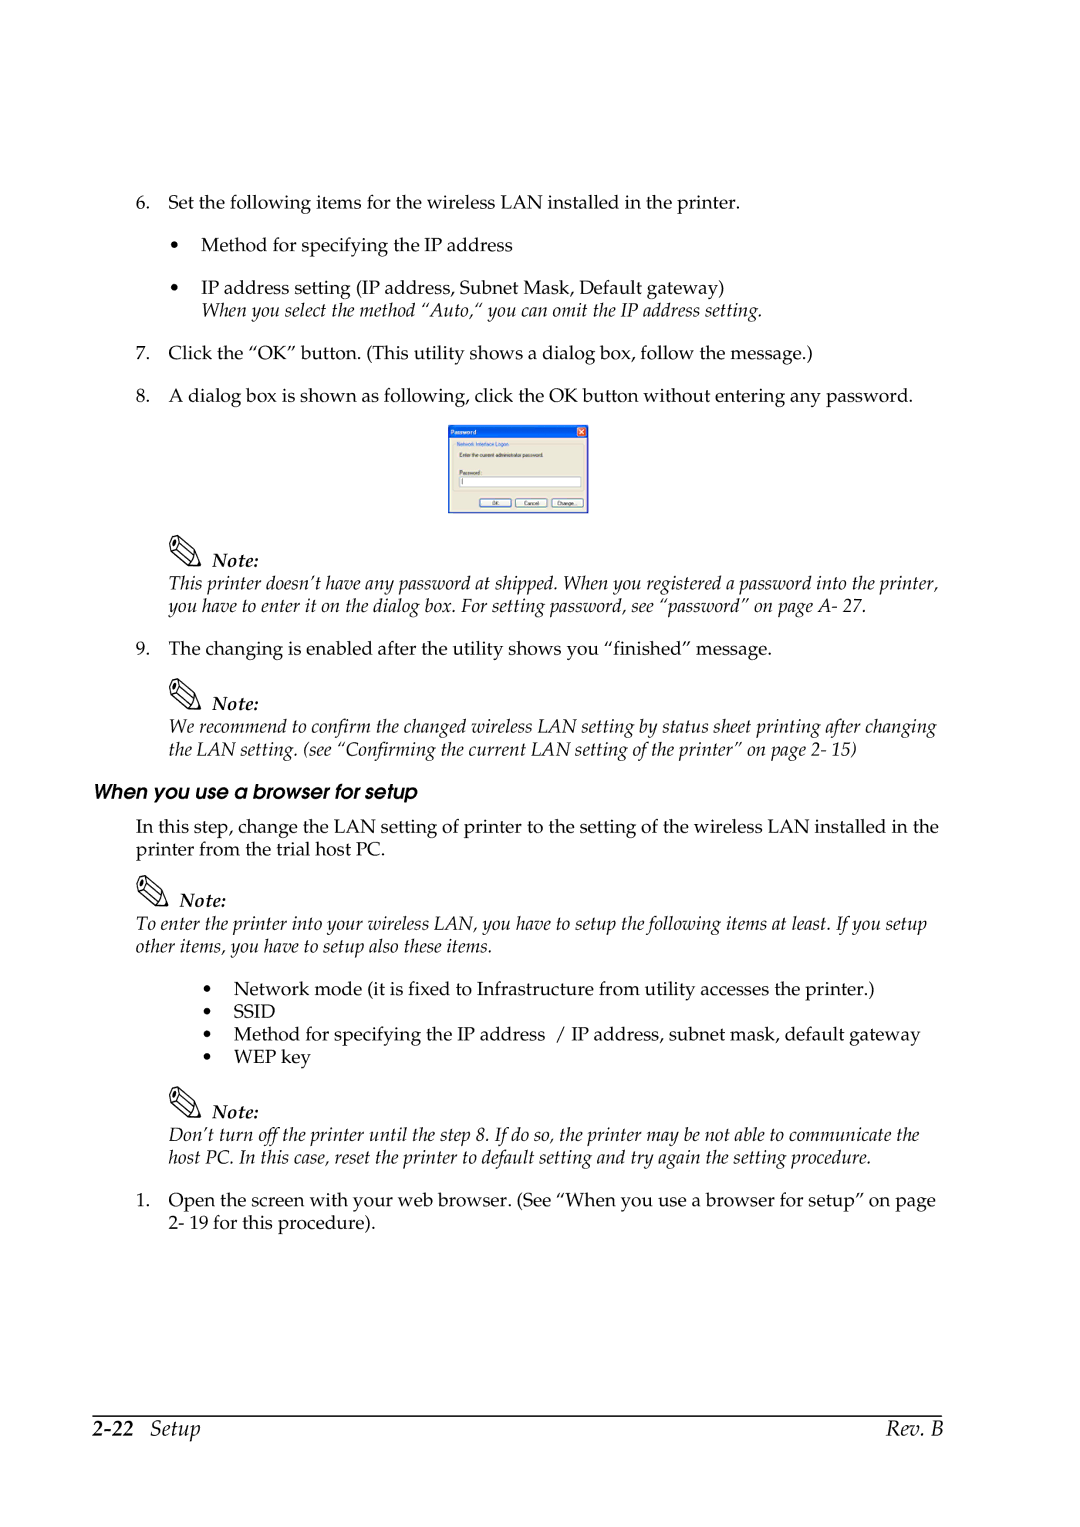
8.A dialog box is shown as following, click the OK button without entering any password.
Note:
This printer doesn’t have any password at shipped. When you registered a password into the printer, you have to enter it on the dialog box. For setting password, see “password” on page A- 27.
9. The changing is enabled after the utility shows you “finished” message.
Note:
We recommend to confirm the changed wireless LAN setting by status sheet printing after changing the LAN setting. (see “Confirming the current LAN setting of the printer” on page 2- 15)
When you use a browser for setup
In this step, change the LAN setting of printer to the setting of the wireless LAN installed in the printer from the trial host PC.
Note:
To enter the printer into your wireless LAN, you have to setup the following items at least. If you setup other items, you have to setup also these items.
•Network mode (it is fixed to Infrastructure from utility accesses the printer.)
•SSID
•Method for specifying the IP address / IP address, subnet mask, default gateway
•WEP key
Note:
Don’t turn off the printer until the step 8. If do so, the printer may be not able to communicate the host PC. In this case, reset the printer to default setting and try again the setting procedure.
1.Open the screen with your web browser. (See “When you use a browser for setup” on page 2- 19 for this procedure).
| Rev. B |