Advanced Printer Driver (APD)
Installing and Setting Up
When you install and set up the APD, please refer to the “EPSON Advanced Printer Driver Install Manual.“ The Manual is a PDF file, which is provided with other manuals for the APD.
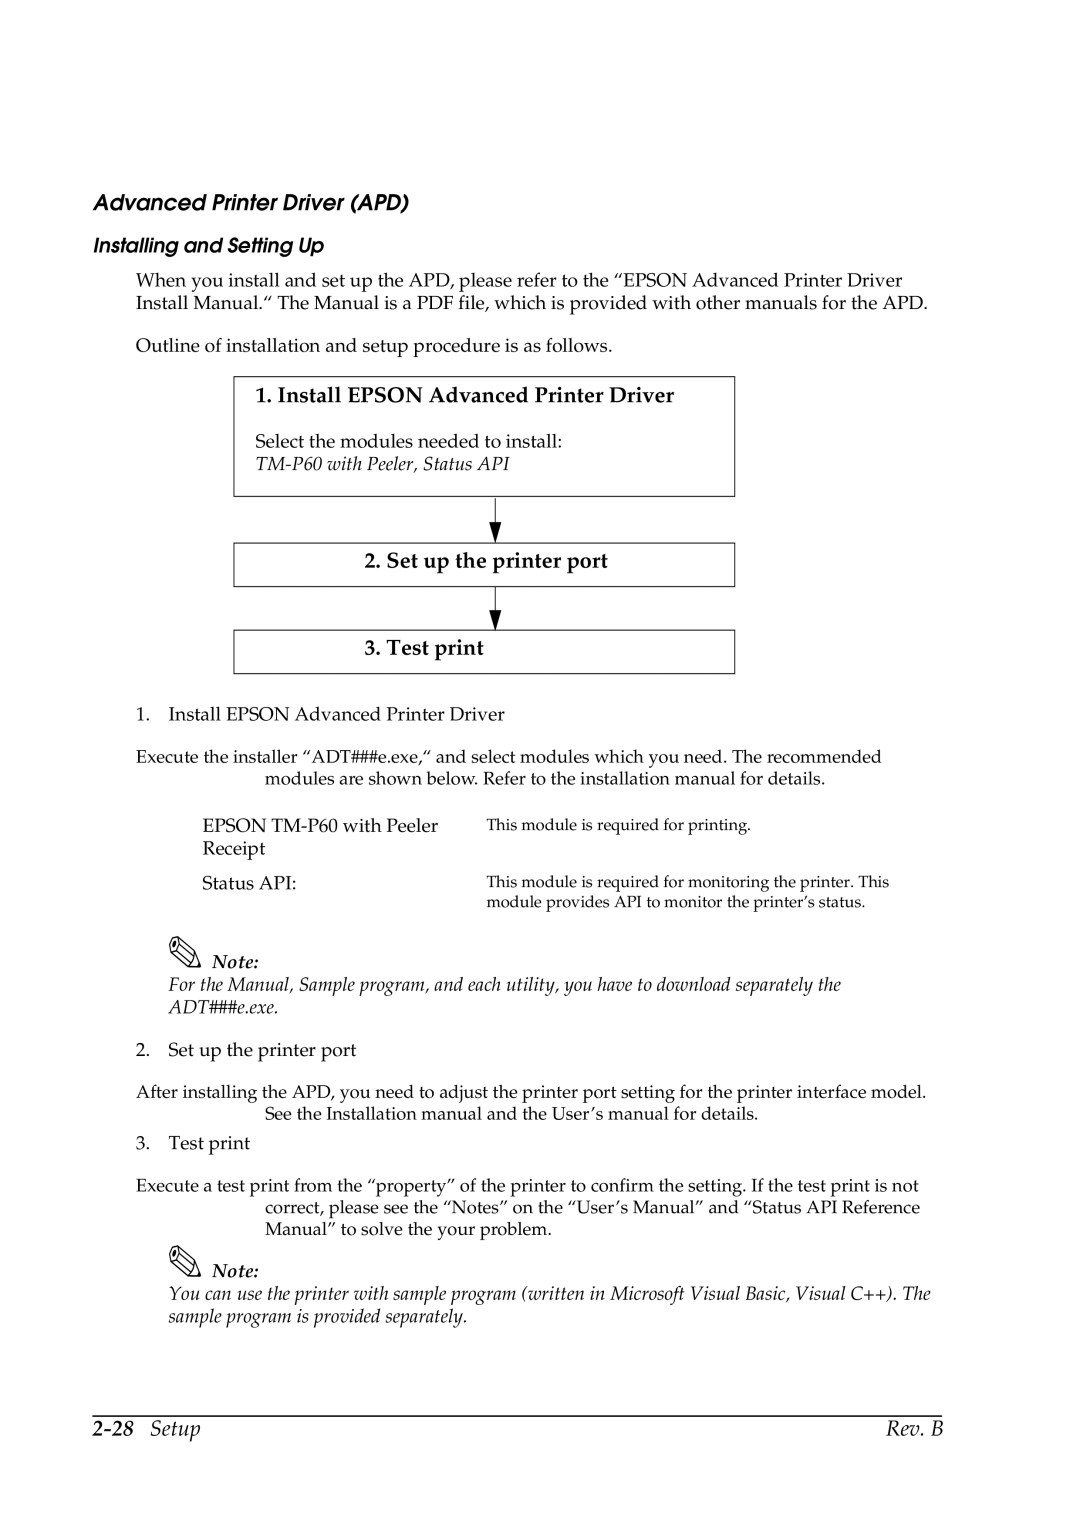
Outline of installation and setup procedure is as follows.
1. Install EPSON Advanced Printer Driver
Select the modules needed to install:
TM-P60 with Peeler, Status API
2.Set up the printer port
3.Test print
1.Install EPSON Advanced Printer Driver
Execute the installer “ADT###e.exe,“ and select modules which you need. The recommended modules are shown below. Refer to the installation manual for details.
EPSON | This module is required for printing. |
Receipt |
|
Status API: | This module is required for monitoring the printer. This |
| module provides API to monitor the printer’s status. |
Note:
For the Manual, Sample program, and each utility, you have to download separately the ADT###e.exe.
2. Set up the printer port
After installing the APD, you need to adjust the printer port setting for the printer interface model. See the Installation manual and the User’s manual for details.
3. Test print
Execute a test print from the “property” of the printer to confirm the setting. If the test print is not correct, please see the “Notes” on the “User’s Manual” and “Status API Reference Manual” to solve the your problem.
Note:
You can use the printer with sample program (written in Microsoft Visual Basic, Visual C++). The sample program is provided separately.
| Rev. B |
