Installing the Ethernet Module
Overview
The Phoenix A8911ETH Ethernet module provides Ethernet connectivity to the Phoenix system. Each module has three
Unlike other modules used in the Phoenix system, the ethernet module does not use “chan- nels”. Each slot position provides access to one of four independent Ethernet
networks. Every port on a module can communicate with every other port on other modules connected to the same network (i.e. modules plugged into the same slot number at different nodes). There is no restriction to the number of modules connected to a network, however they must share bandwidth between nodes. Each network can sustain 25Mbps throughput between nodes.
Note: Ethernet is inherently a
Tools and materials required
The Ethernet modules are held in place with simple thumbscrews with screwdriver slots. The only tool recommended is a small flat blade screwdriver.
Installation instructions:
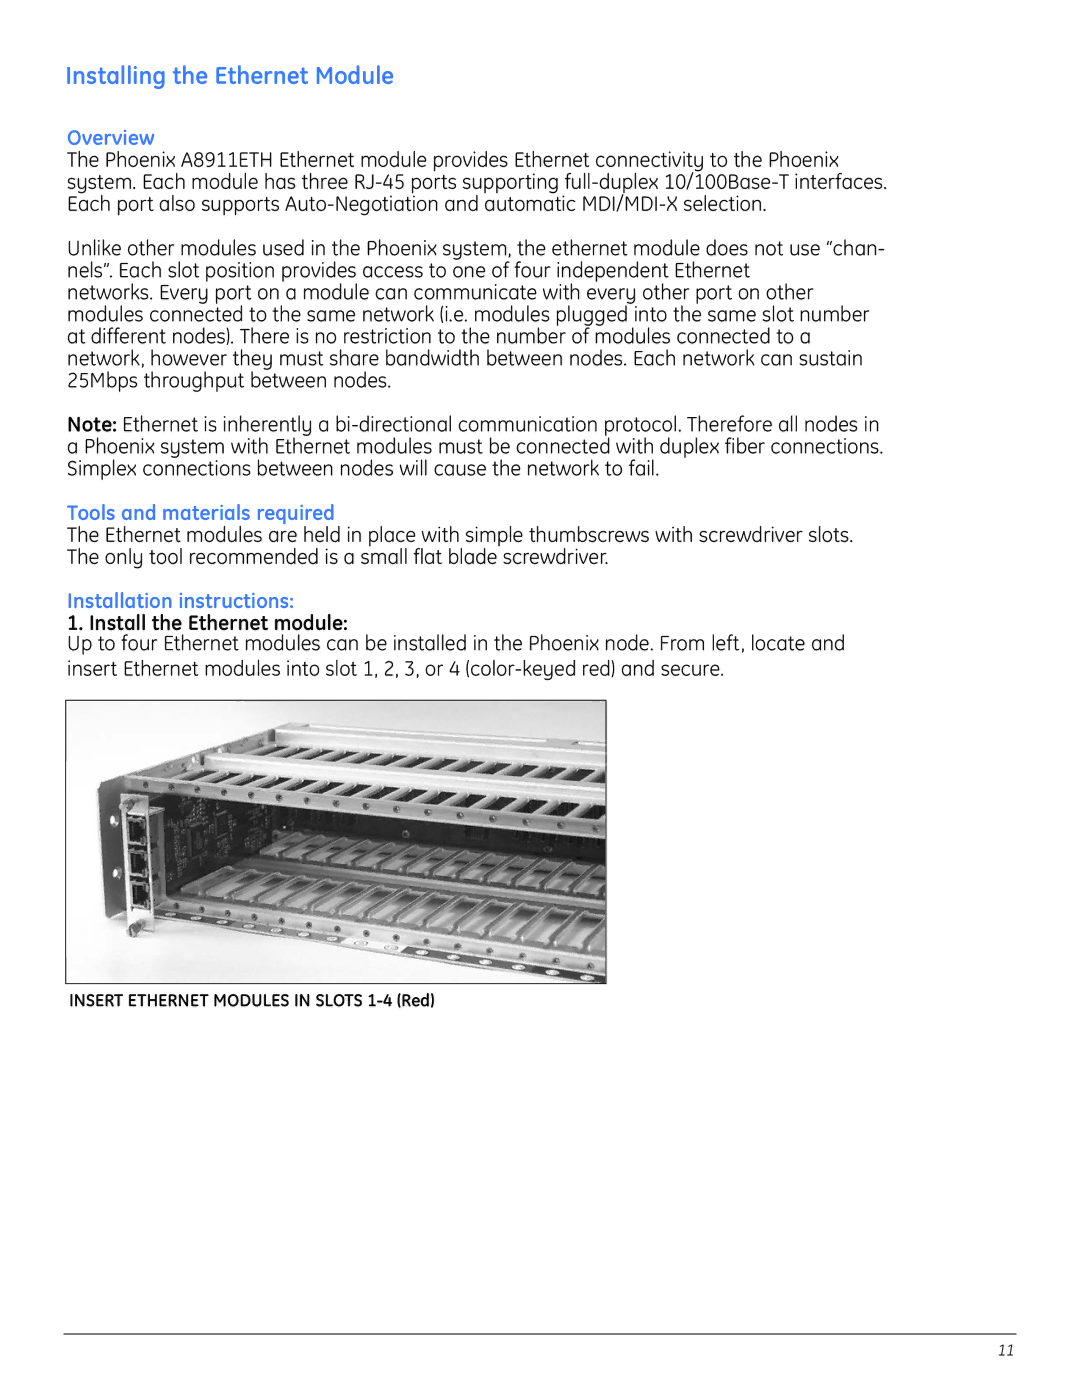
1. Install the Ethernet module:
Up to four Ethernet modules can be installed in the Phoenix node. From left, locate and insert Ethernet modules into slot 1, 2, 3, or 4
INSERT ETHERNET MODULES IN SLOTS
11