Press "enter" again to select the Node Menu:
Node Menu
![]() 1. ID - 0
1. ID - 0
2.Type - Linear
3.Load Defaults
If you are configuring a system with a linear topology, and item 2 in the menu reads, "2. Type – Linear", then you do not have to make any changes and can continue to Step 3, below. Otherwise, select item 2 from the menu. This displays the Topology Menu:
Topology Menu
![]() 1. Linear
1. Linear
2. Self Healing Ring
Move the cursor to the topology of the system from the menu’s choices: Linear or Self- Healing Ring (SHR). Press "enter". A new screen will appear asking you to confirm your choice for topology. Move the cursor to "Accept" and press "enter". The next screen will ask you whether or not you would like to load defaults. Move the cursor to "Accept" and press "enter". If you chose Linear then you can continue to Step 3 after you have been returned to the Node Menu.
If you chose
3. Set the Node ID.
Every Phoenix node (i.e. chassis) in a system should have a unique node ID number. The node ID is set to 0 the first time a Phoenix chassis is switched on. This is an invalid ID; it must be a number between 1 and 255. Once set, the node ID will be remembered if the chassis loses power.
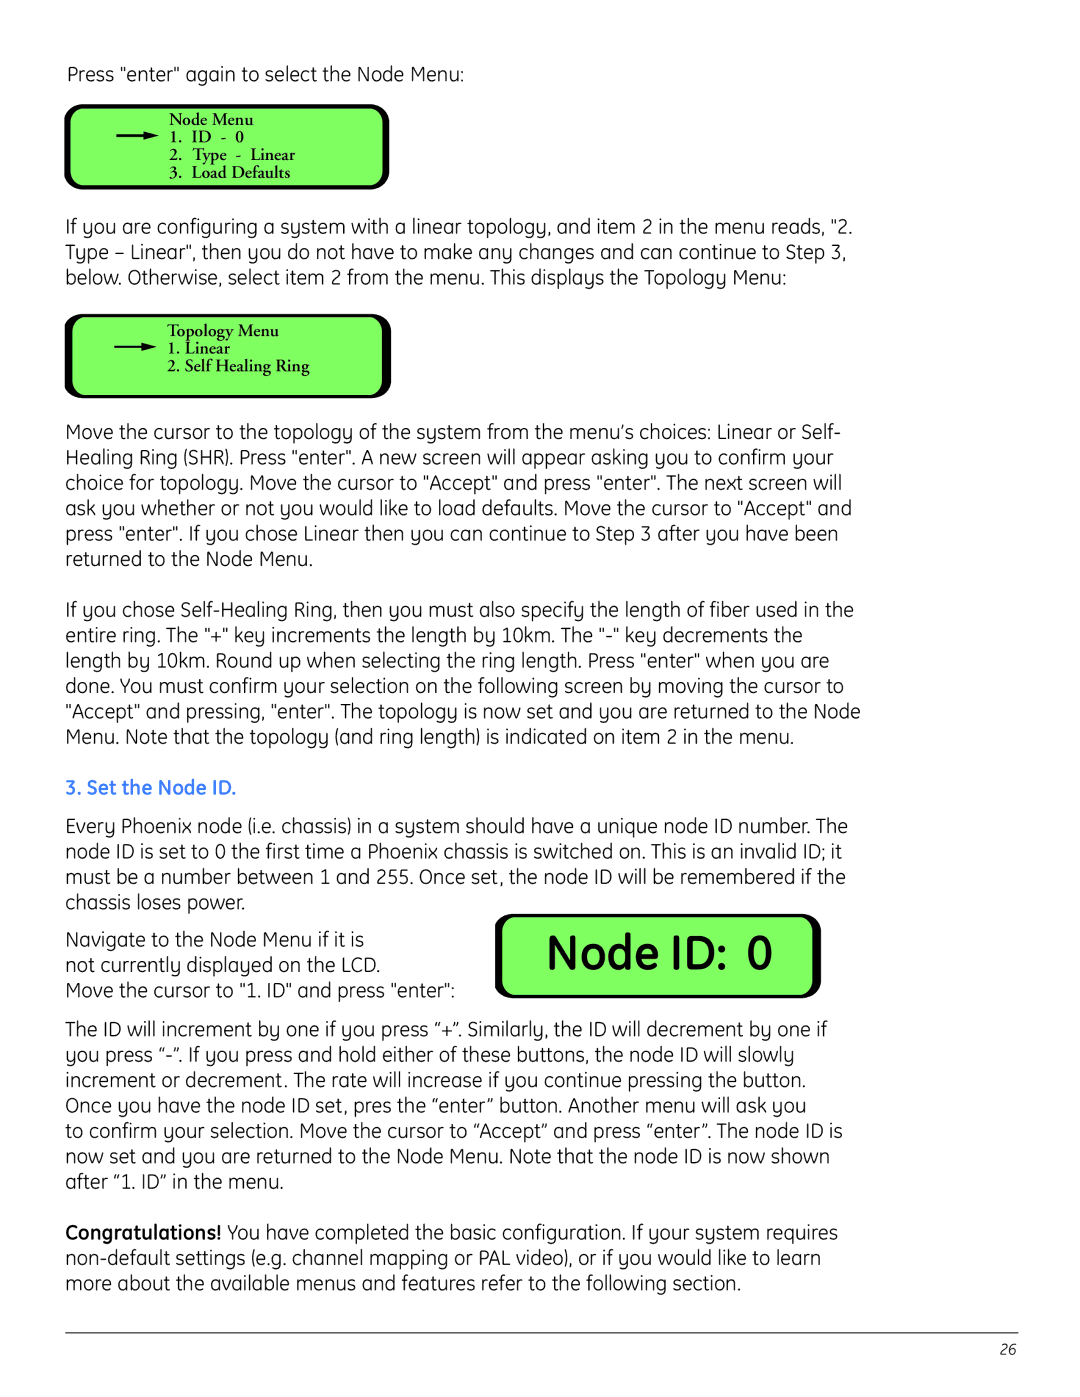
Navigate to the Node Menu if it is
not currently displayed on the LCD.Node ID: 0 Move the cursor to "1. ID" and press "enter":
The ID will increment by one if you press “+”. Similarly, the ID will decrement by one if you press
to confirm your selection. Move the cursor to “Accept” and press “enter”. The node ID is now set and you are returned to the Node Menu. Note that the node ID is now shown after “1. ID” in the menu.
Congratulations! You have completed the basic configuration. If your system requires
26