The topology and node ID are set using the front panel LCD display. The LCD displays a menu from which
A brief initialization routine is displayed on the LCD when the chassis powers up. A splash screen showing the GE logo and Phoenix product name is displayed after the routine completes. After approximately one minute of inactivity the LCD display will turn off. The display can be
GE SECURITY
Phoenix
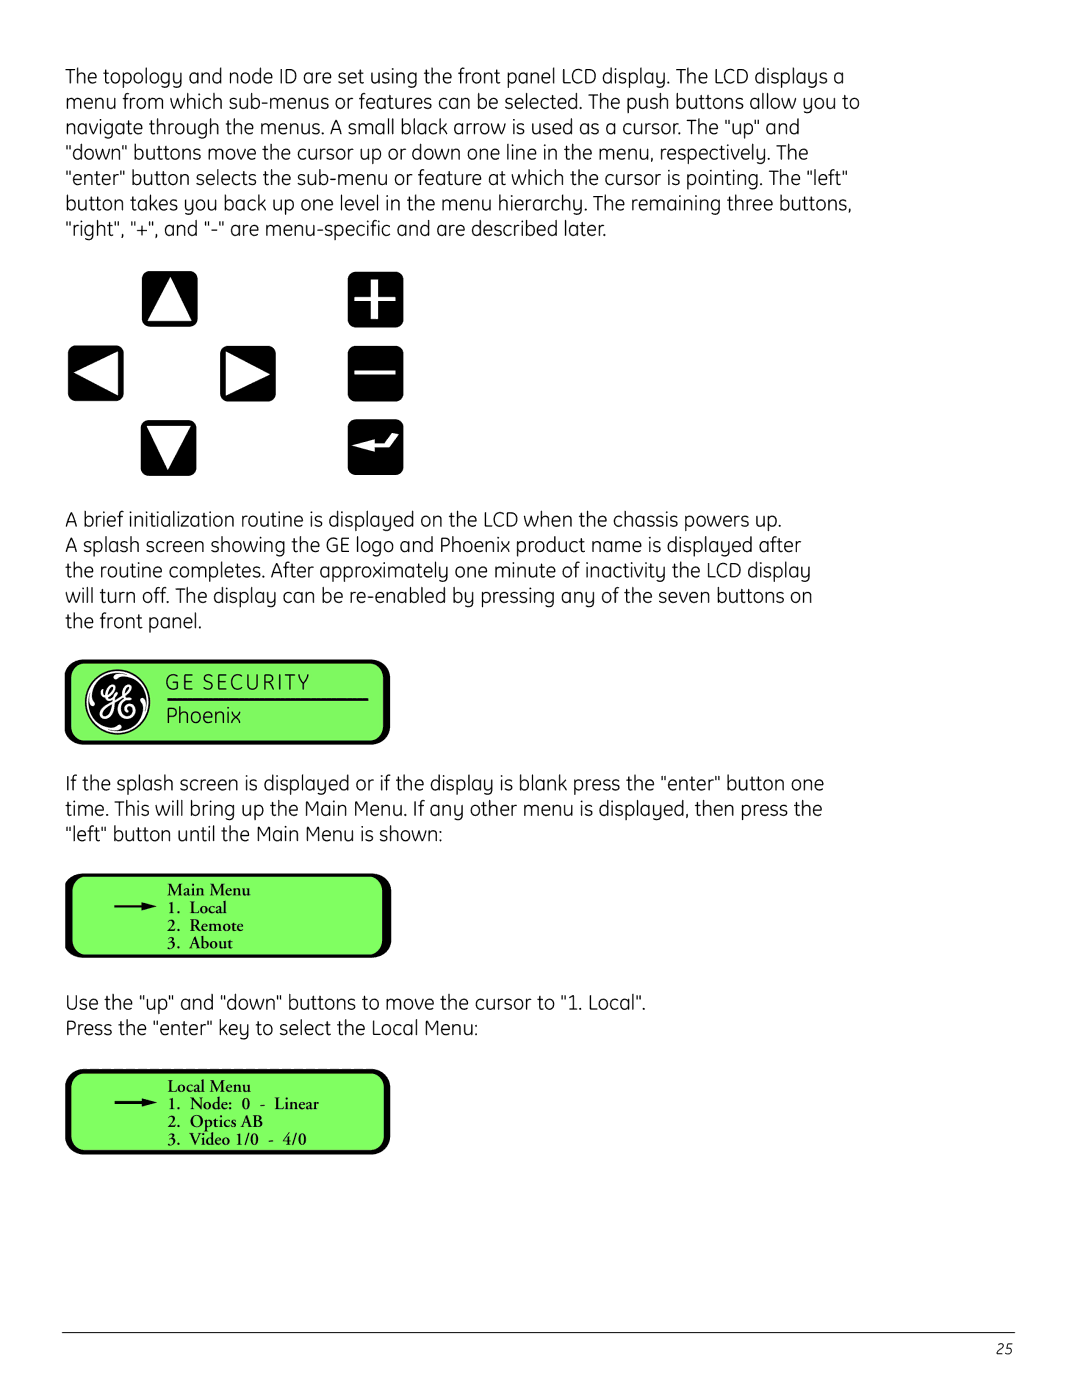
If the splash screen is displayed or if the display is blank press the "enter" button one time. This will bring up the Main Menu. If any other menu is displayed, then press the "left" button until the Main Menu is shown:
Main Menu
![]() 1. Local
1. Local
2.Remote
3.About
Use the "up" and "down" buttons to move the cursor to "1. Local".
Press the "enter" key to select the Local Menu:
Local Menu
![]() 1. Node: 0 - Linear
1. Node: 0 - Linear
2.Optics AB
3.Video 1/0 - 4/0
25