USER FUNCTIONS
Automation
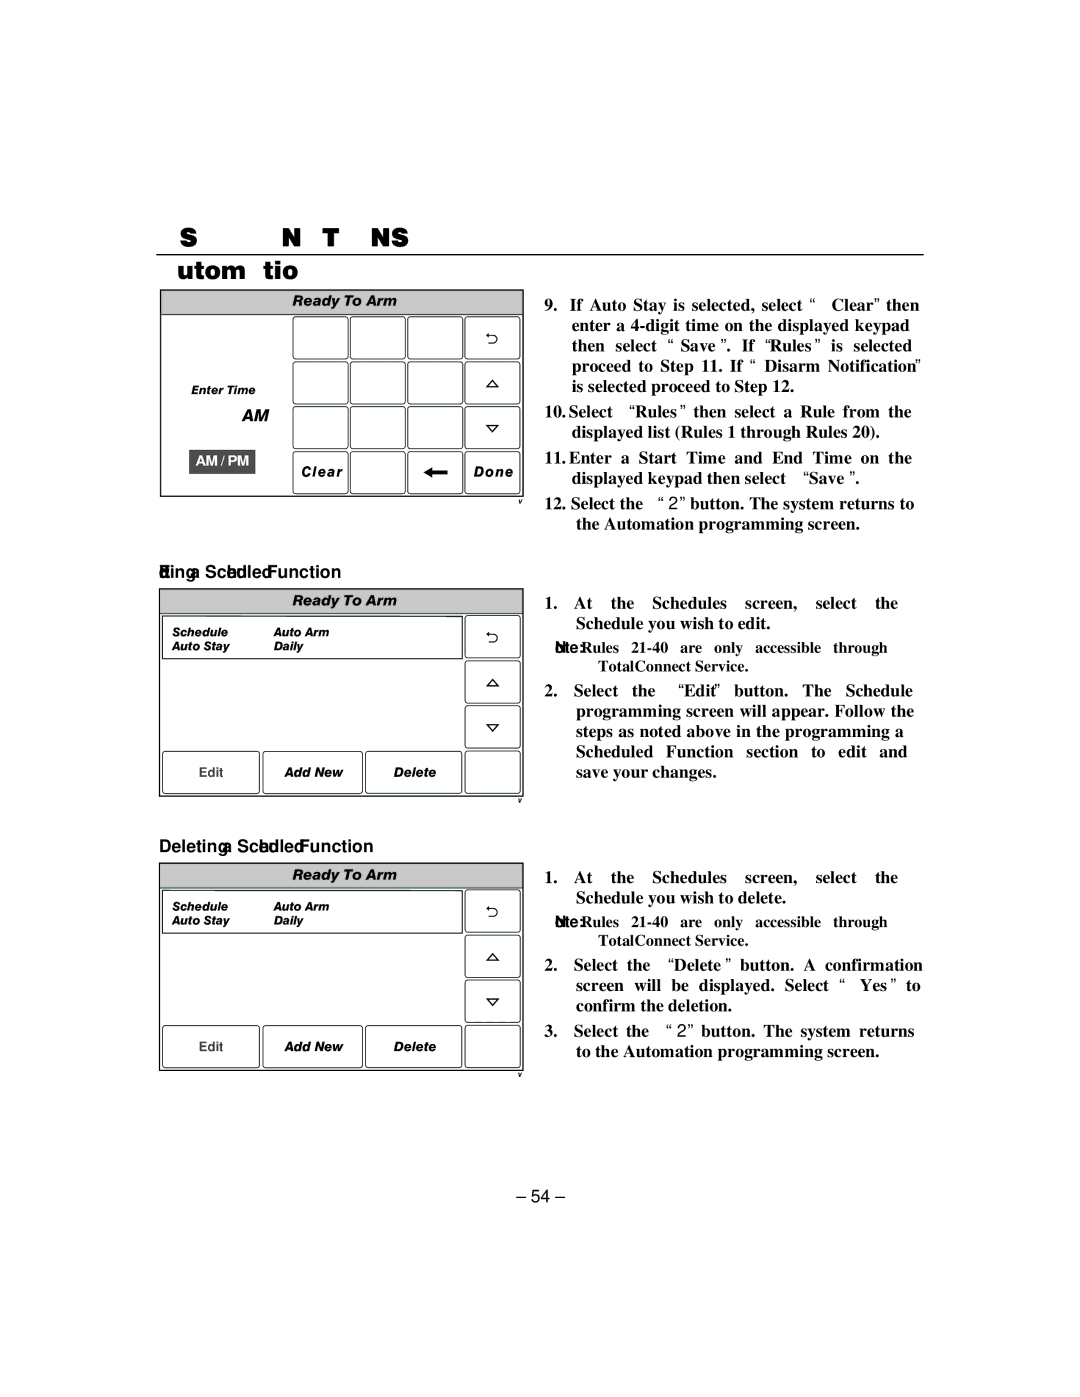
Ready To Arm
1 | 2 | 3 |
4 | 5 | 6 |
Enter Time |
|
|
10:21 AM | 8 | 9 |
7 | ||
AM / PM | 0 | Done |
Clear |
9.If Auto Stay is selected, select “Clear” then enter a
10.Select “Rules” then select a Rule from the displayed list (Rules 1 through Rules 20).
11.Enter a Start Time and End Time on the displayed keypad then select “Save”.
12.Select the “2” button. The system returns to the Automation programming screen.
Editing a Scheduled Function
| Ready To Arm |
|
Schedule 1 | Auto Arm |
|
Auto Stay | Daily |
|
Edit | Add New | Delete |
|
|
Deleting a Scheduled Function
| Ready To Arm |
|
Schedule 1 | Auto Arm |
|
Auto Stay | Daily |
|
Edit | Add New | Delete |
|
|
1.At the Schedules screen, select the Schedule you wish to edit.
Note: Rules
2.Select the “Edit” button. The Schedule programming screen will appear. Follow the steps as noted above in the programming a Scheduled Function section to edit and save your changes.
1.At the Schedules screen, select the Schedule you wish to delete.
Note: Rules
2.Select the “Delete” button. A confirmation screen will be displayed. Select “Yes” to confirm the deletion.
3.Select the “2” button. The system returns to the Automation programming screen.
– 54 –