●If you are printing labels, ensure that the label sheets are no more than two years old. Labels on older sheets might peel off when the paper is pulled through the HP
●Do not combine different paper types and paper sizes in the input tray; the entire stack of paper in the input tray must be the same size and type.
●Adjust the
●Do not force paper too far forward in the input tray.
●Use paper types that are recommended for the HP
Make a copy
You can make quality copies from the control panel.
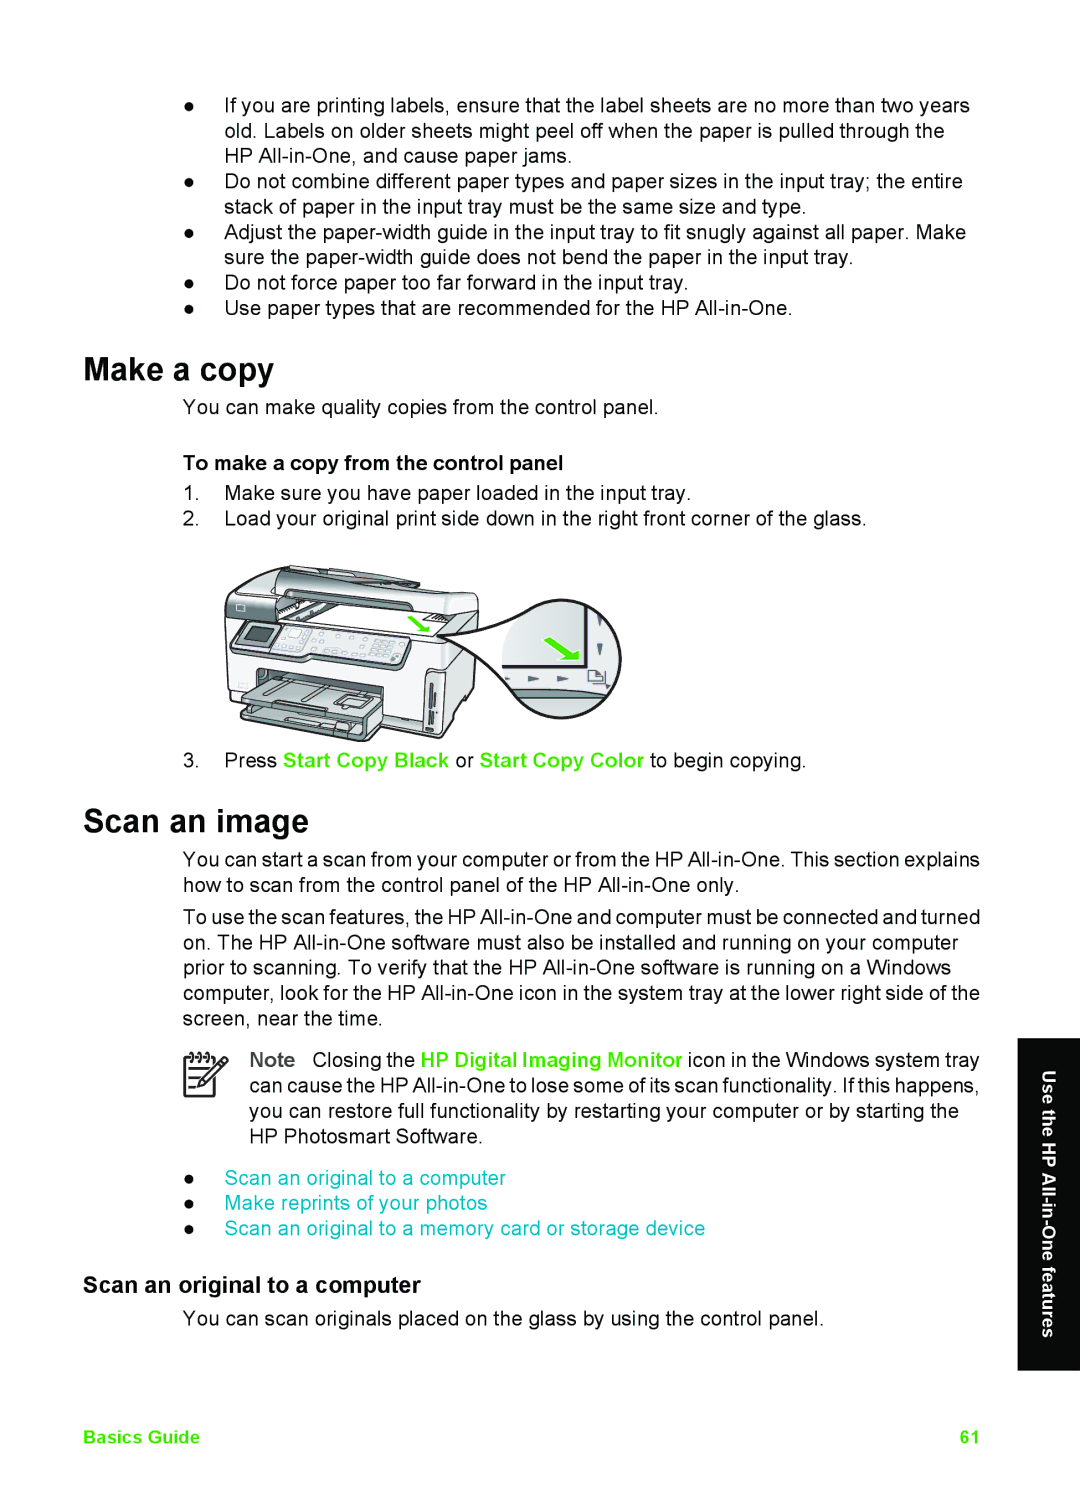
To make a copy from the control panel
1.Make sure you have paper loaded in the input tray.
2.Load your original print side down in the right front corner of the glass.
3.Press Start Copy Black or Start Copy Color to begin copying.
Scan an image
You can start a scan from your computer or from the HP
To use the scan features, the HP
Note Closing the HP Digital Imaging Monitor icon in the Windows system tray can cause the HP
●Scan an original to a computer
●Make reprints of your photos
●Scan an original to a memory card or storage device
Scan an original to a computer
You can scan originals placed on the glass by using the control panel.
Use the HP
Basics Guide | 61 |